前言
🤯前段时间手里囤了一些 API,用的不多,主要用于博客的 AI 摘要功能。我的榆木脑袋经常会忘记这些平台的账号密码,这让我决定使用 OneAPI 进行统一管理。尽管 OneAPI 的作者提供了详尽的教程,但一些用户(包括我自己)在部署时仍碰到了一些小问题。因此,在成功部署后,我决定为基础不好的小白写下这篇详细的部署指南,希望能帮助大家少走弯路。
项目介绍
OneAPI 项目是一个开放的接口管理和分发系统,支持多种大型语言模型,例如 OpenAI 的 ChatGPT、Azure、Anthropic Claude、Google PaLM 2 & Gemini 等。它旨在进行密钥管理和重新分配,可以通过单个可执行文件或Docker 部署,并提供一个简单统一的 API 来访问不同的大型语言模型。该系统开源,使用**MIT 许可证**,提供了模型支持、令牌管理和用户组管理等功能。具体的部署和配置说明,用户应参考该项目的 GitHub 仓库和文档
项目搭建
本项目提供了 Docker 镜像,使部署过程简化。我们可以更加轻松的进行部署。
默认情况下使用 SQLite 数据库,在未设置环境变量 SQL_DSN的情况下,数据库文件将存储在 Docker 容器指定的路径上。如果设置了 SQL_DSN 环境变量,应用则会连接到您指定的 MySQL 或 PostgreSQL 数据库。这样当我们重新部署或拉取镜像时我们之前的更改才不会丢失。
准备
- 支持 Docker 的免费容器平台,如 Render 或 Zeabur。
- MySQL 或 PostgreSQL 数据库(可选,推荐以保证数据持久性)。
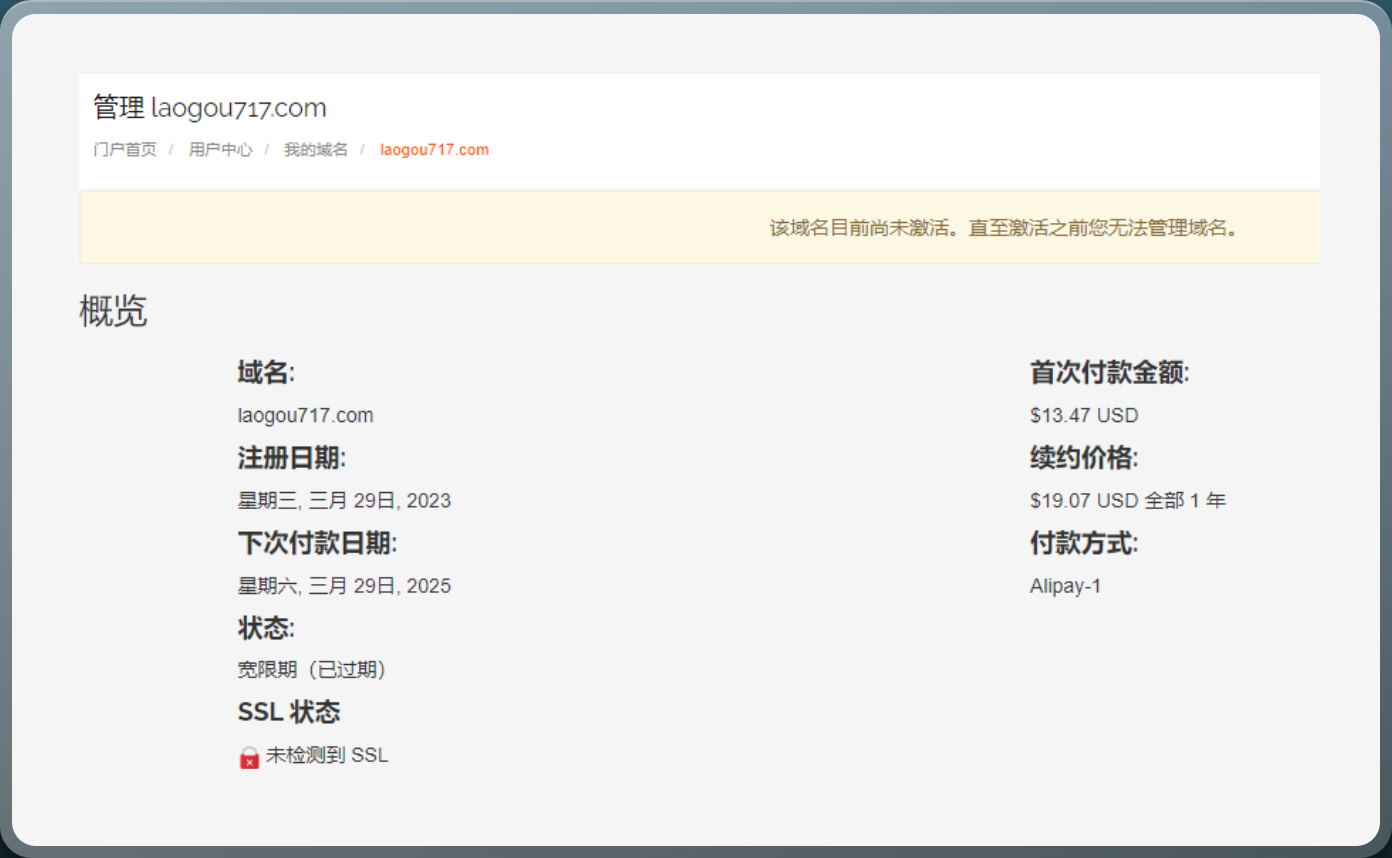
- 一个域名(可选)。
部署步骤
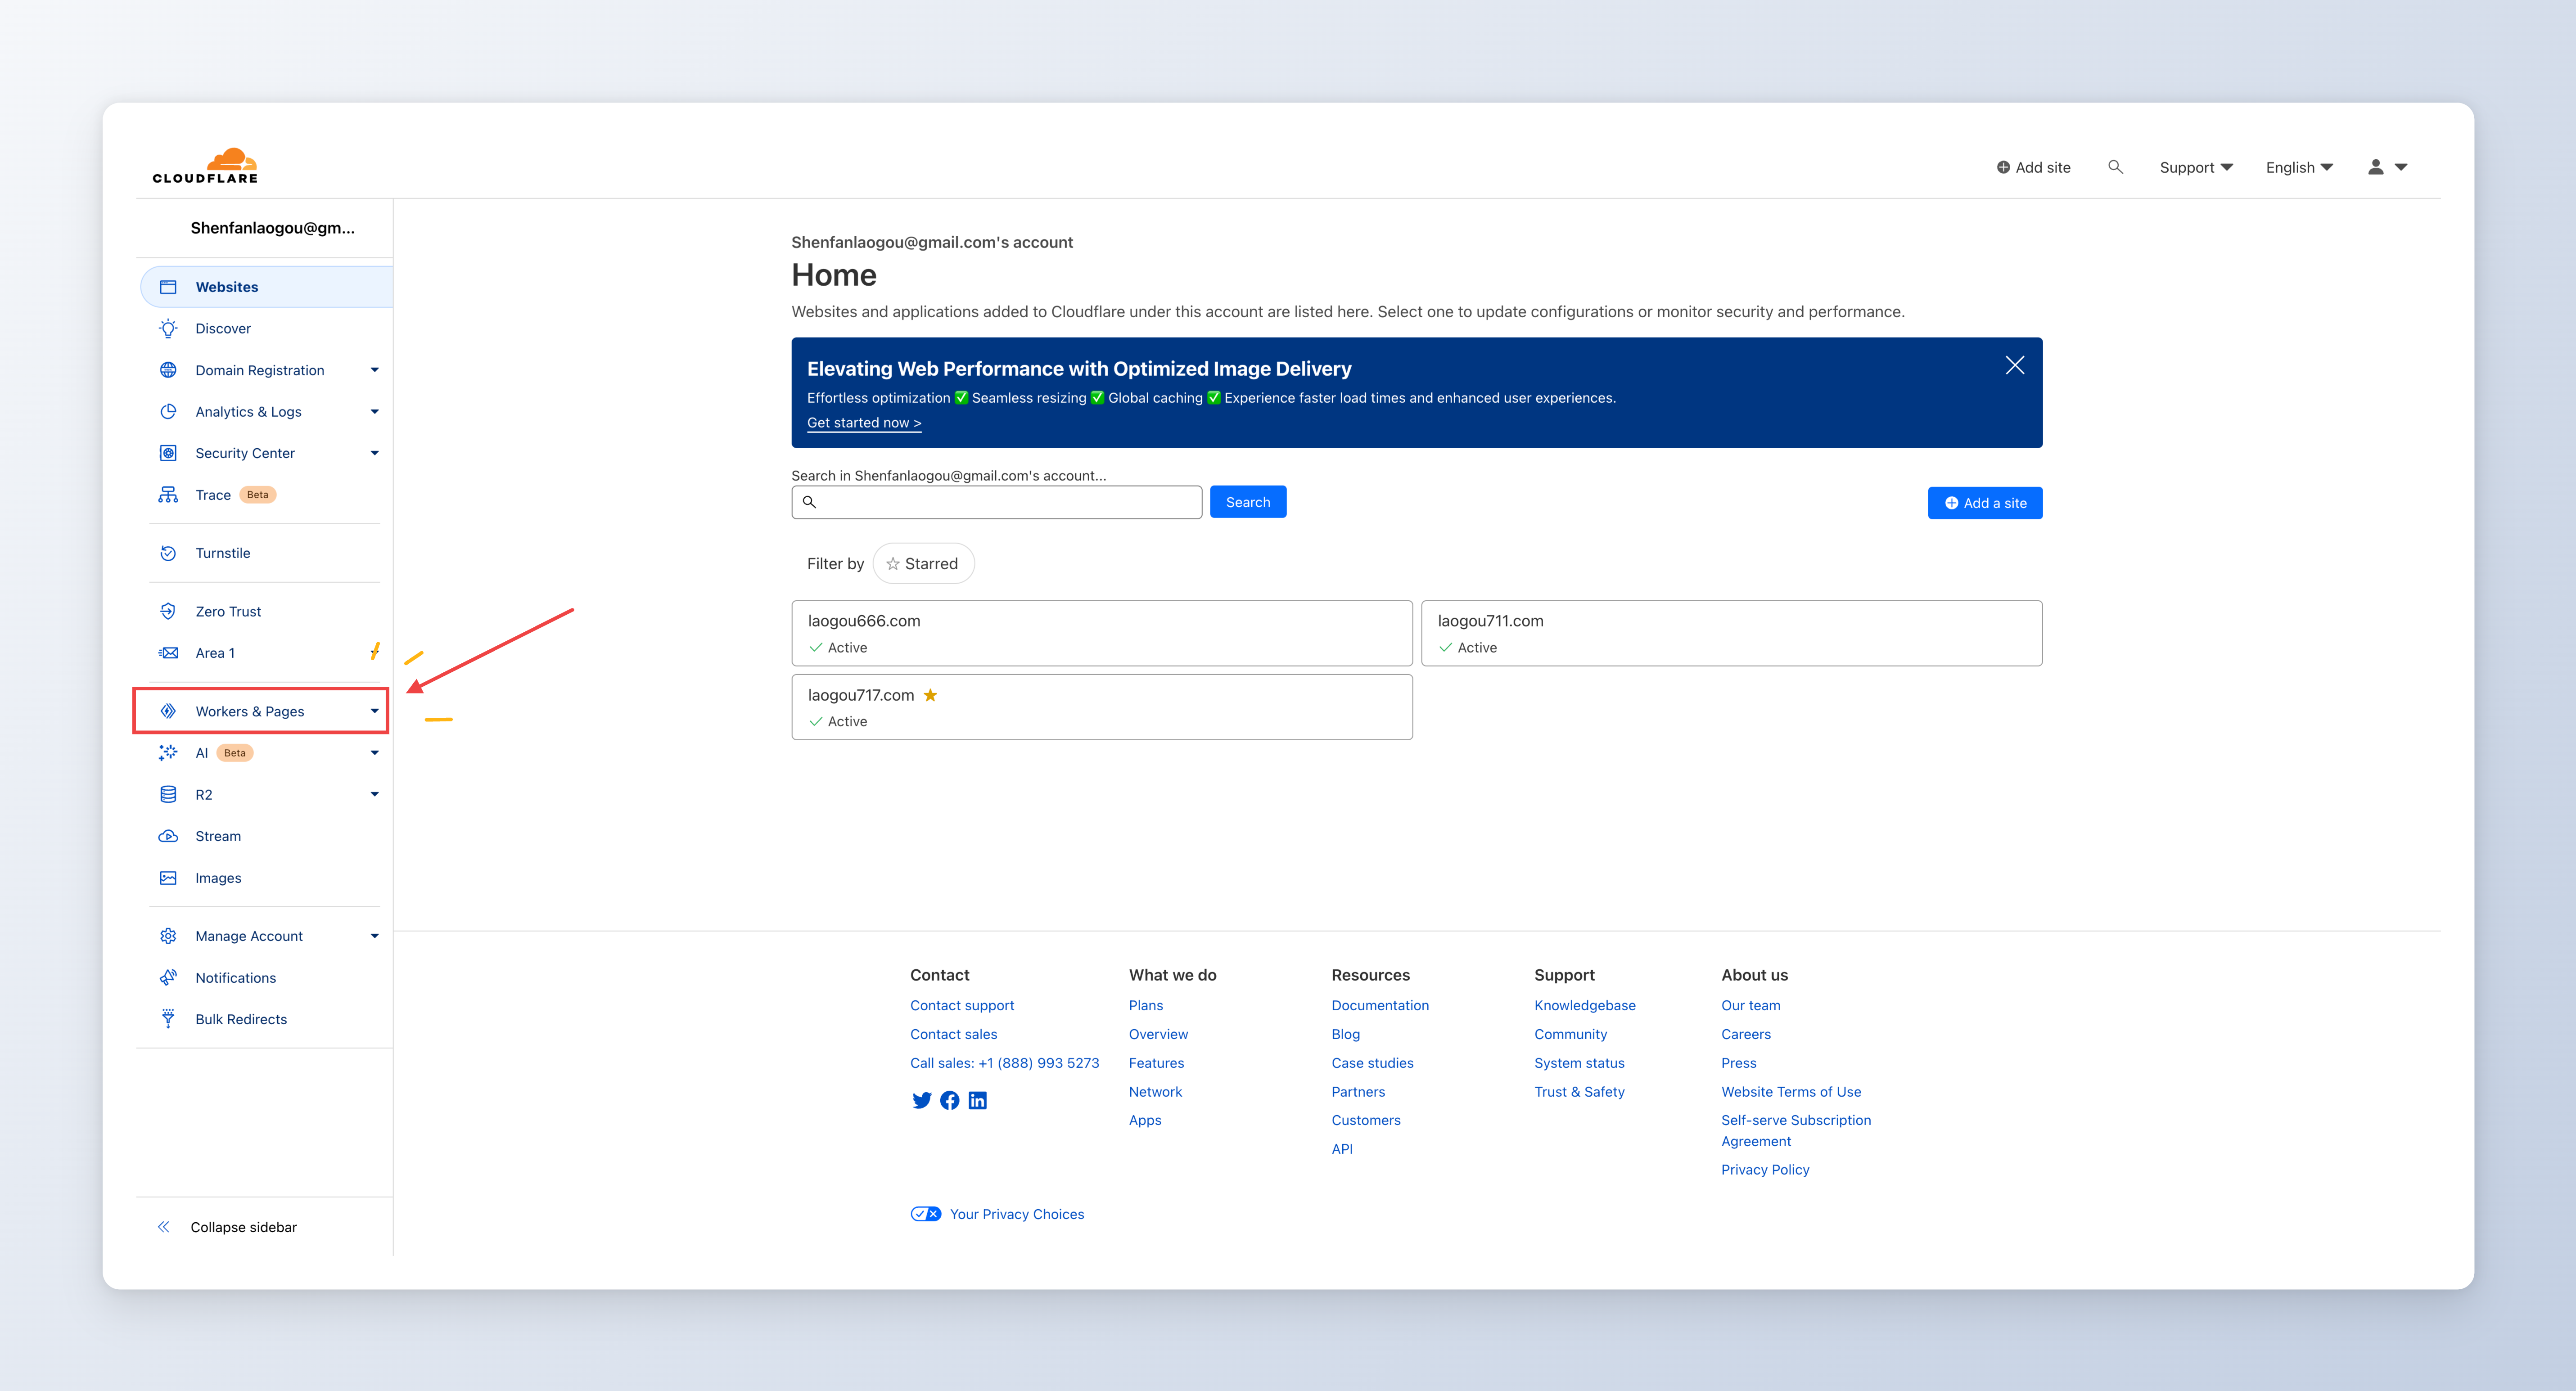
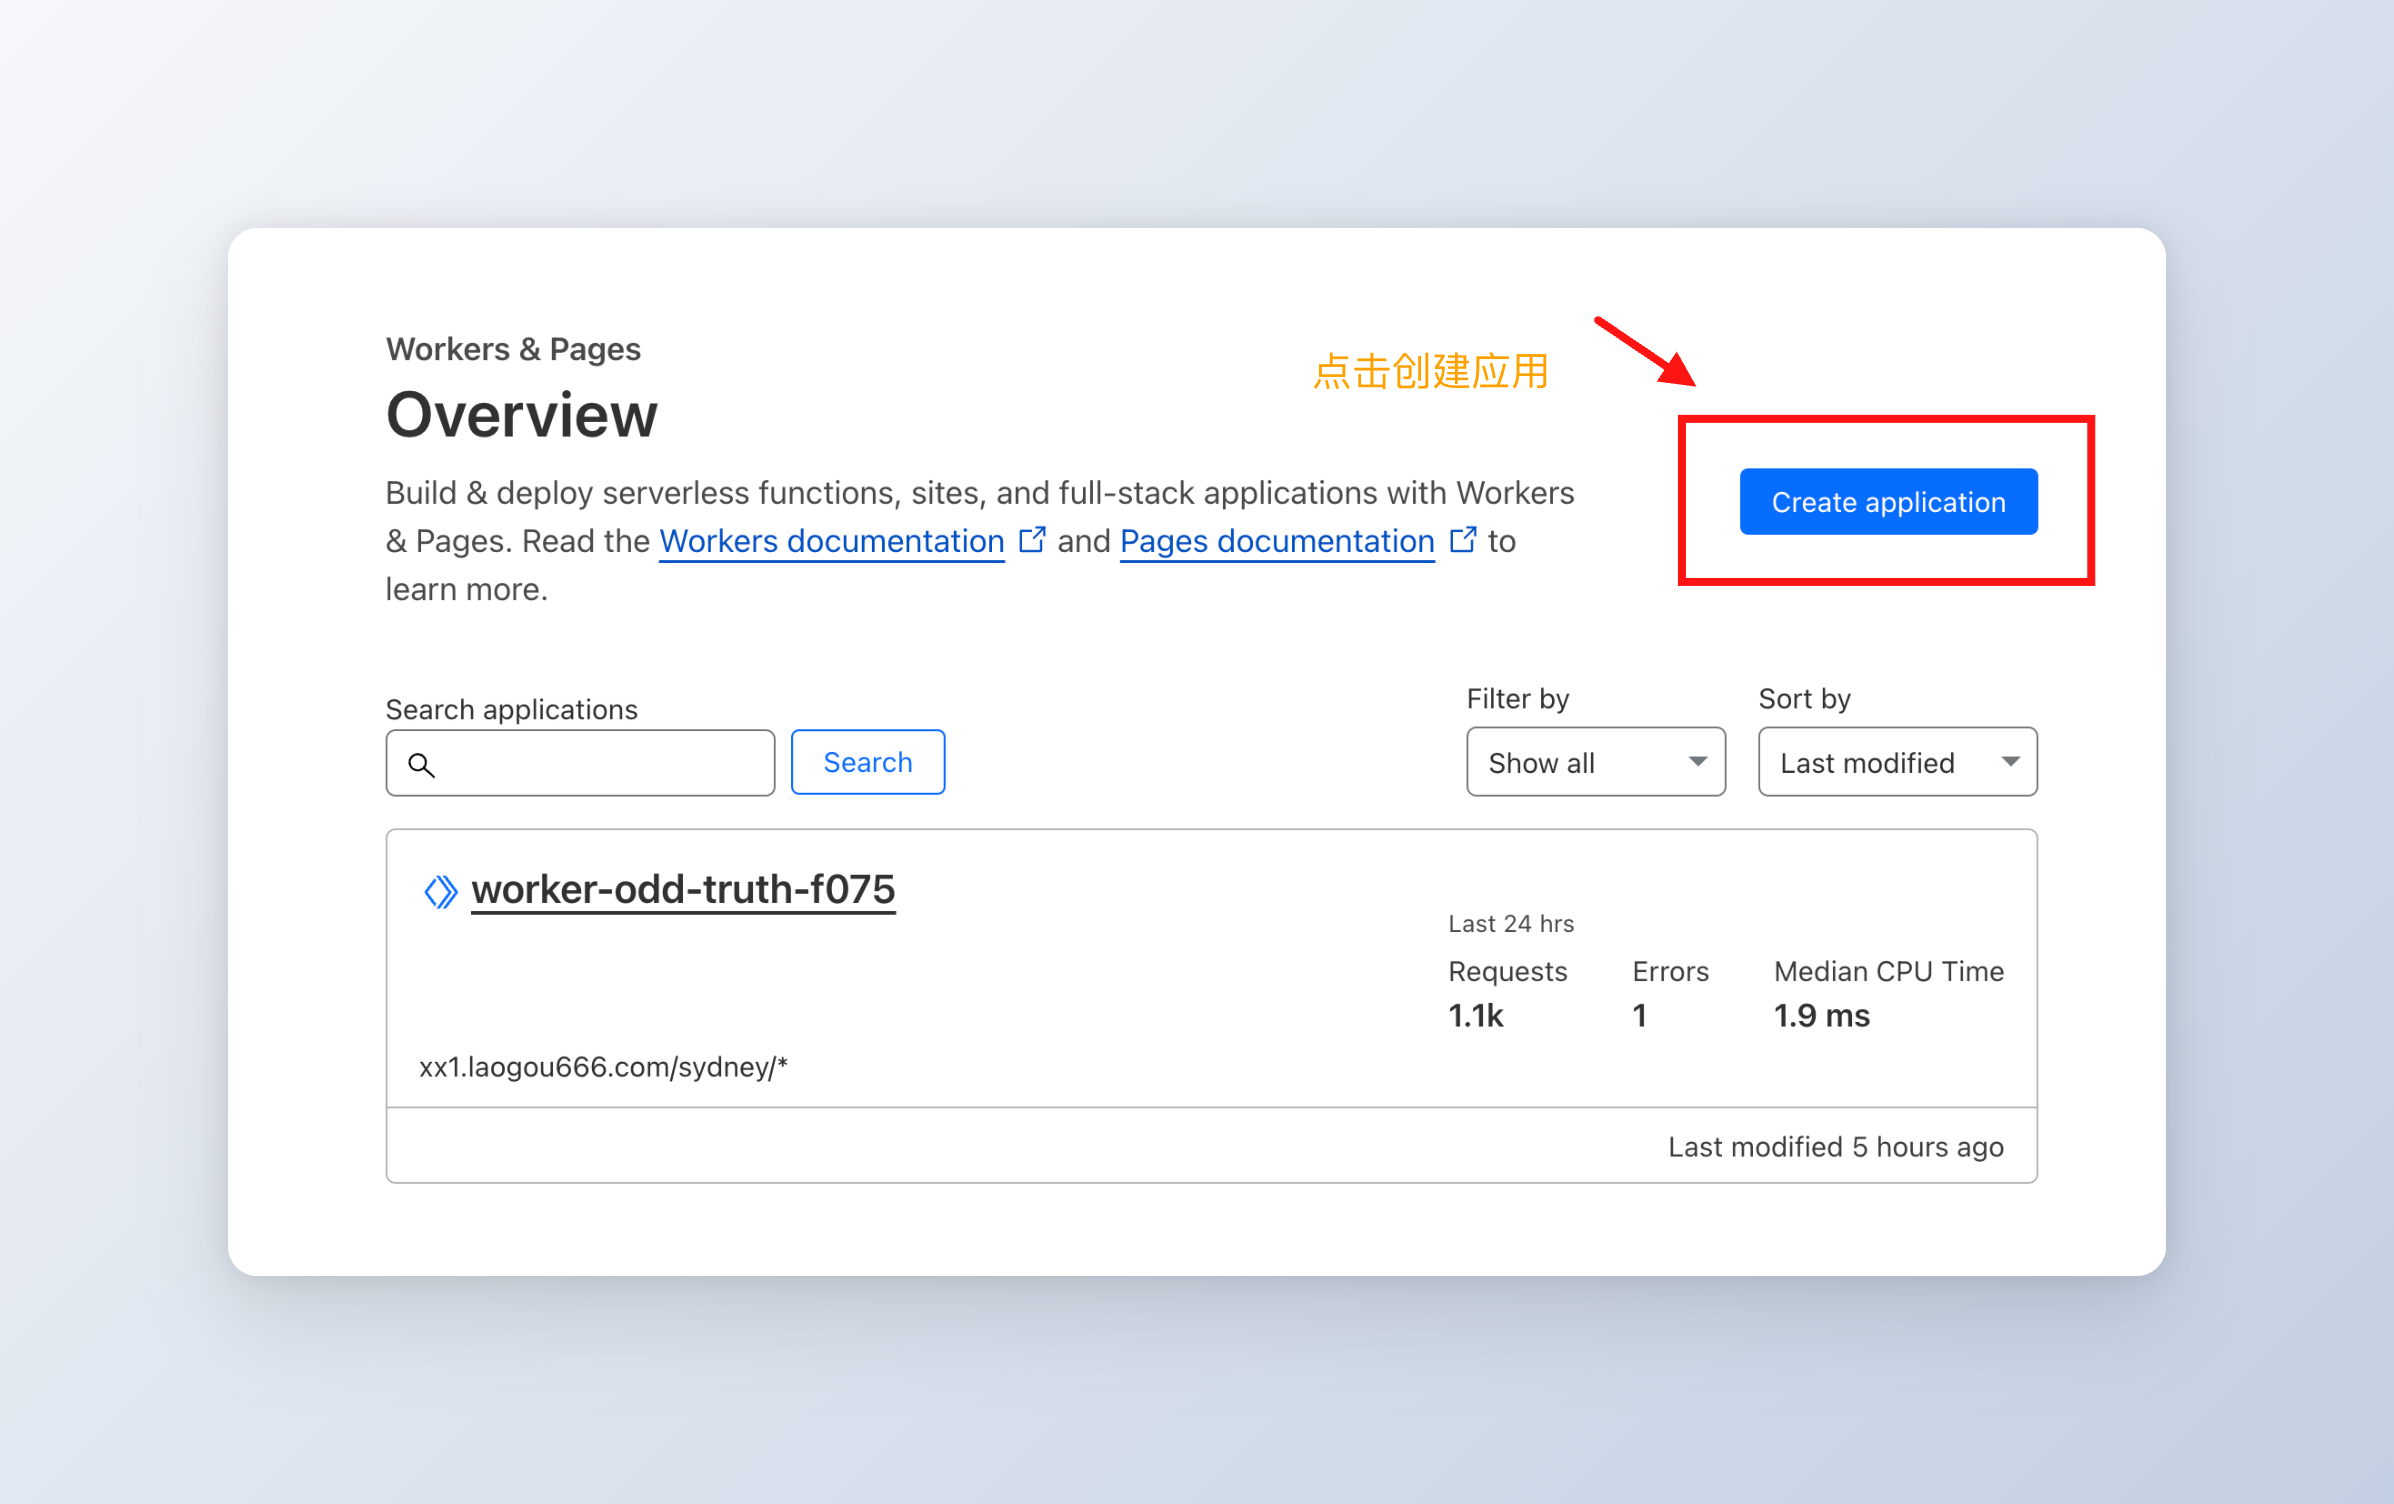
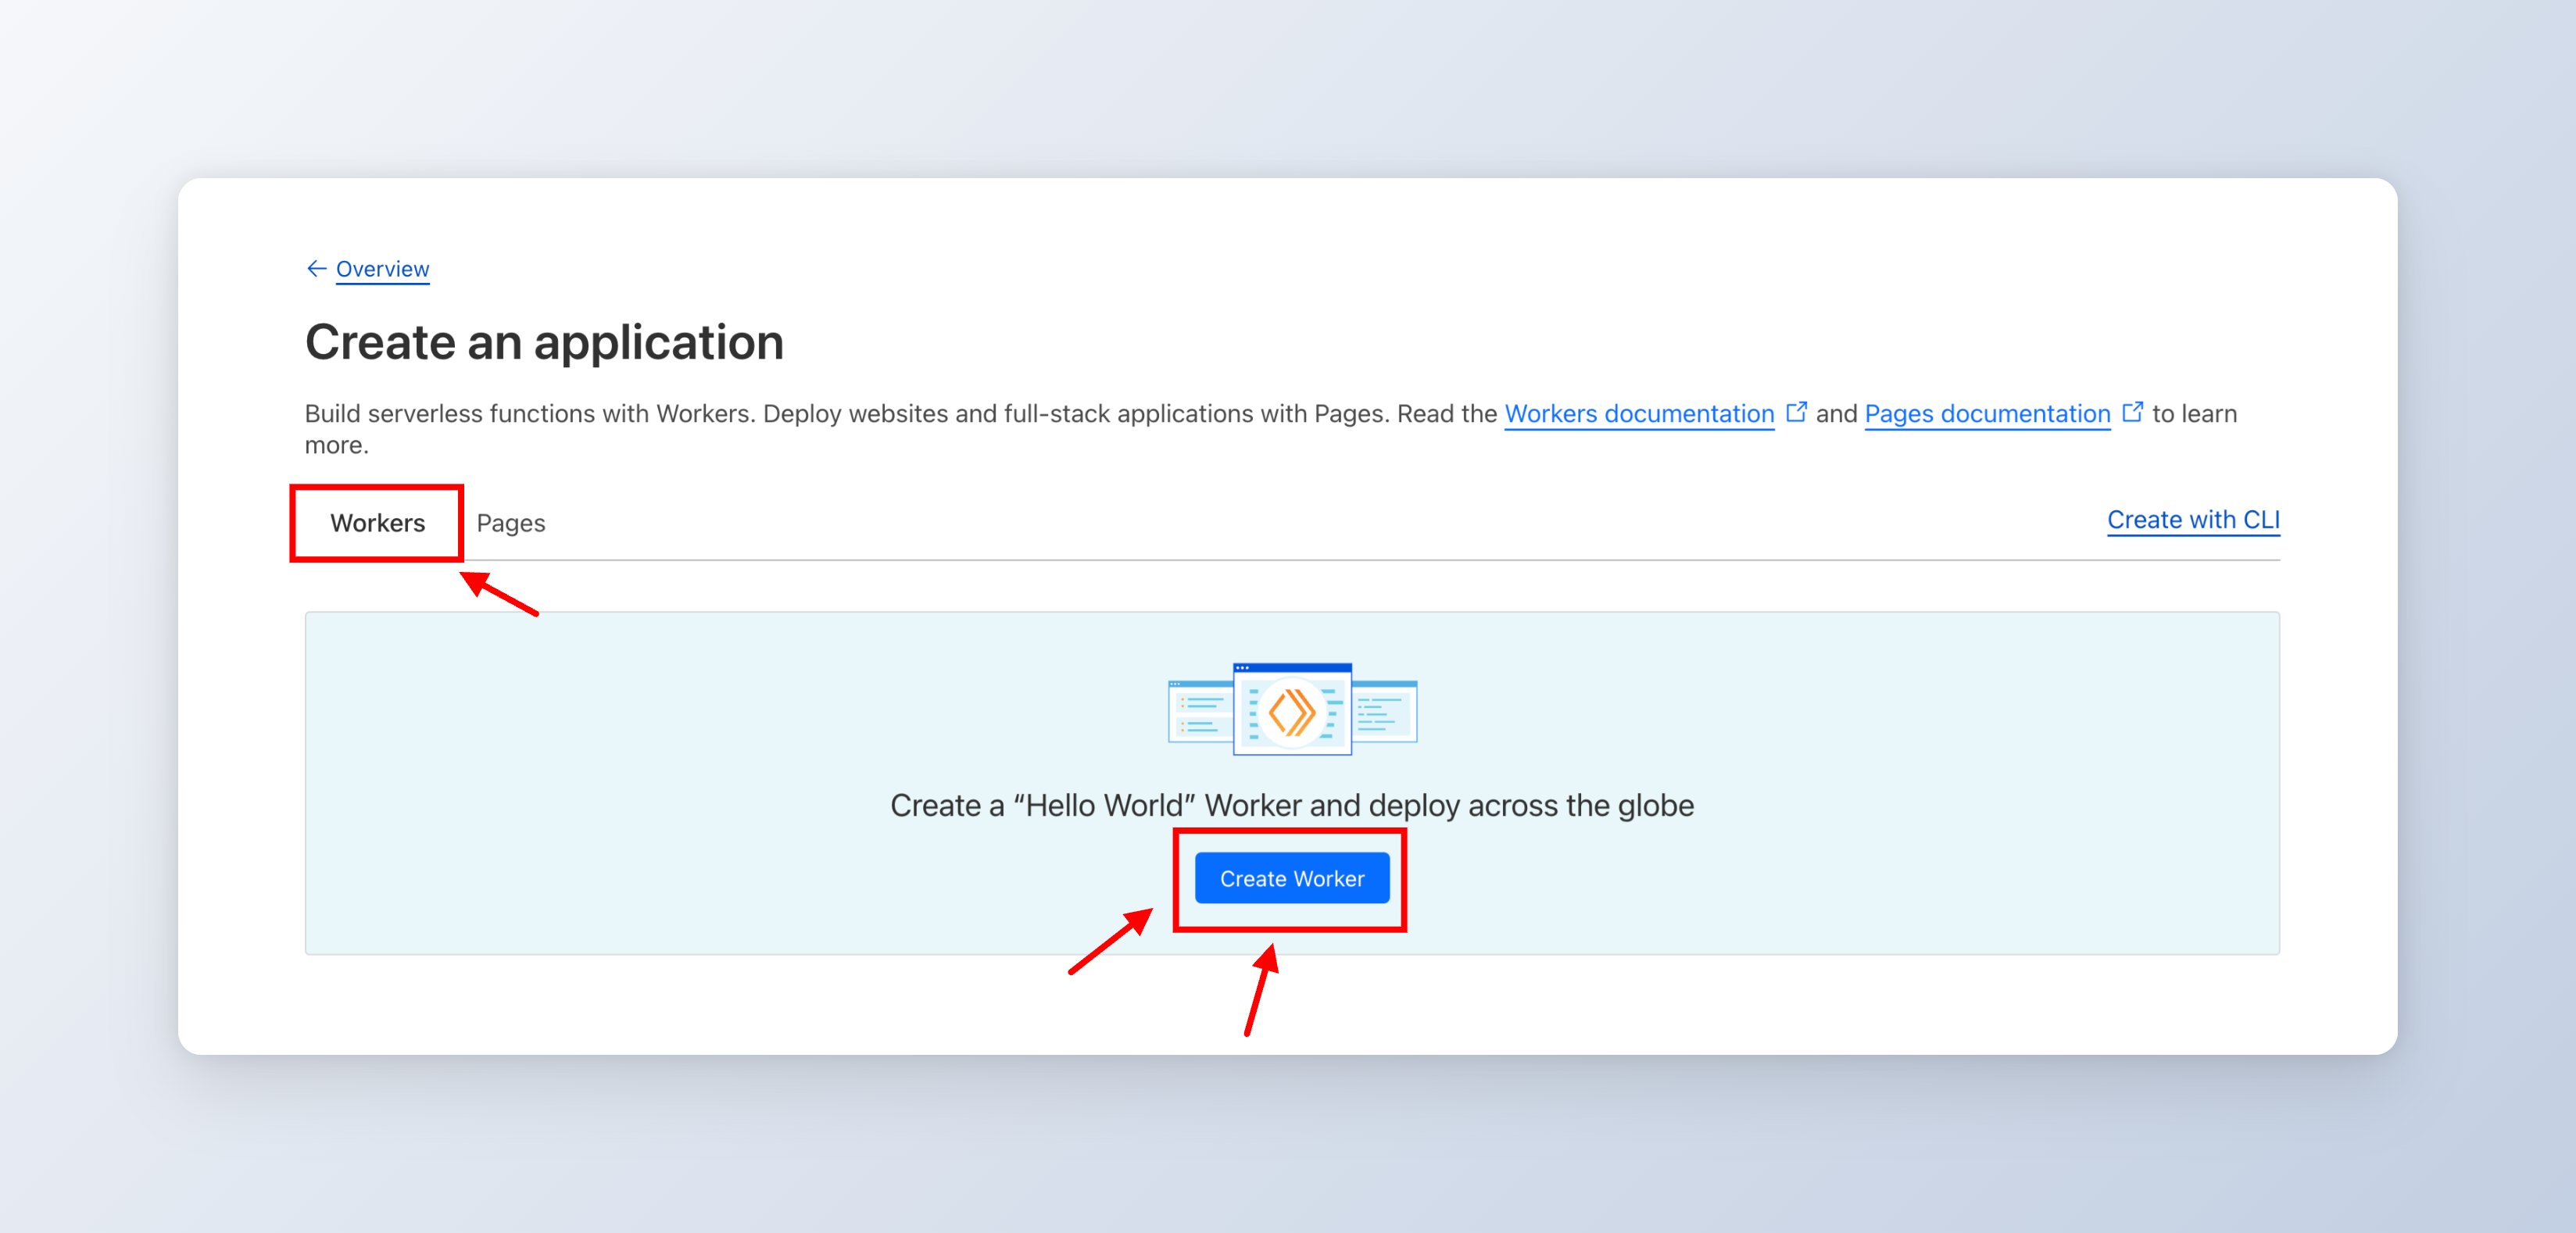
选择你想要使用的托管平台
部署流程
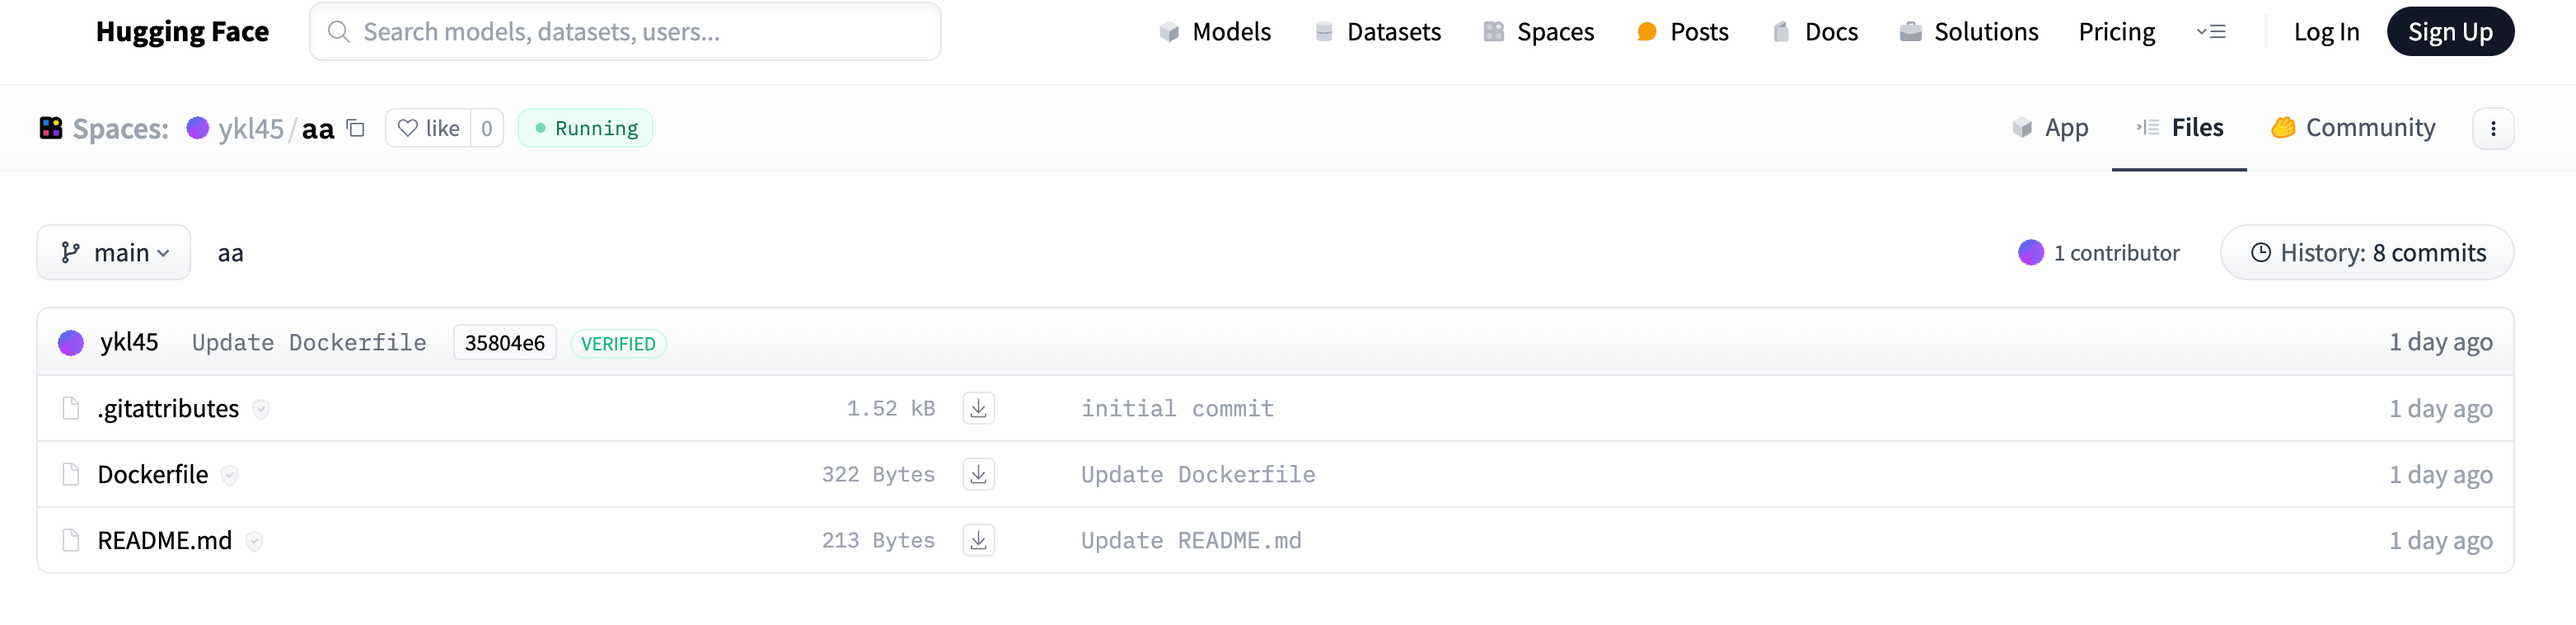
huggingface 部署
- 复制 Docker 镜像
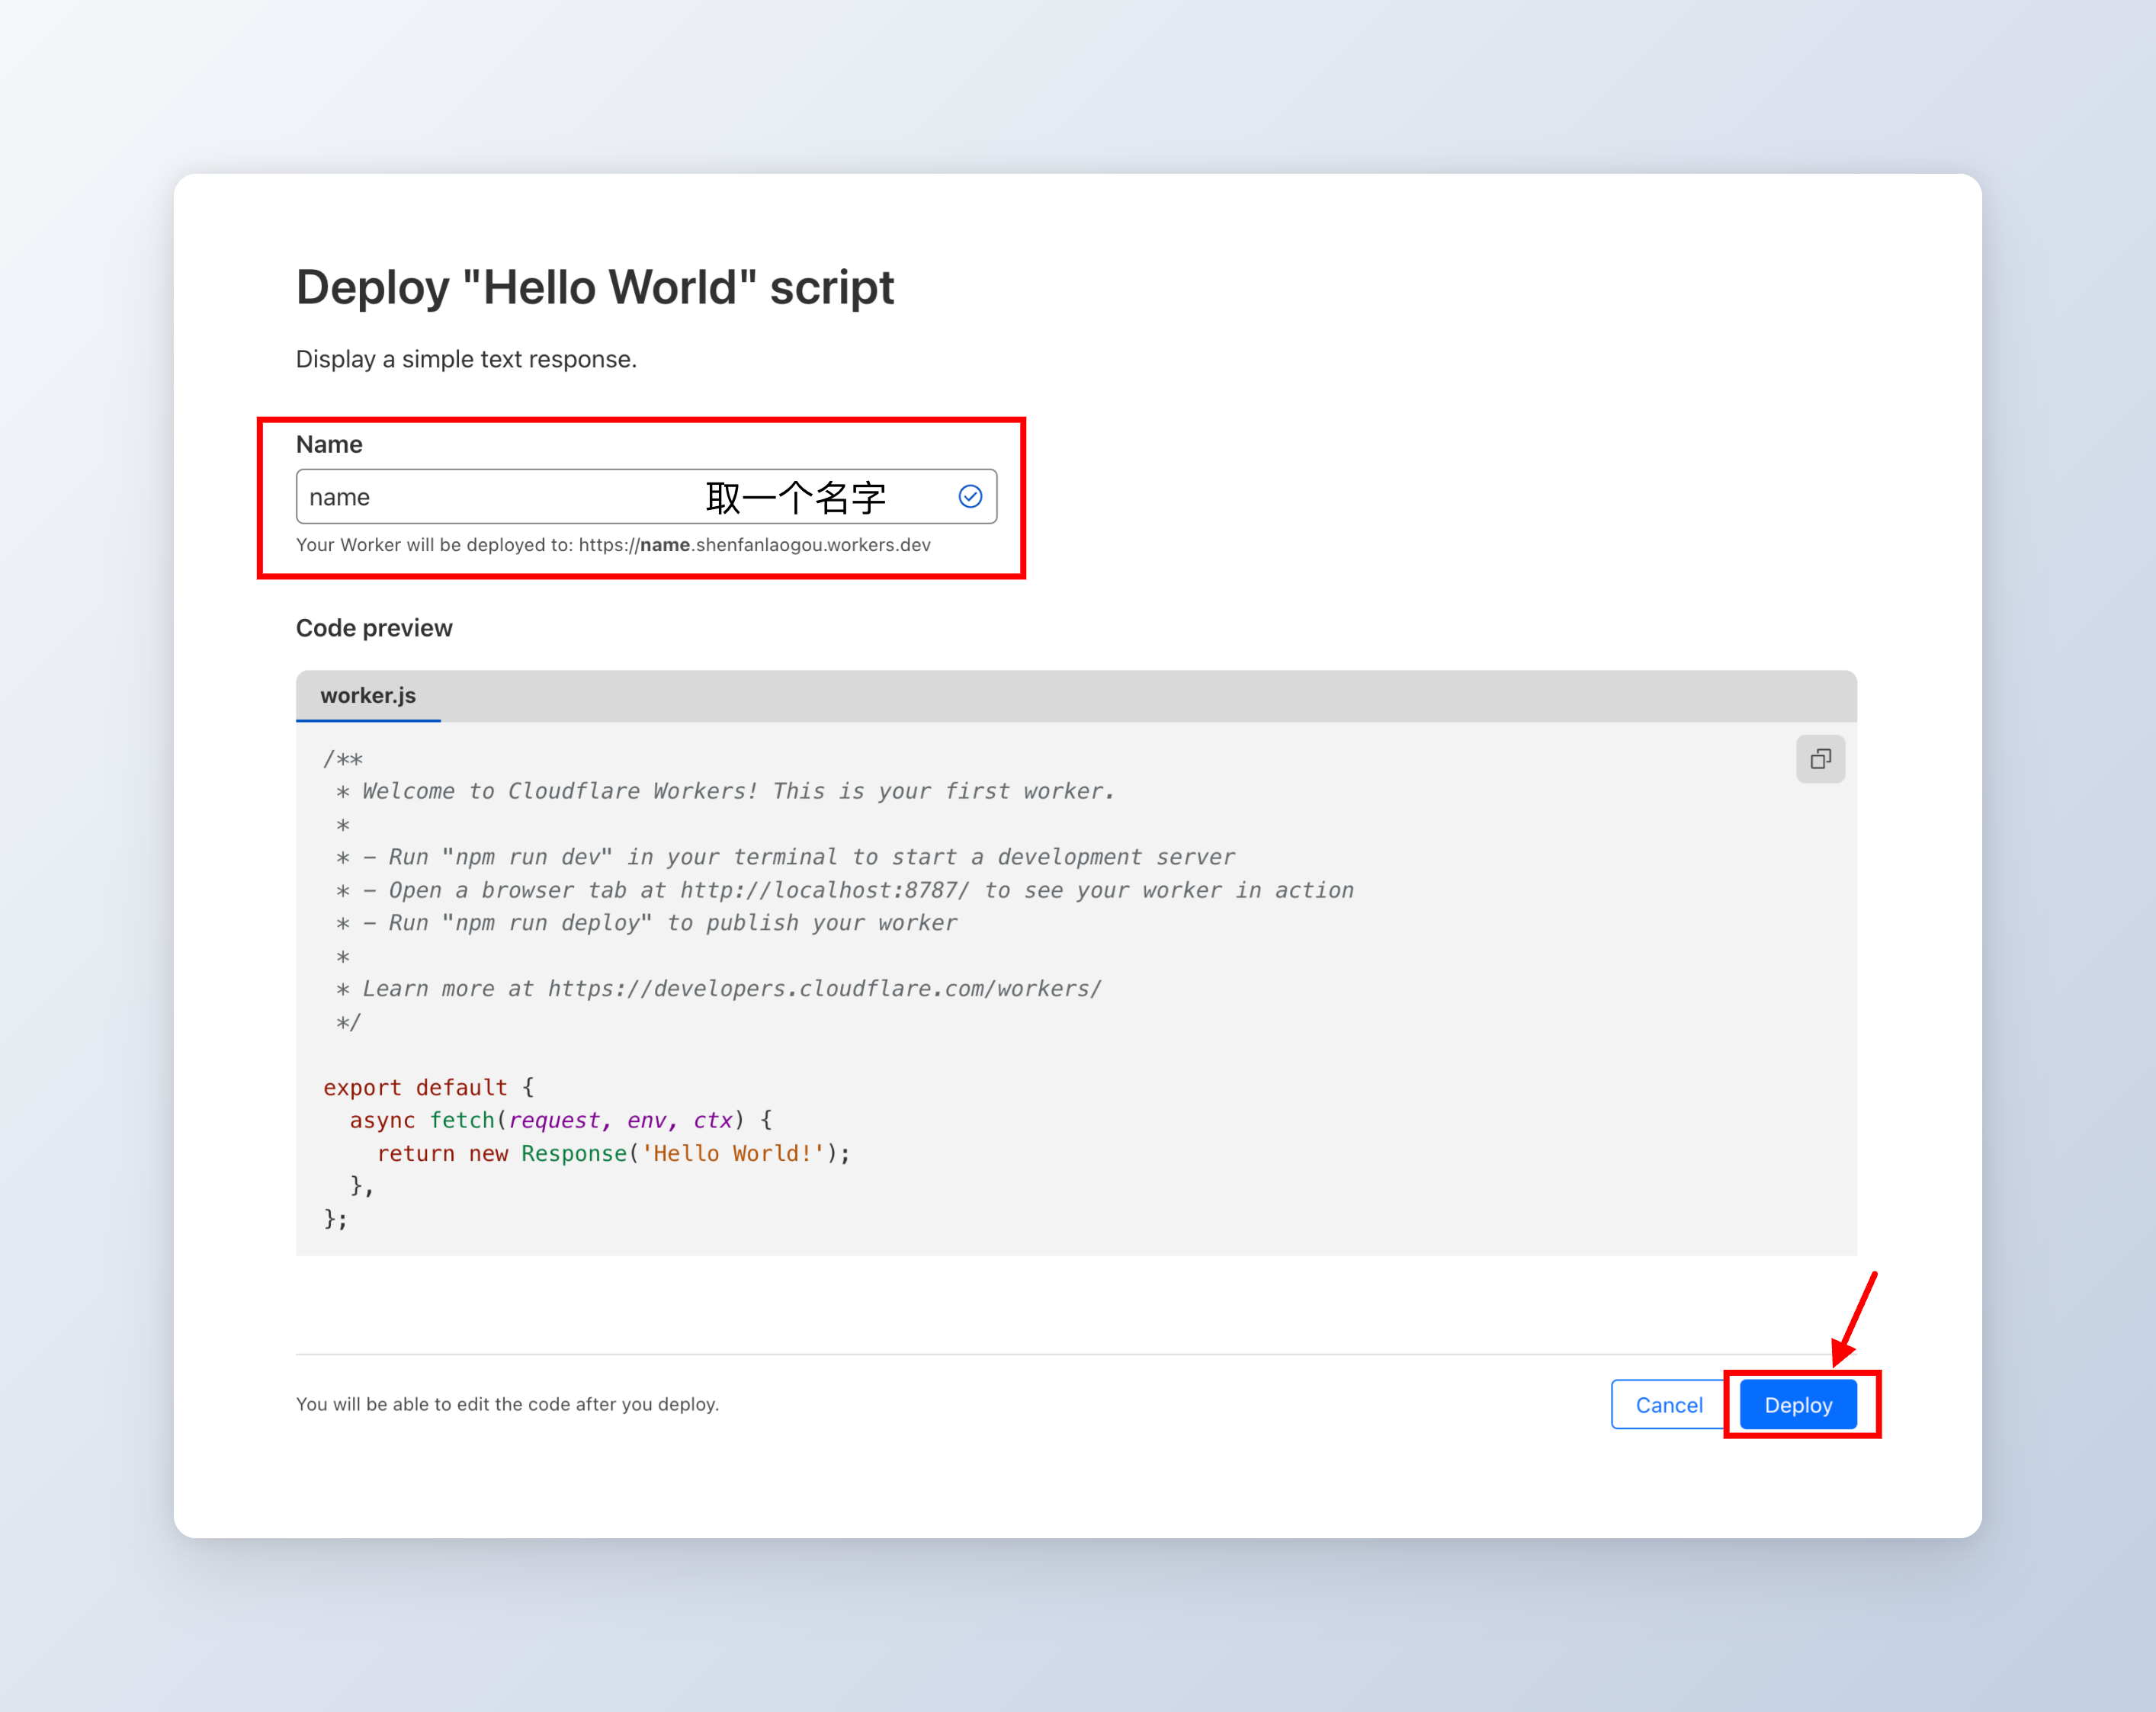
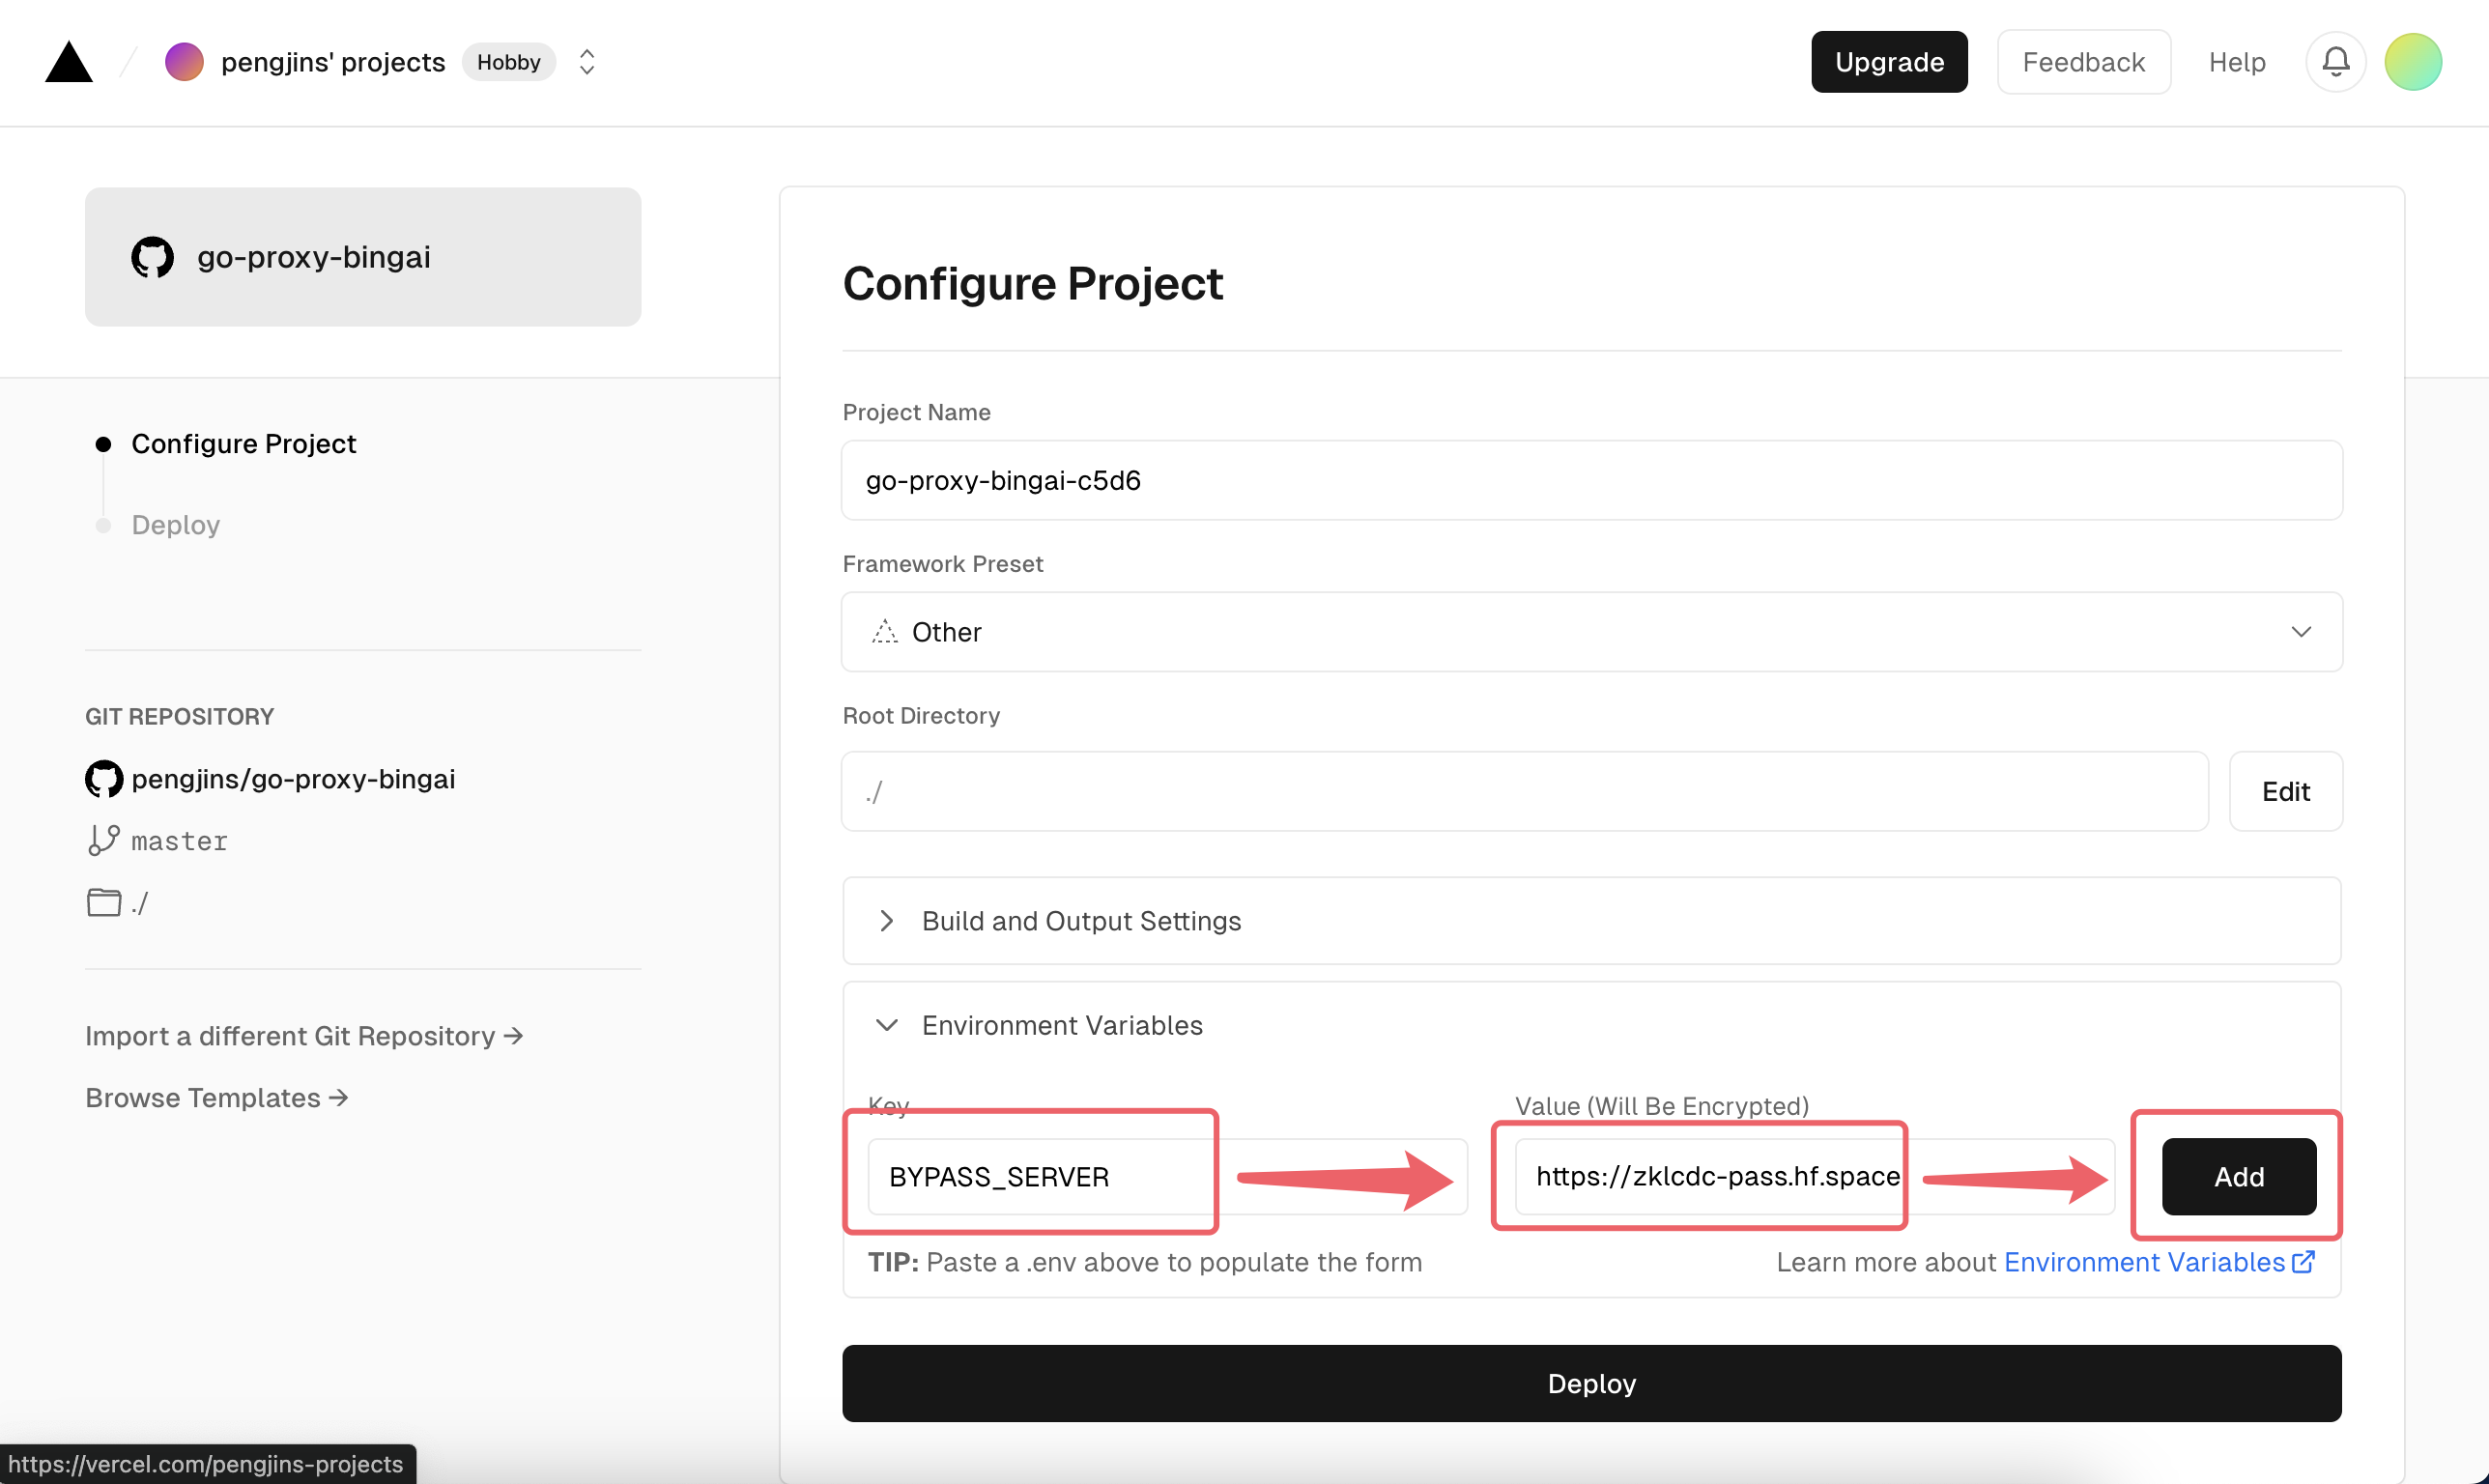
点击按钮一键复制镜像,配置THEME(界面主题,如default或berry)和SQL_DSN(数据库连接)。我会在下面详细列出。
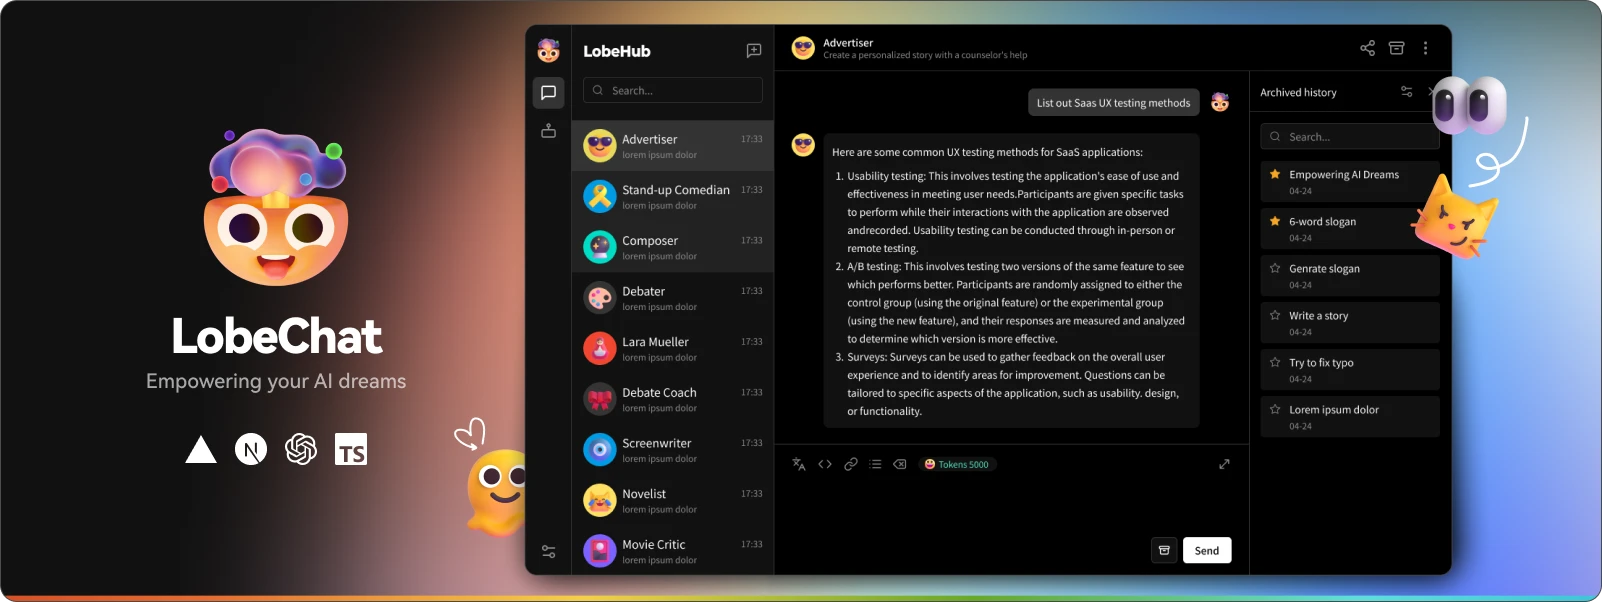
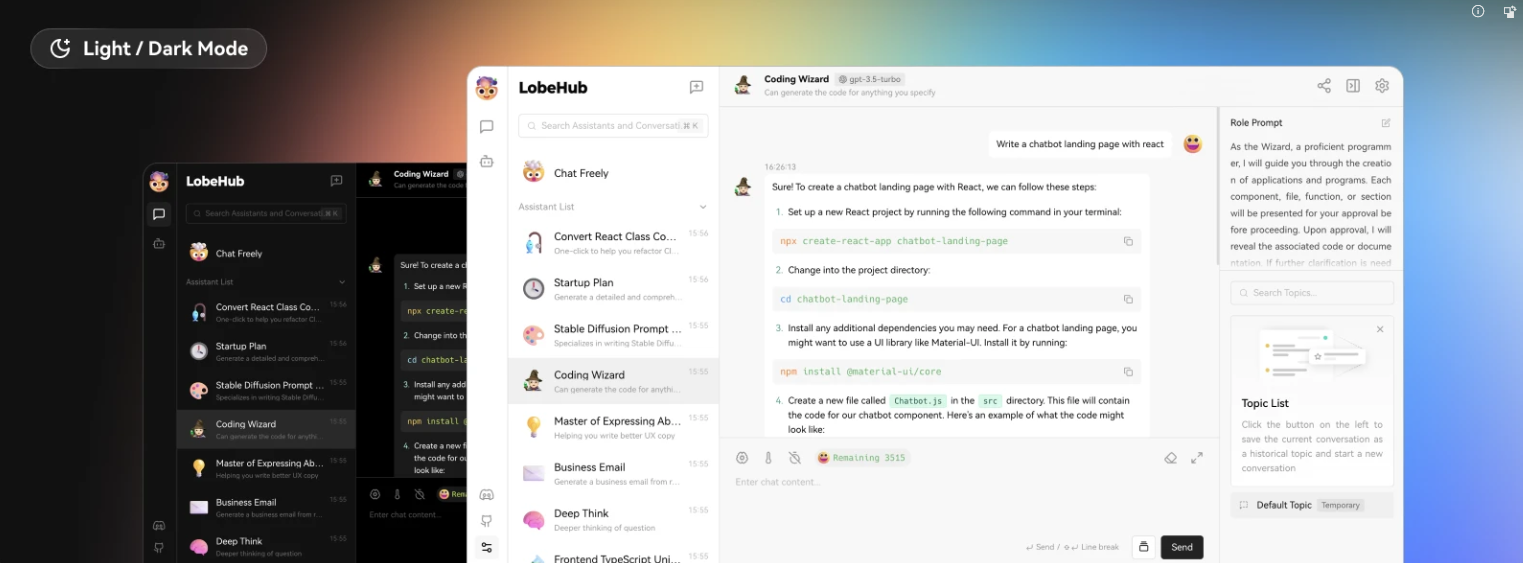
不同主题的效果如下,按照自己喜好挑选。
默认主题

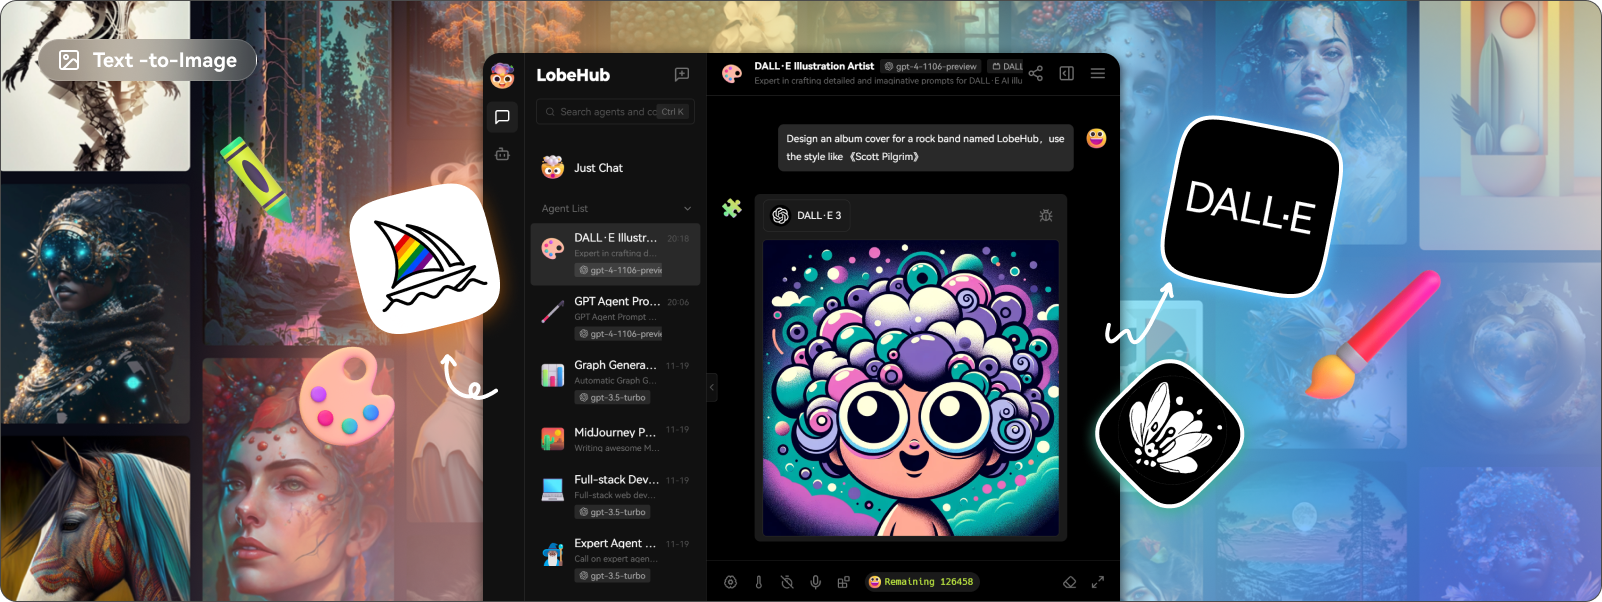
berry 主题
- 数据库配置
使用如 aiven 或~~ Planetscale ~~ 的免费数据库服务,或Render 和 Koyeb 自带的免费的数据库;为项目配置环境变量SQL_DSN:
MySQL 示例: SQL_DSN=root:123456@tcp(localhost:3306)/oneapi
PostgreSQL 示例: SQL_DSN=postgres://postgres:123456@localhost:5432/oneapi
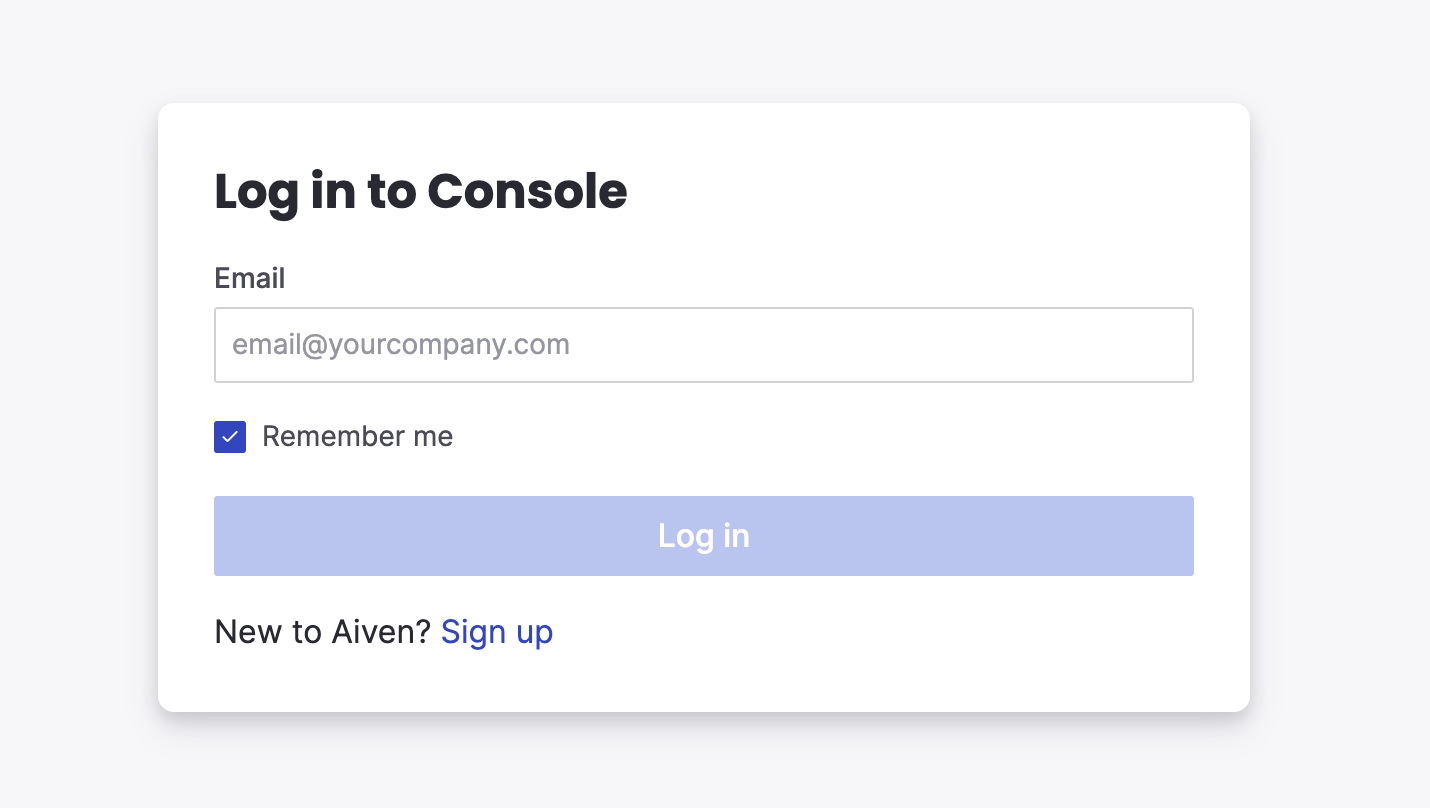
2.1注册登陆我们进入 aiven 平台,注册或登录账号。
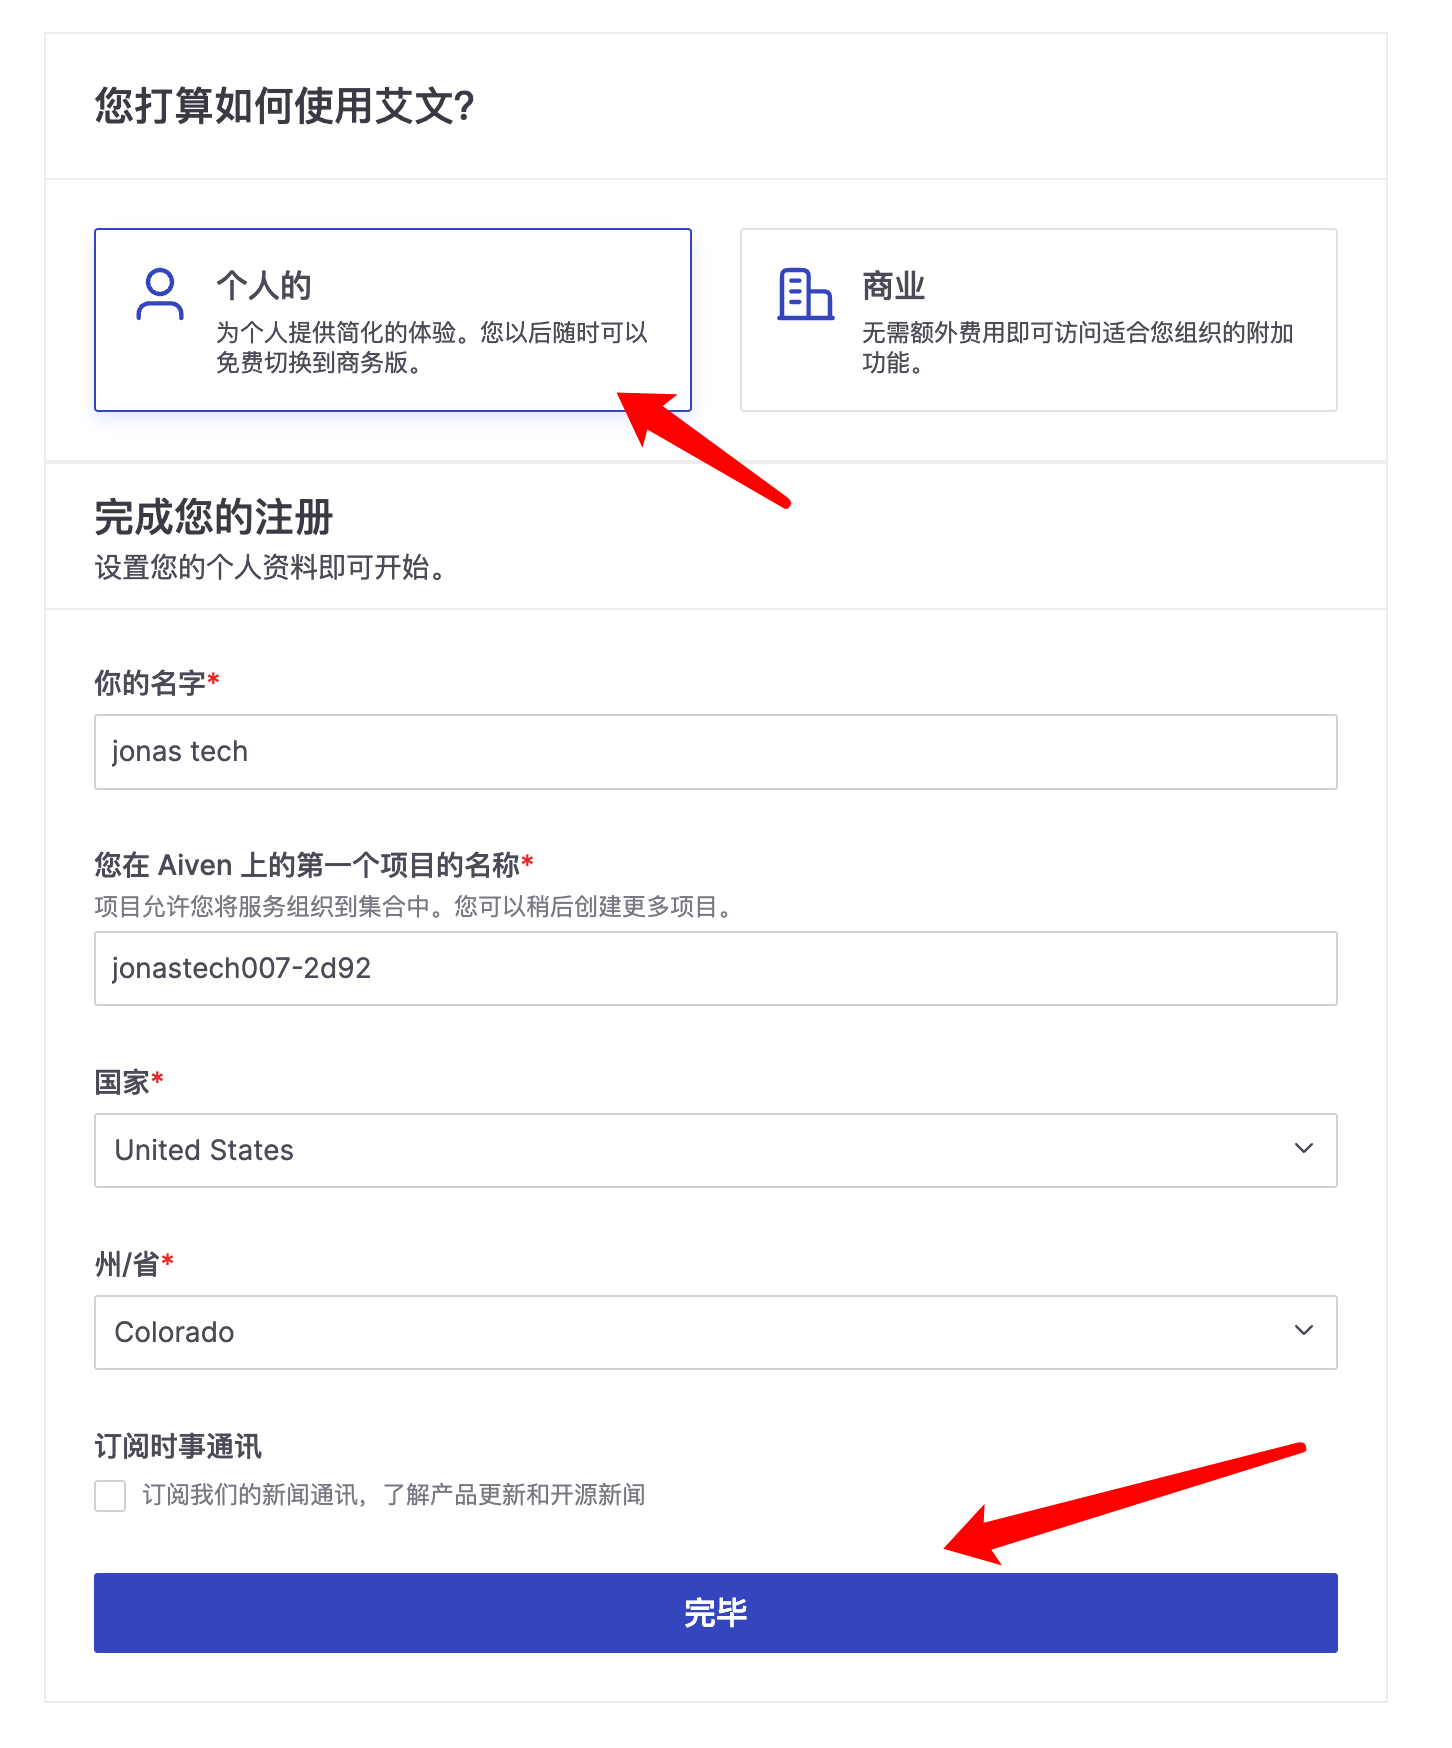
2.2填入信息选择个人服务,填入基本信息。
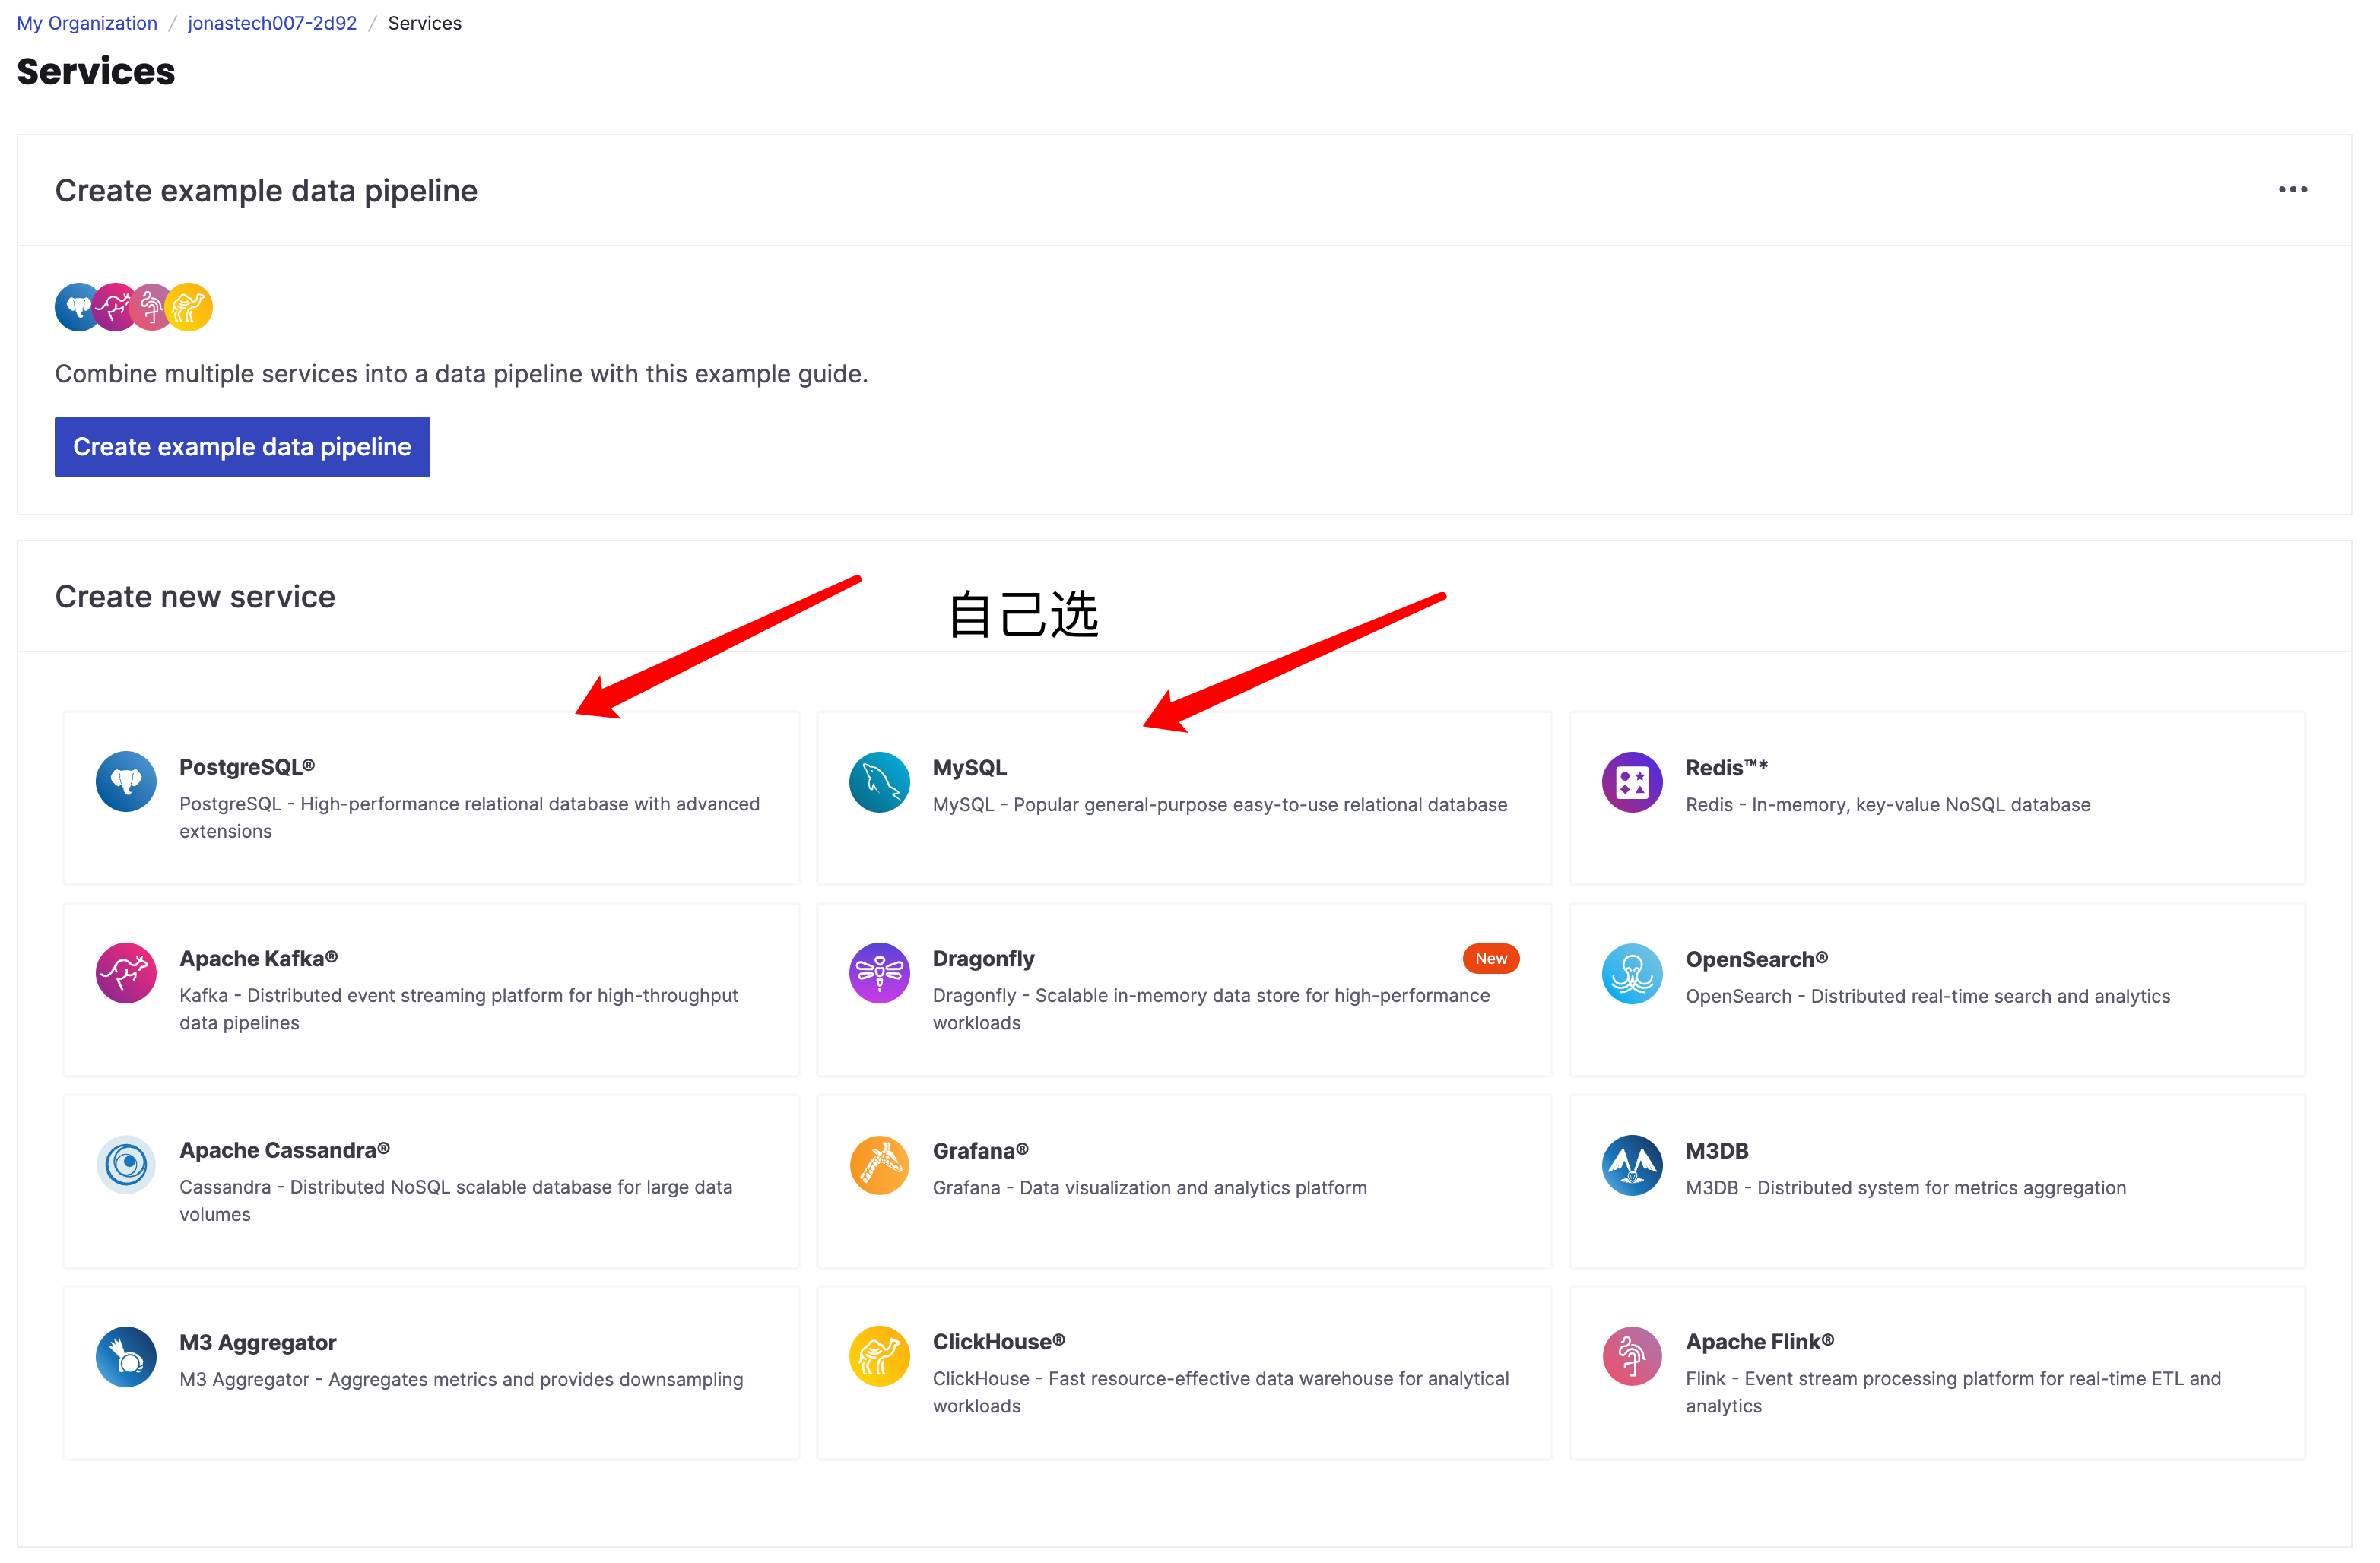
2.3选择数据库选择 MySQL 数据库或 PostgreSQL 数据库。
2.4数据库配置选中免费计划,选择服务地区,最后点击创建。
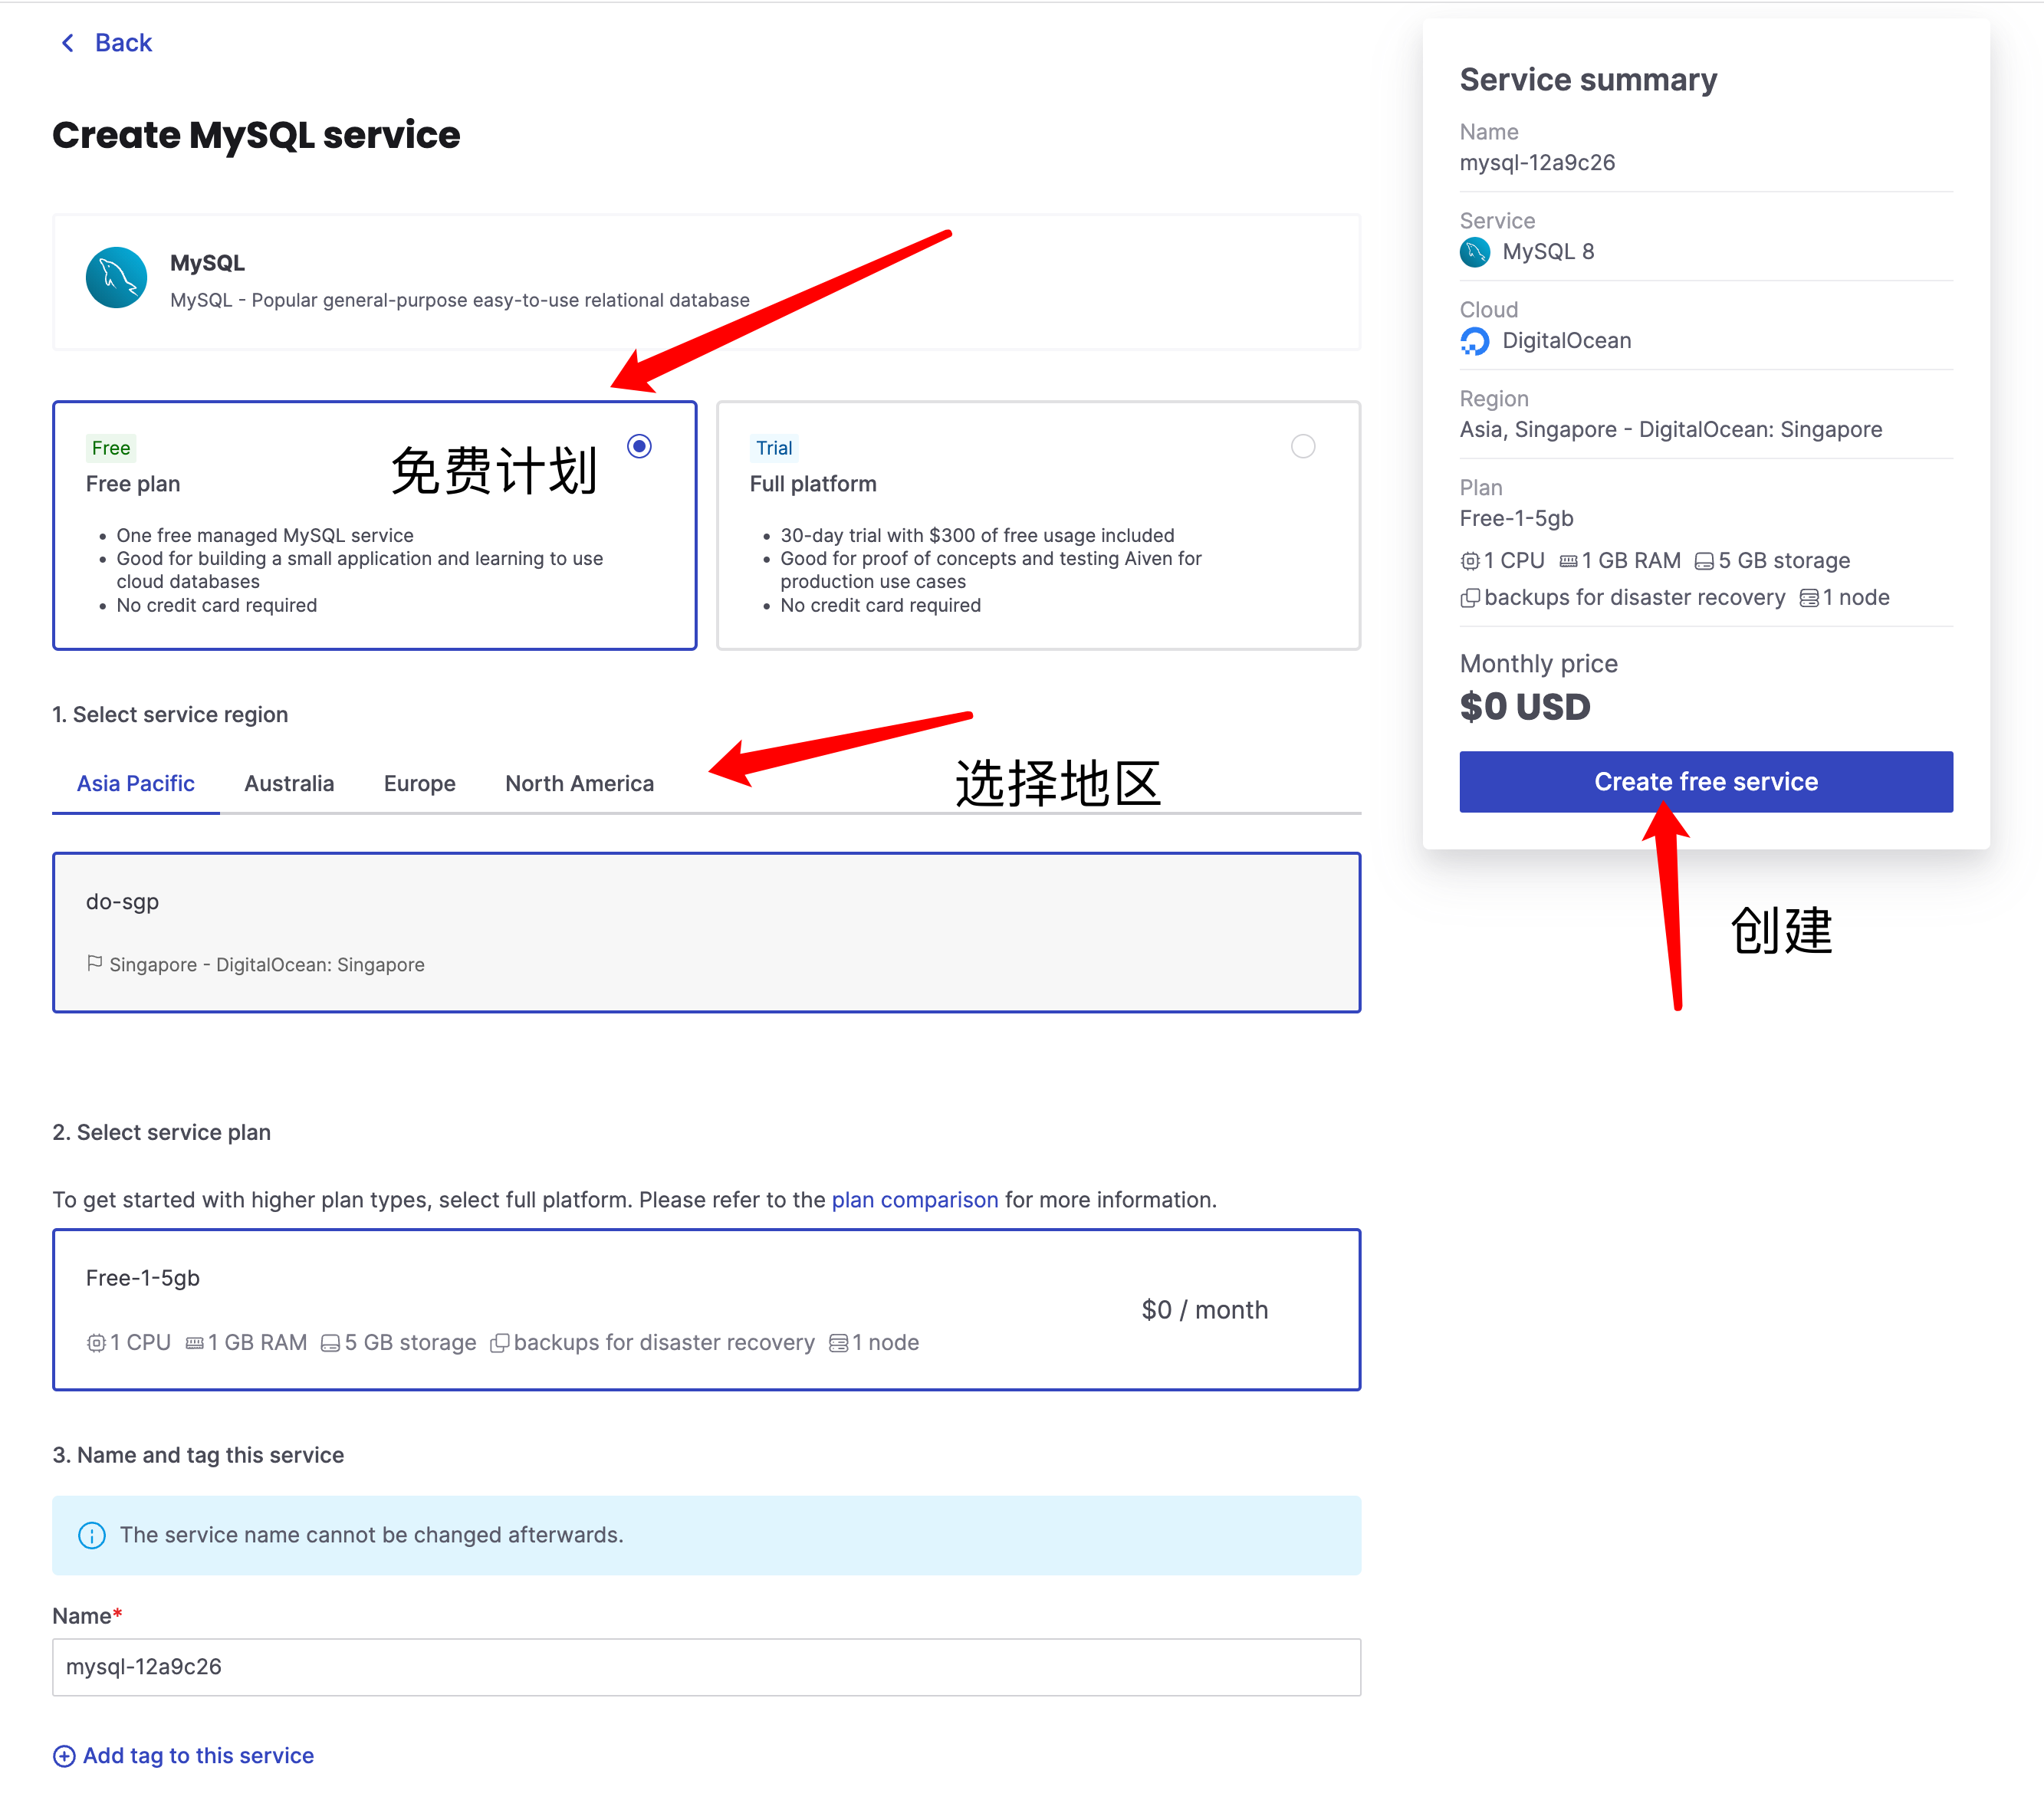
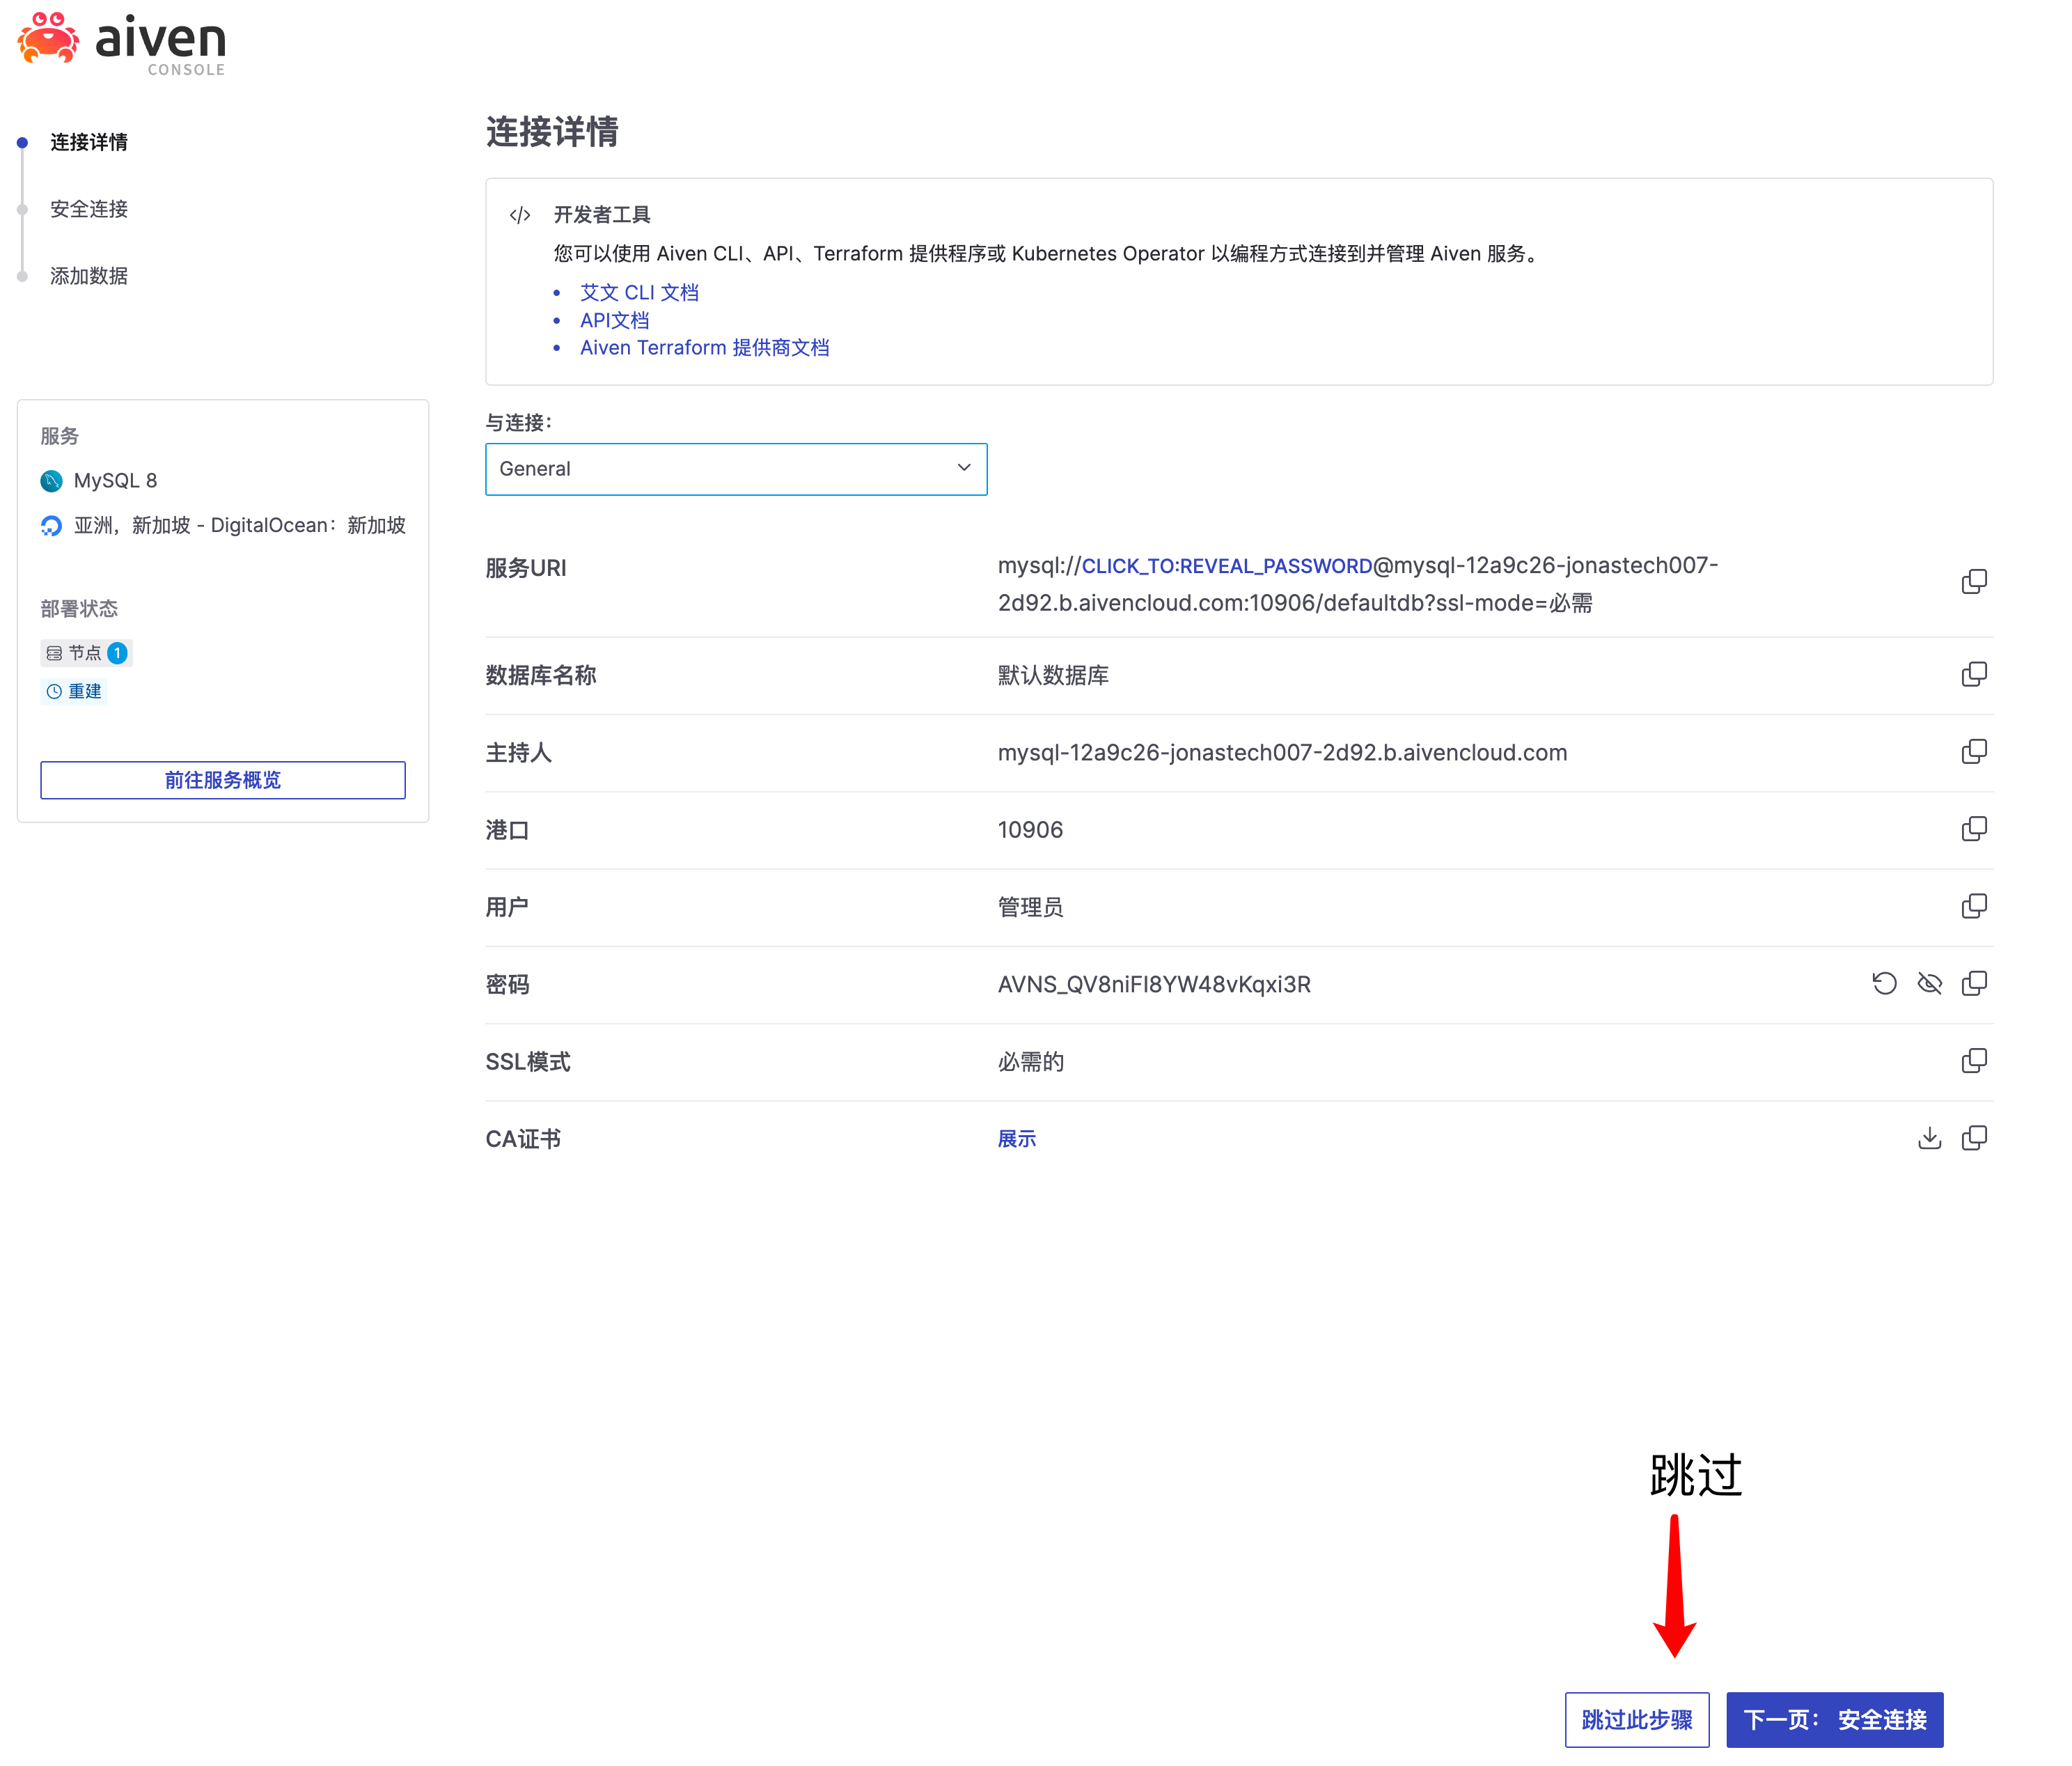
2.5最终配置记下图中的信息,一路点跳过。不记住也没关系,全跳过后我们也能看到它们。
3.填写变量
根据图中的数据库信息我们得到了这个:
服务 URI:
mysql://CLICK_TO:REVEAL_PASSWORD@mysql-12a9c26-jonastech007-2d92.b.aivencloud.com:10906/defaultdb?ssl-mode=必需
Host:
mysql-12a9c26-jonastech007-2d92.b.aivencloud.com
Port:
10906
用户:
avnadmin
密码:
AVNS_QV8niFI8YW48vKqxi3R
我们的链接地址应该是这样写:用户名:密码@tcp(Host:Port)/数据库名称
最终我们得到了avnadmin:AVNS_QV8niFI8YW48vKqxi3R@tcp(mysql-12a9c26-jonastech007-2d92.b.aivencloud.com:10906)/defaultdb
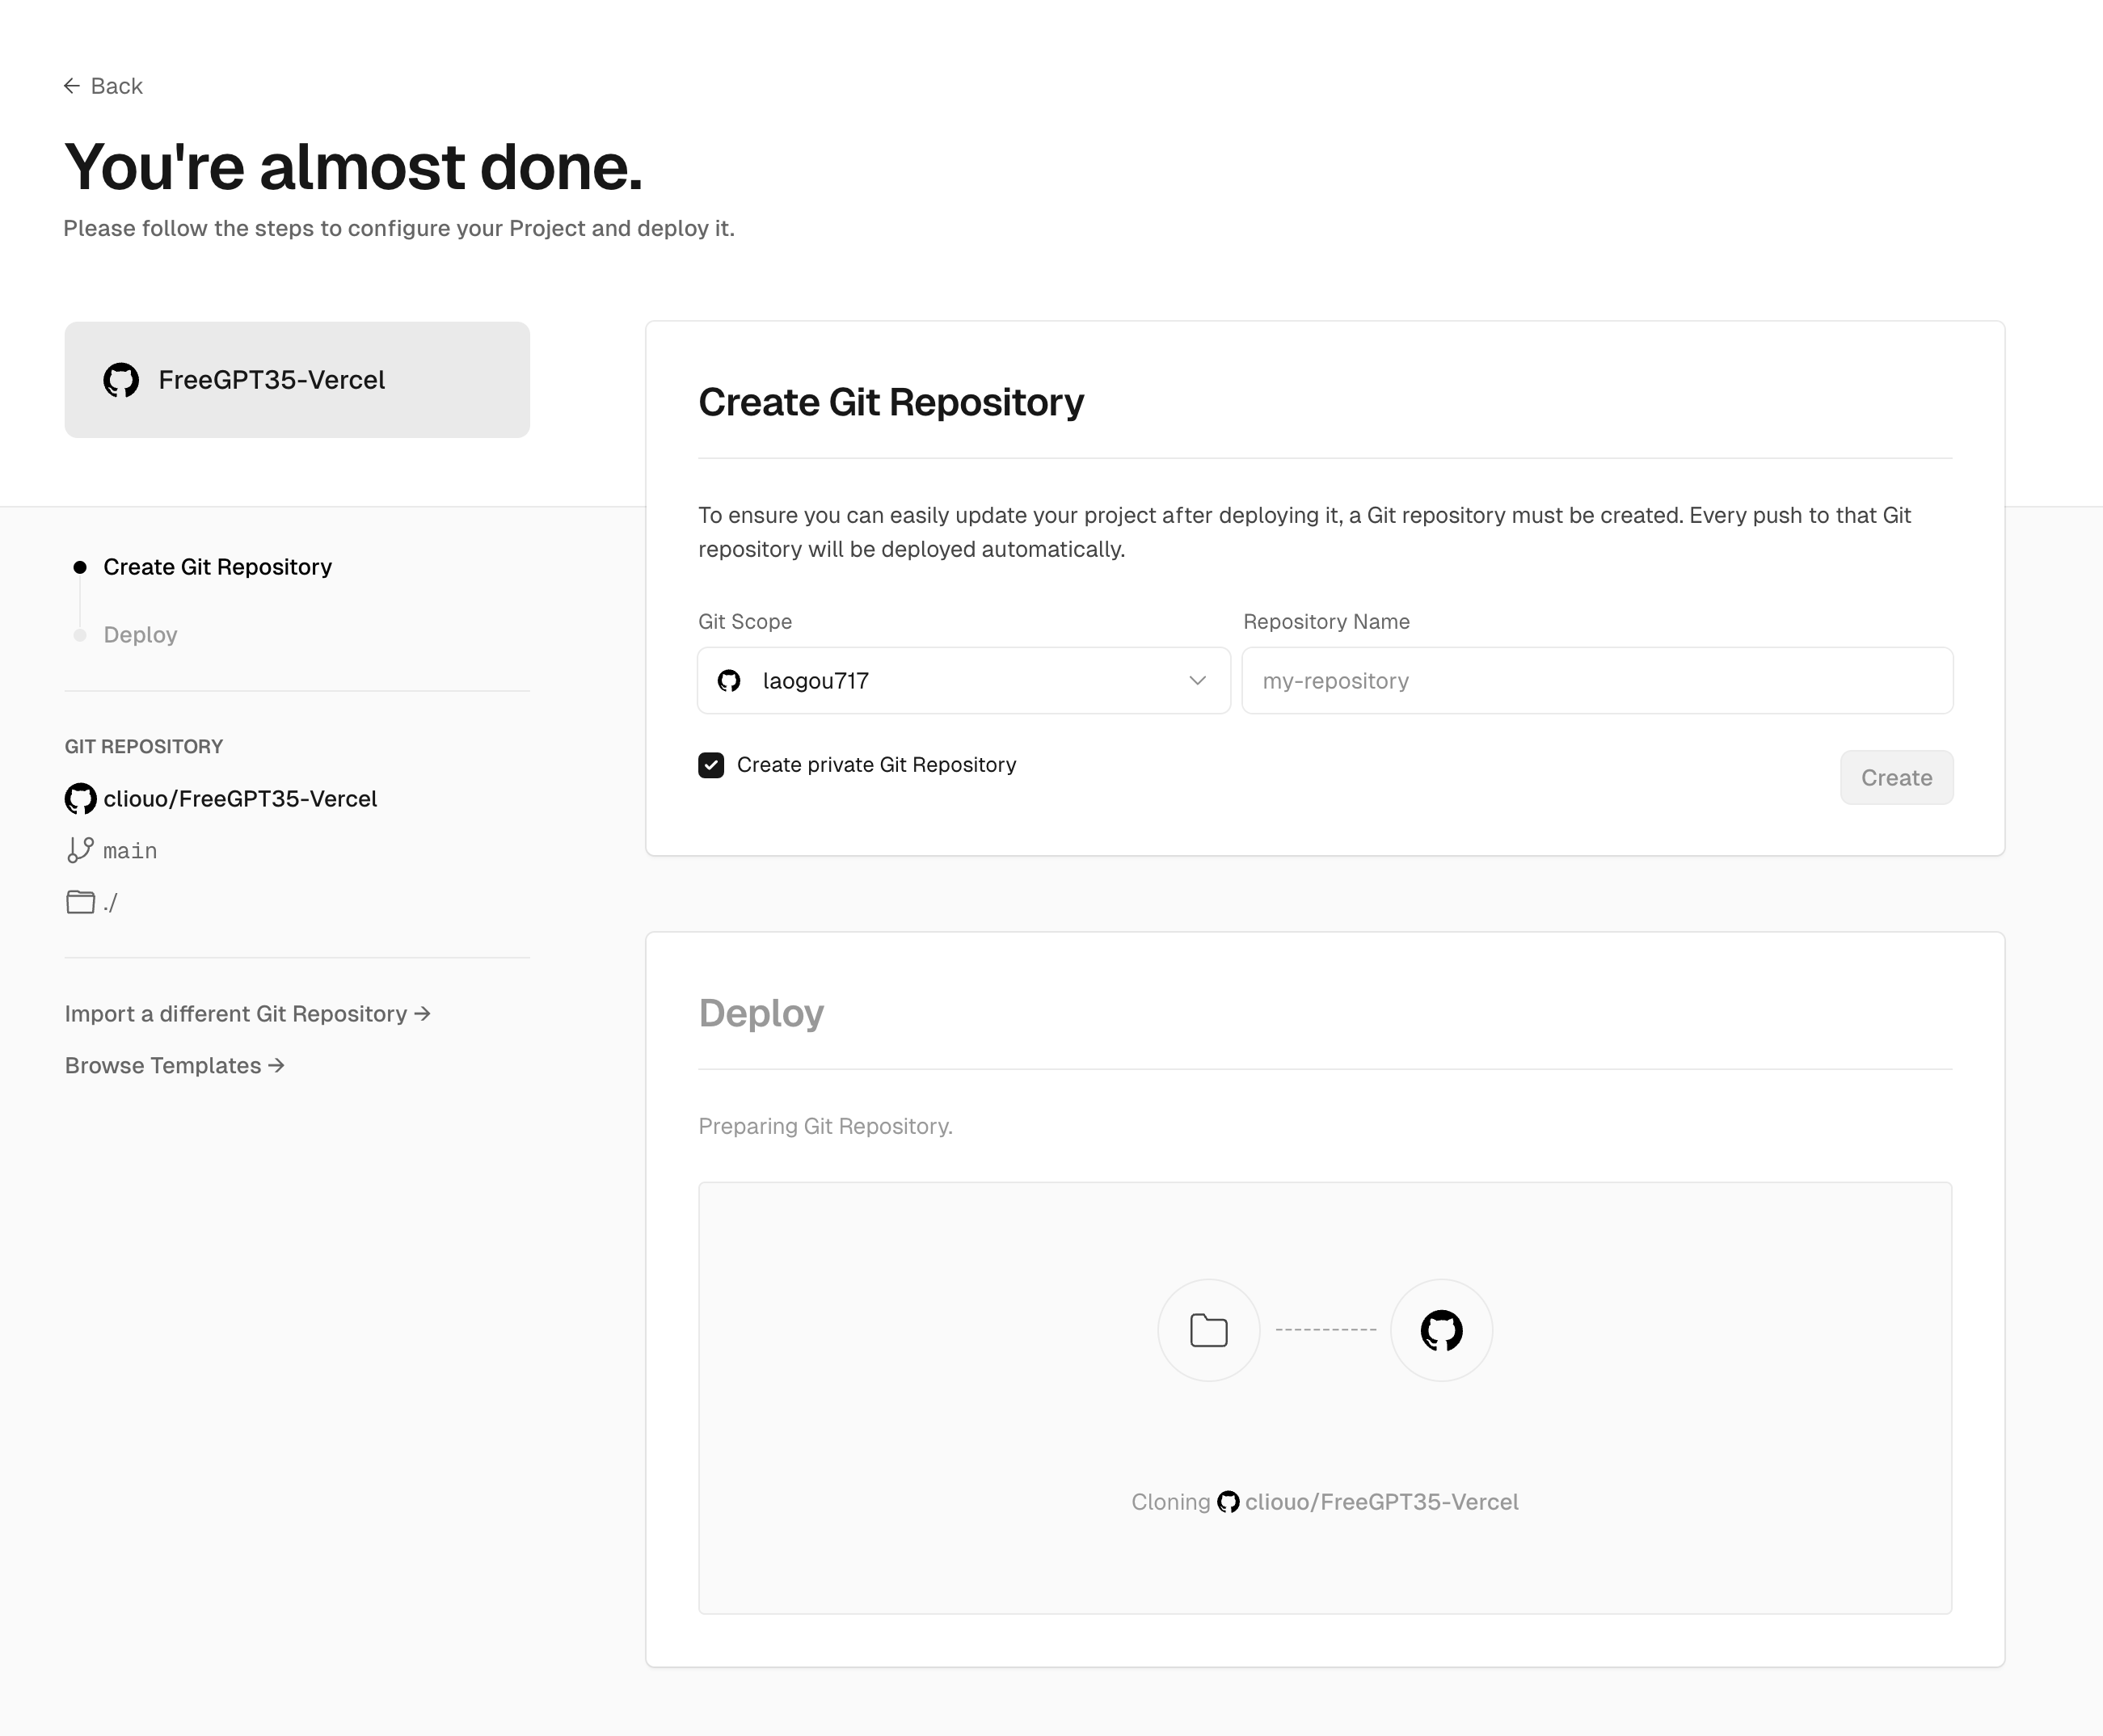
把这个链接填入到变量中去,最后点击复制到空间 Duplicate Space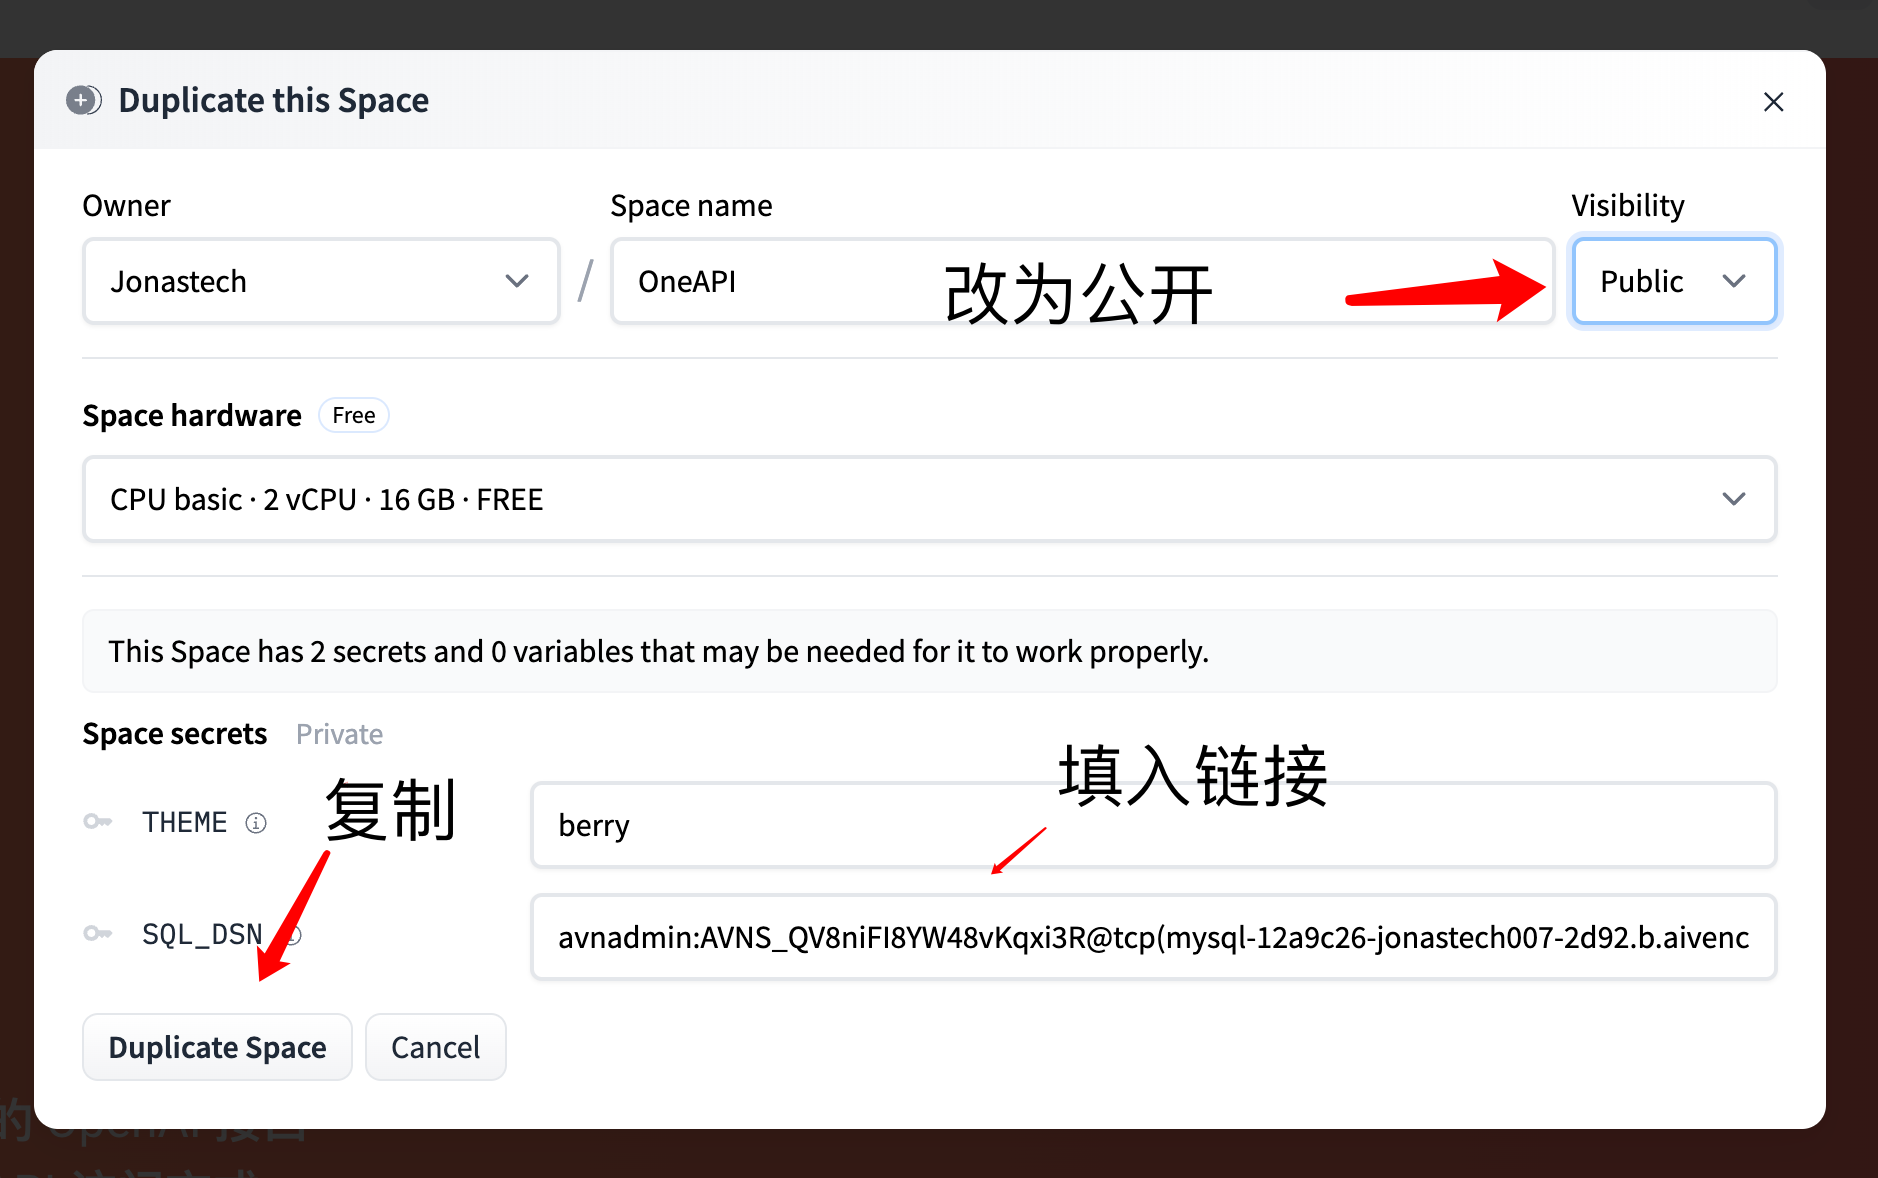

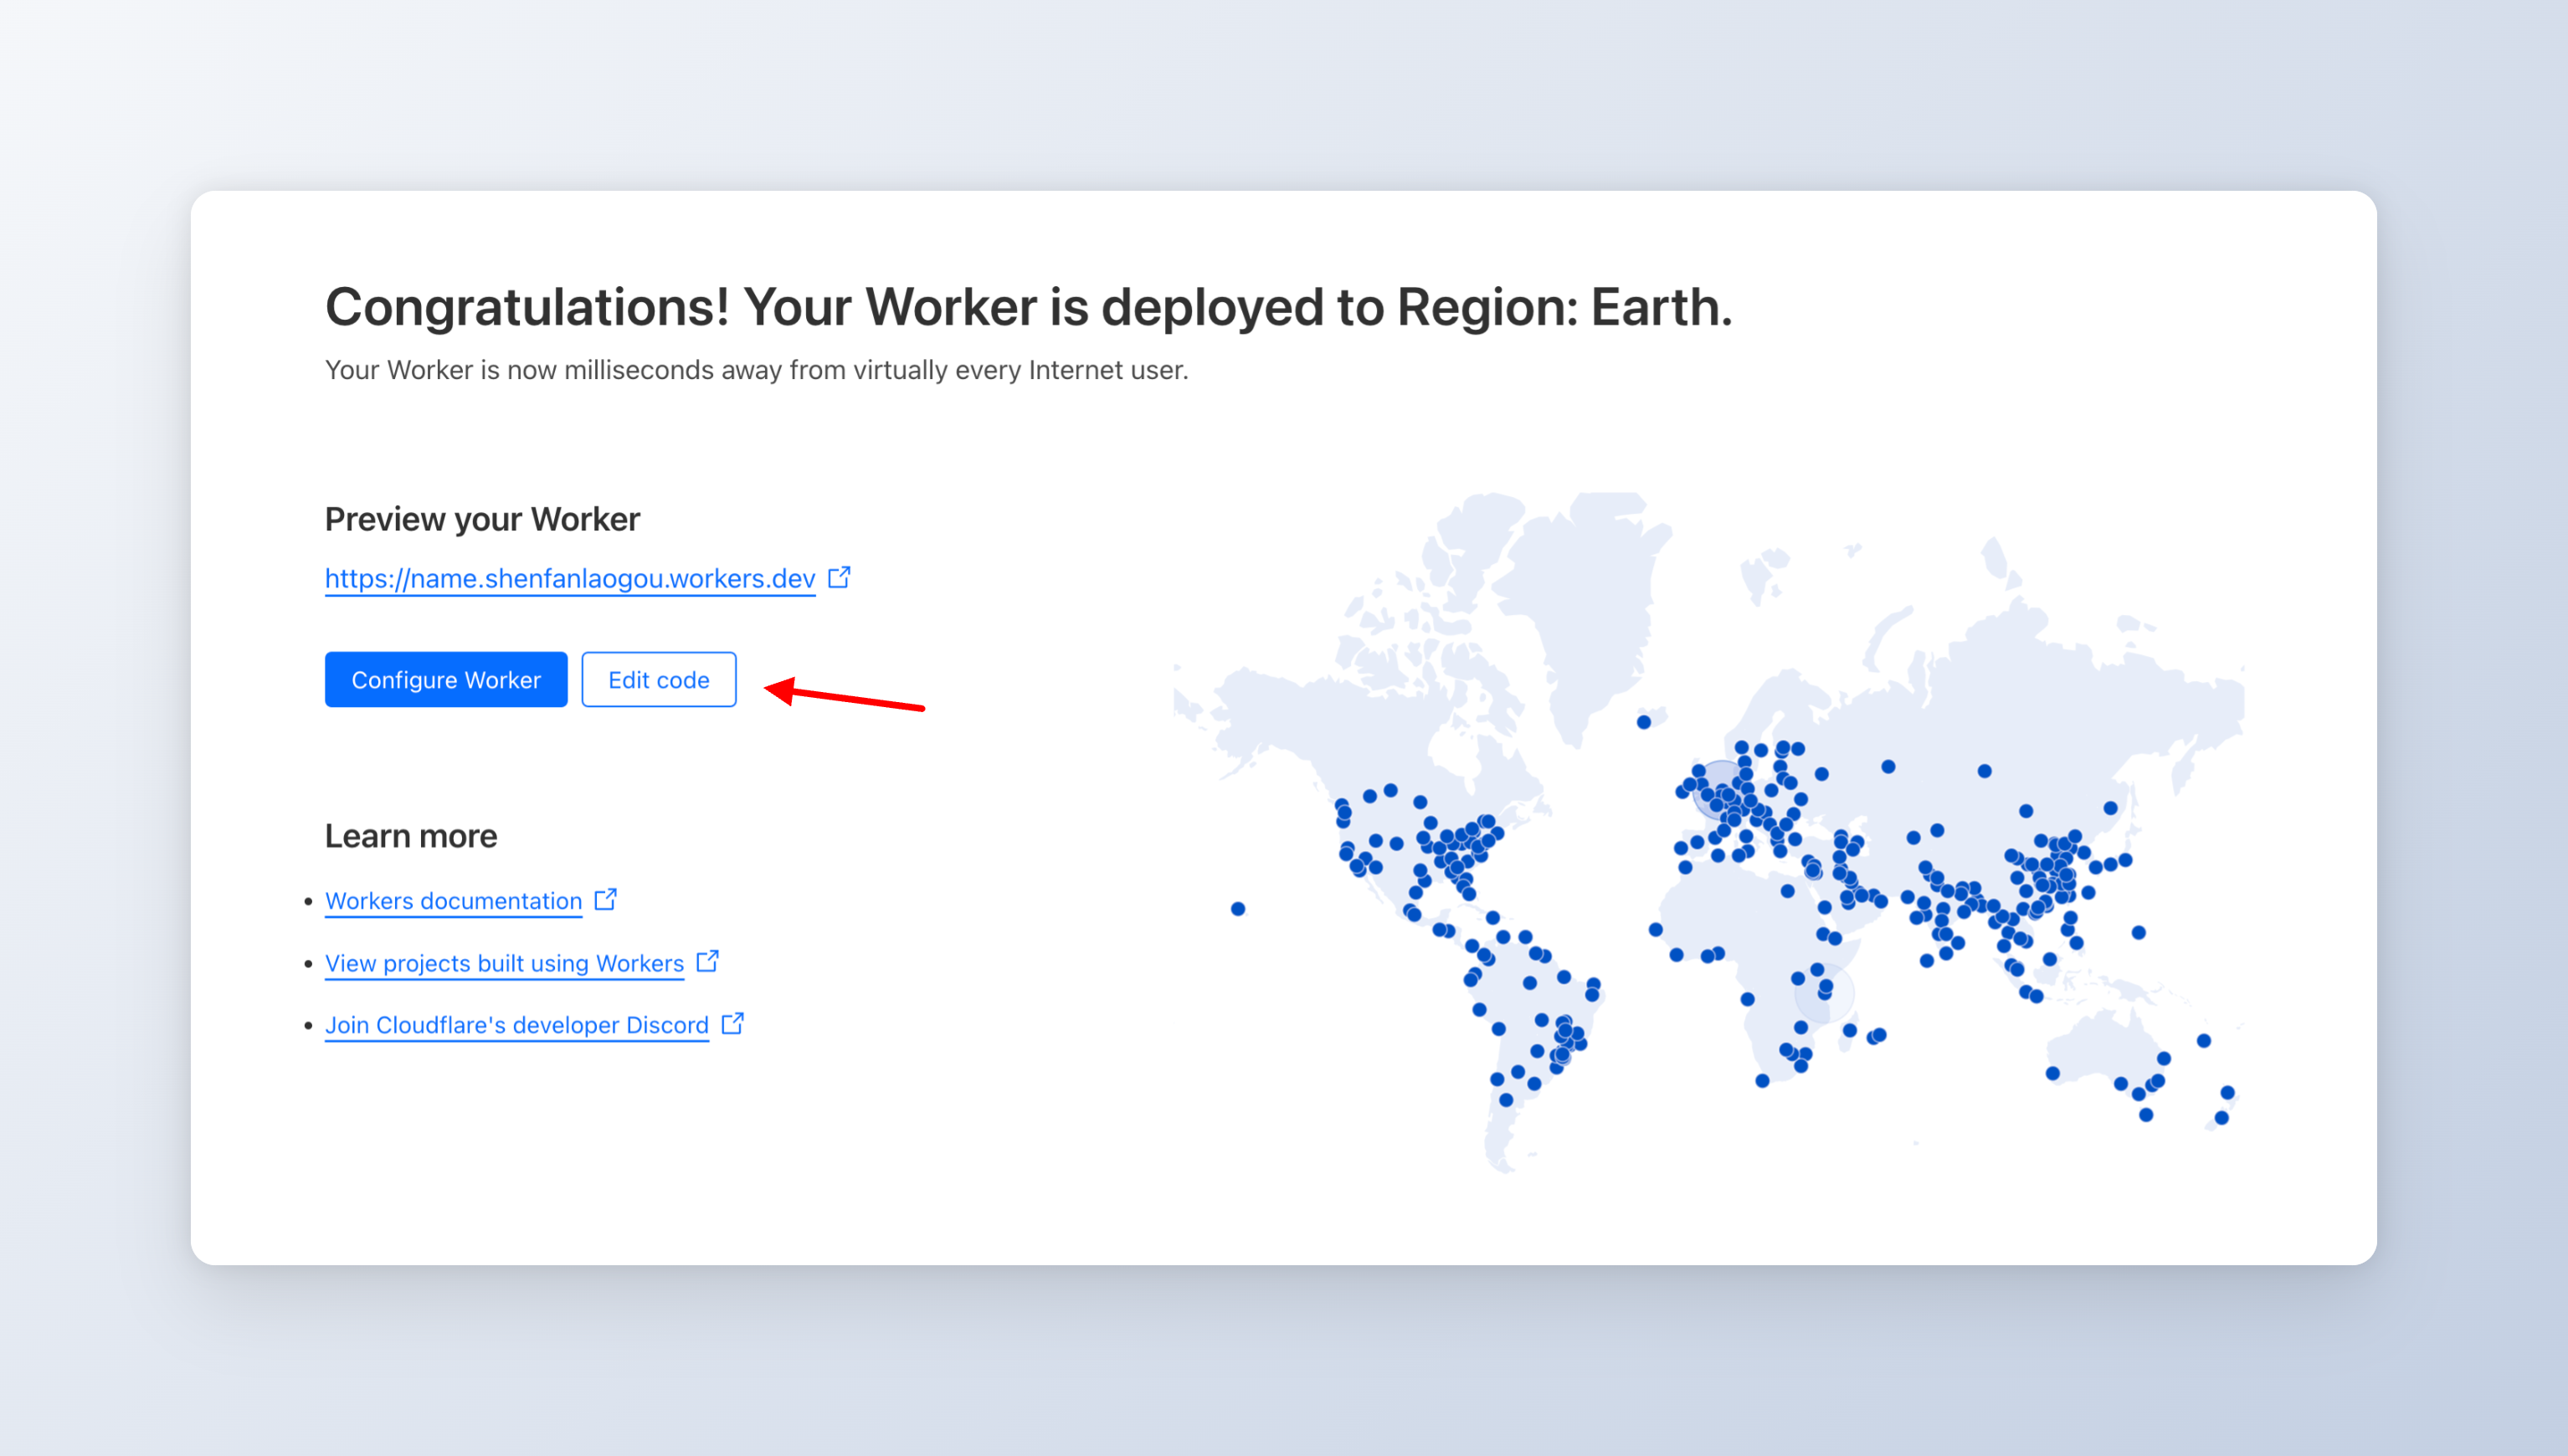
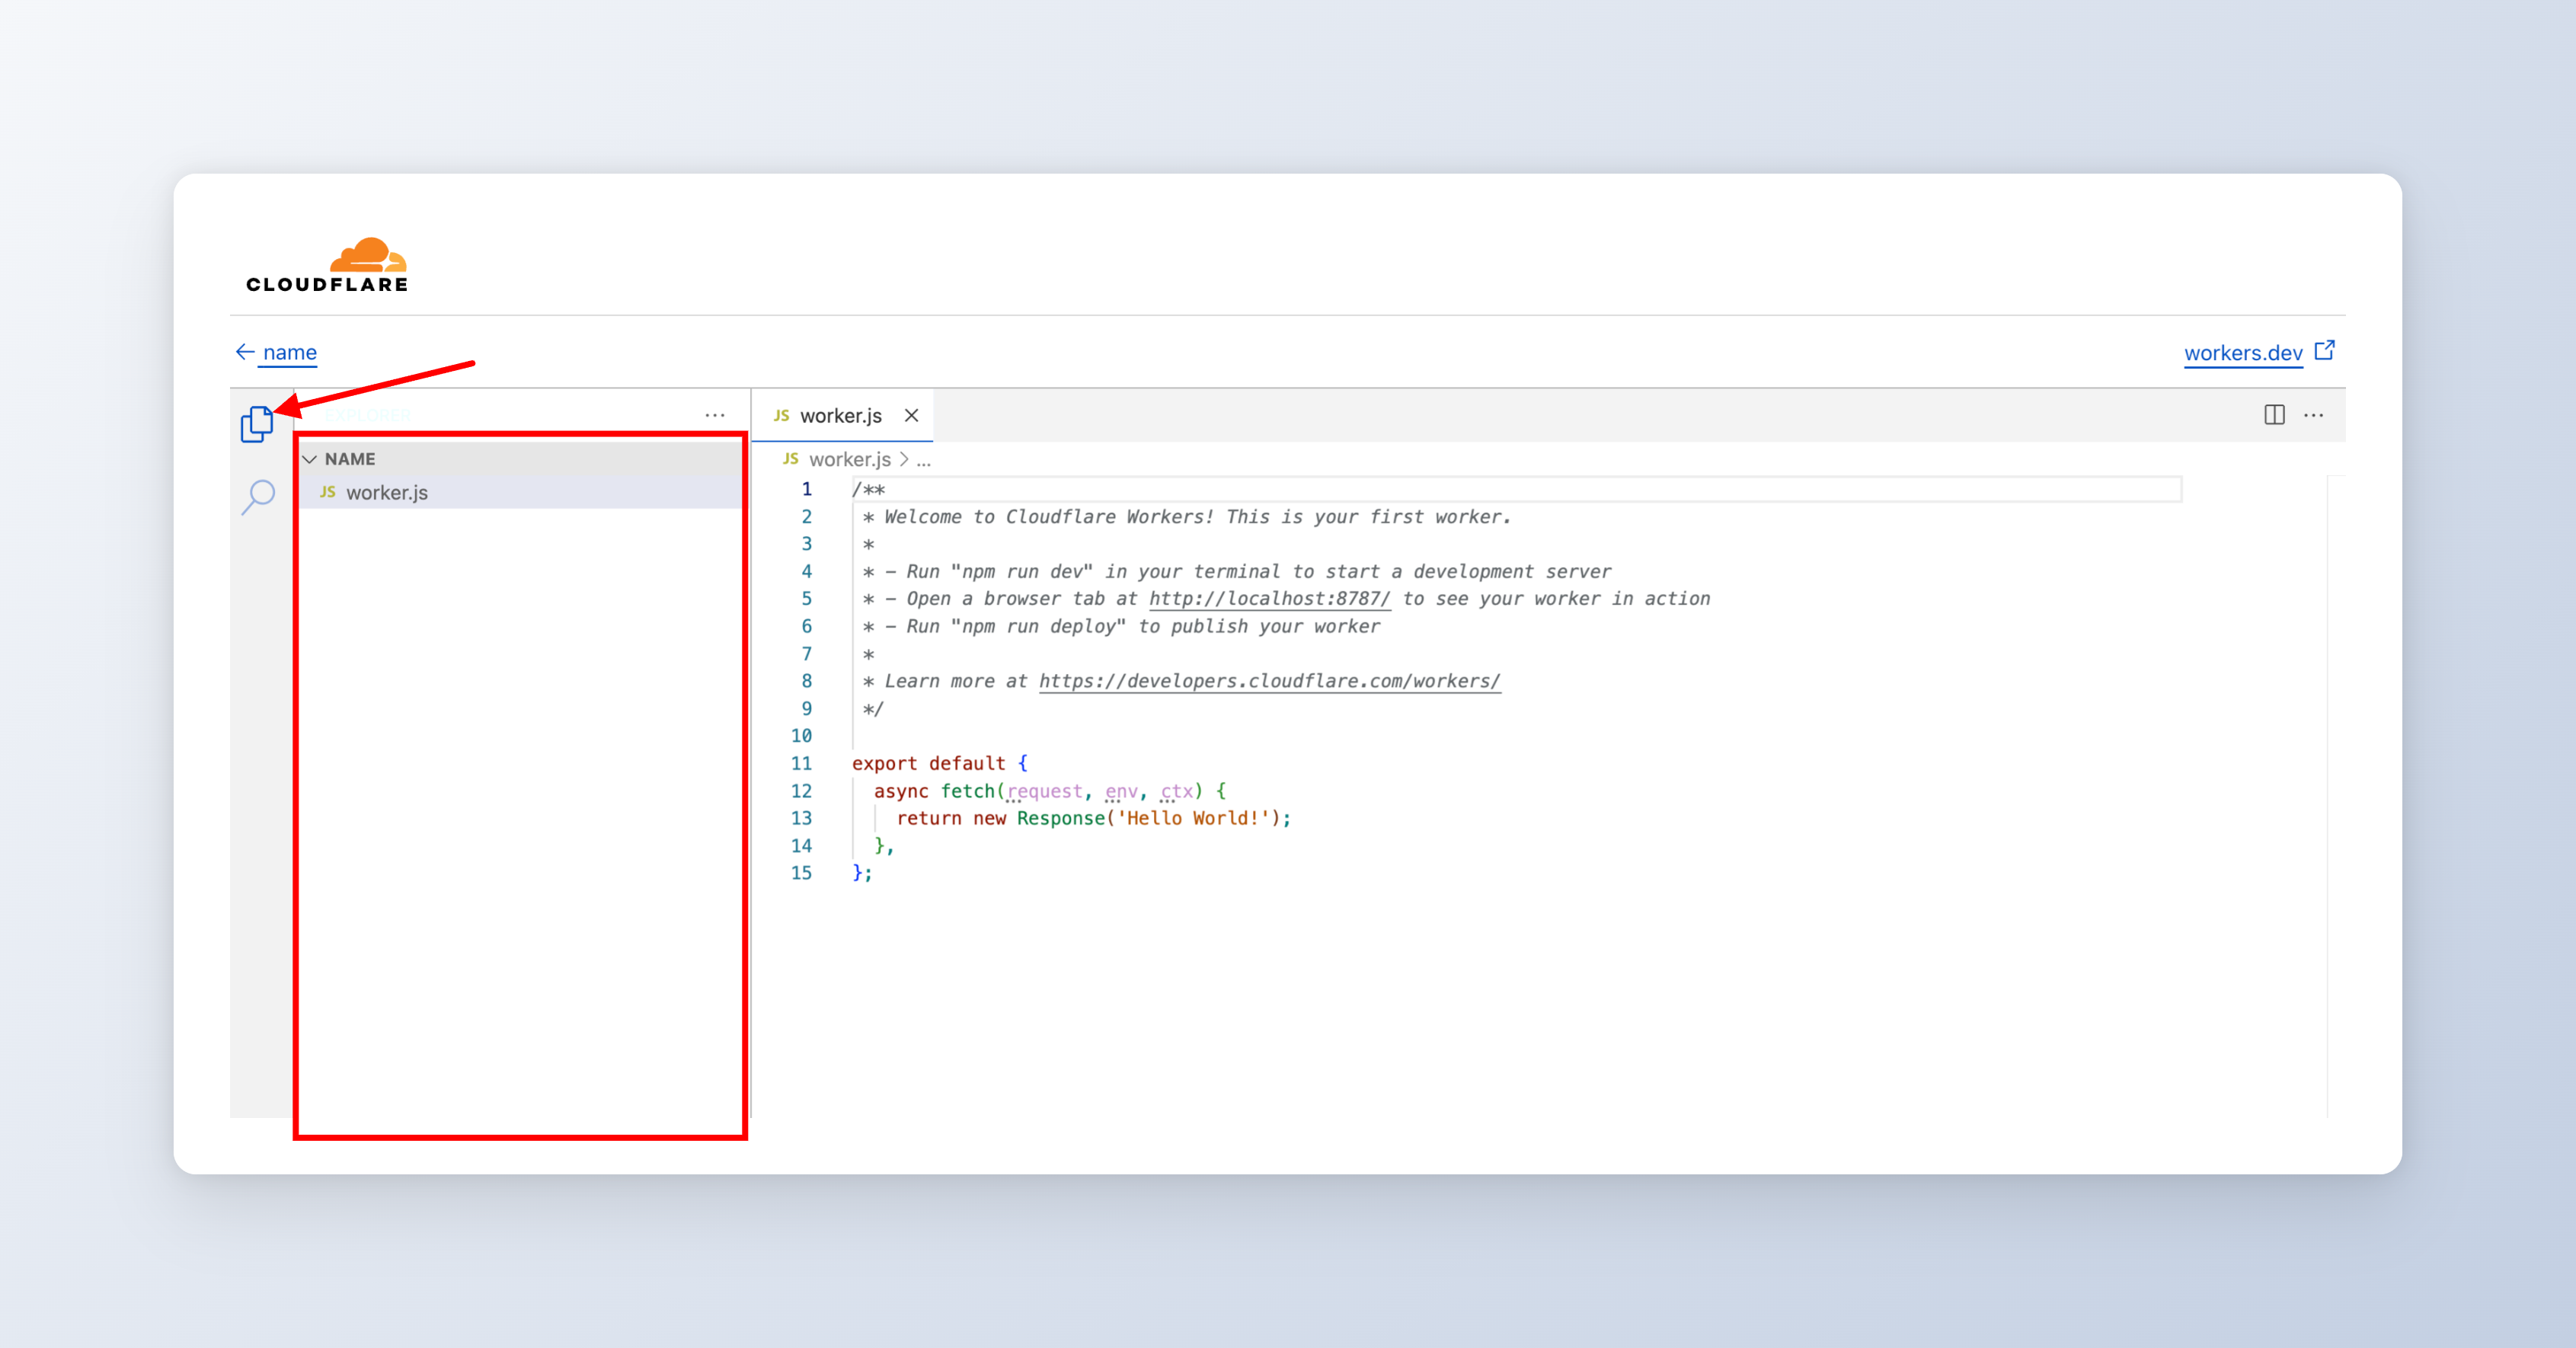
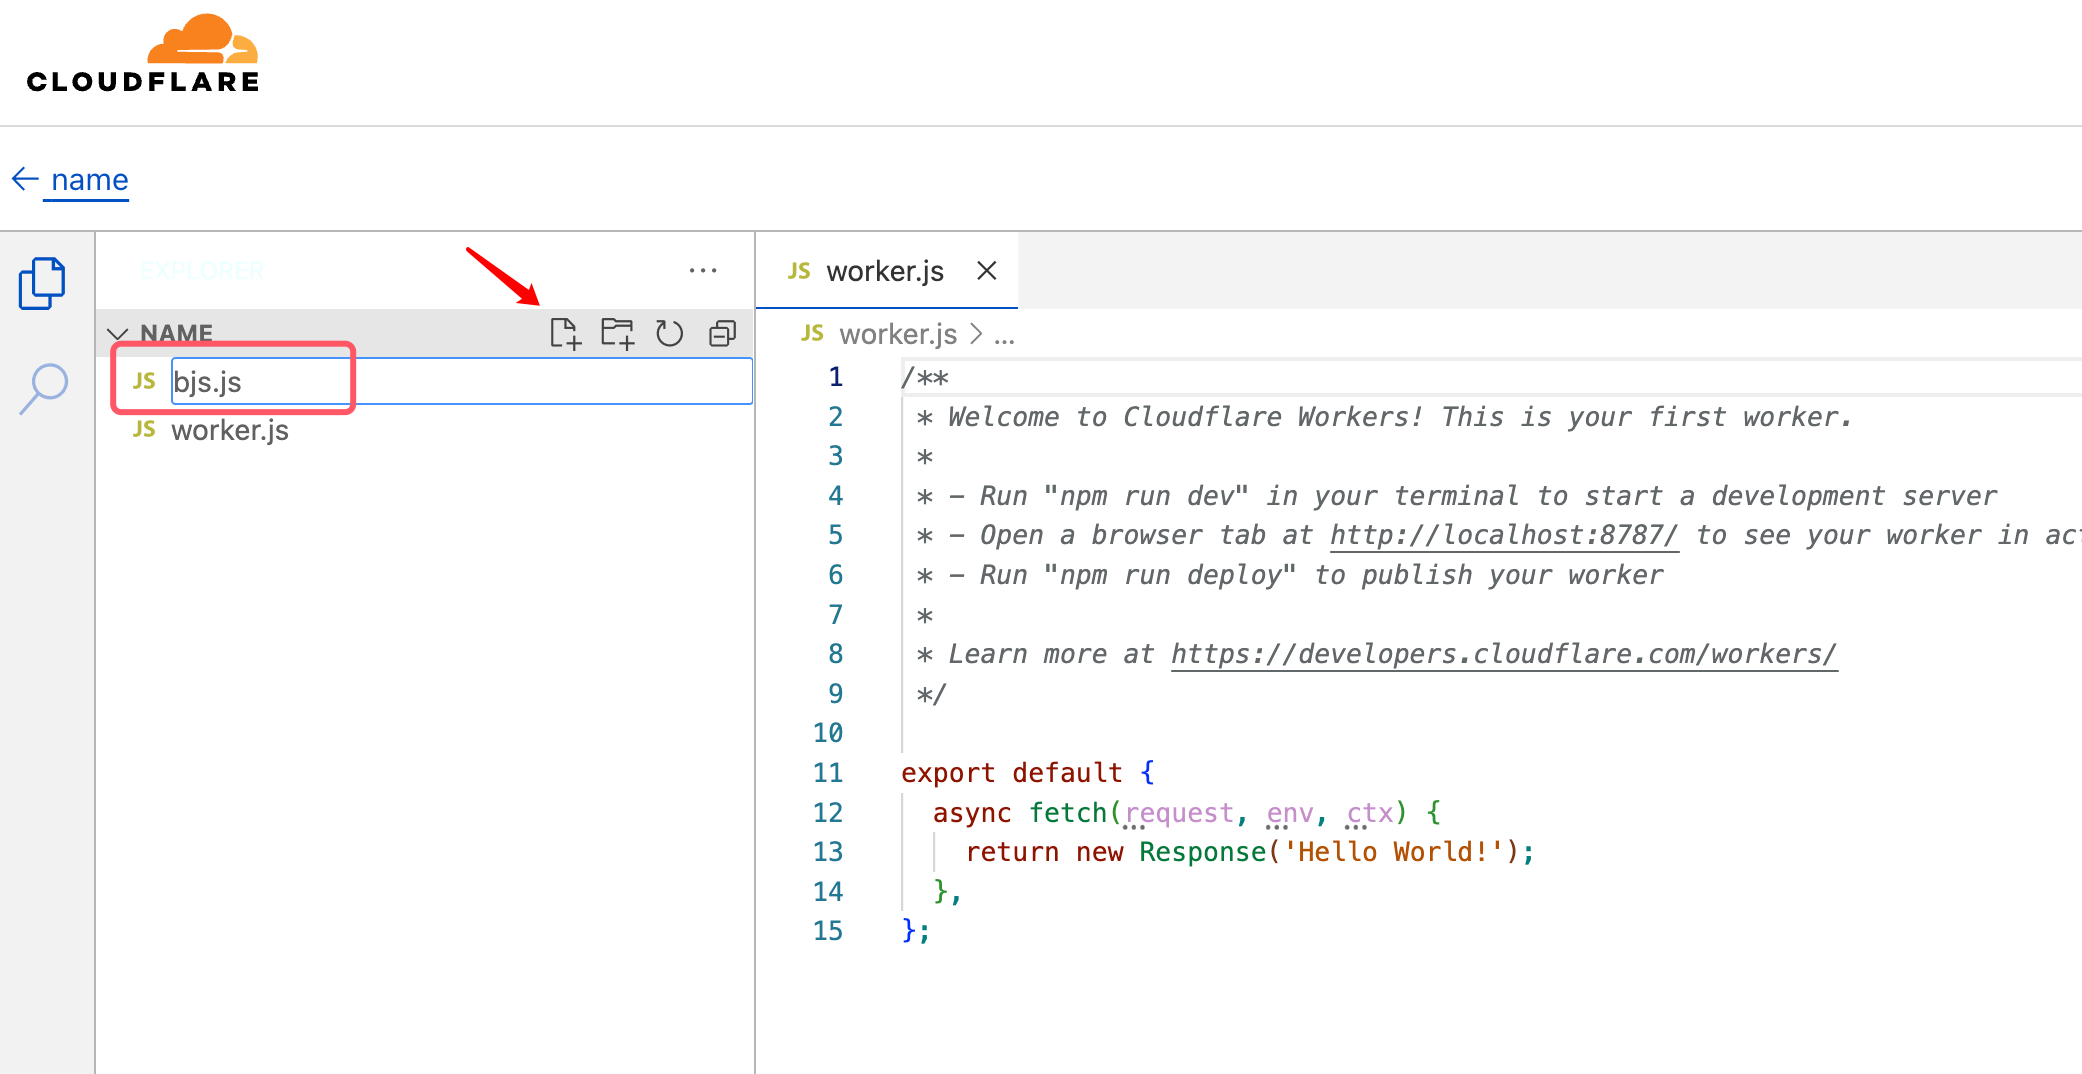
4.访问
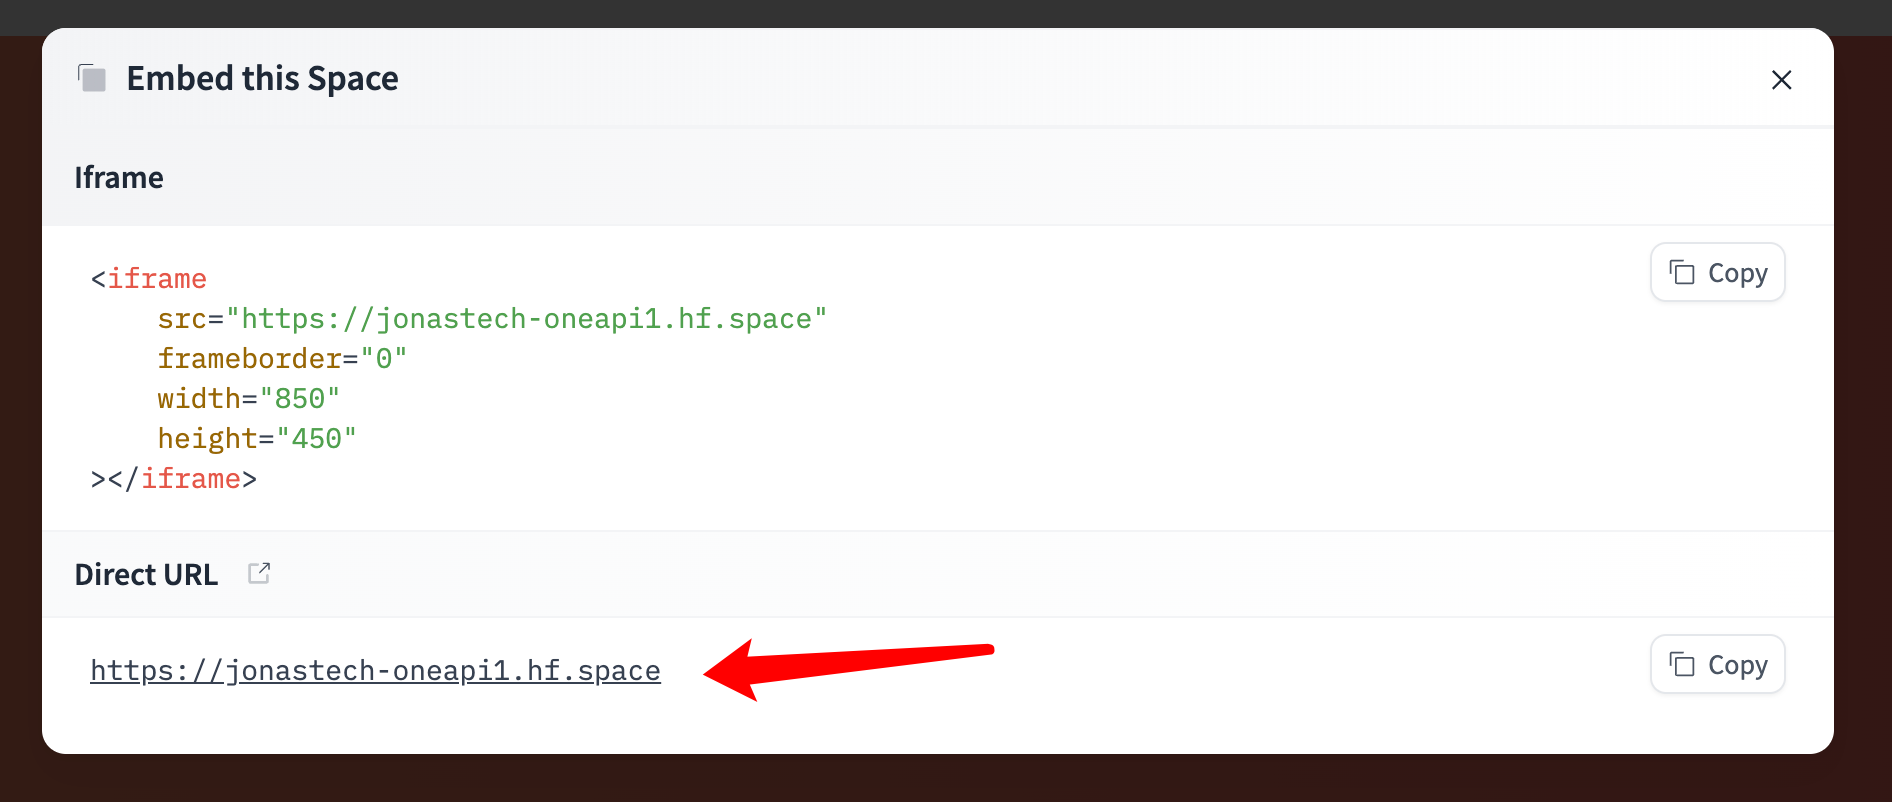
这时候我们就可以通过点击右上角的设置找到Embed this Space,通过下面的链接进行访问我们的服务。

Koyeb 部署
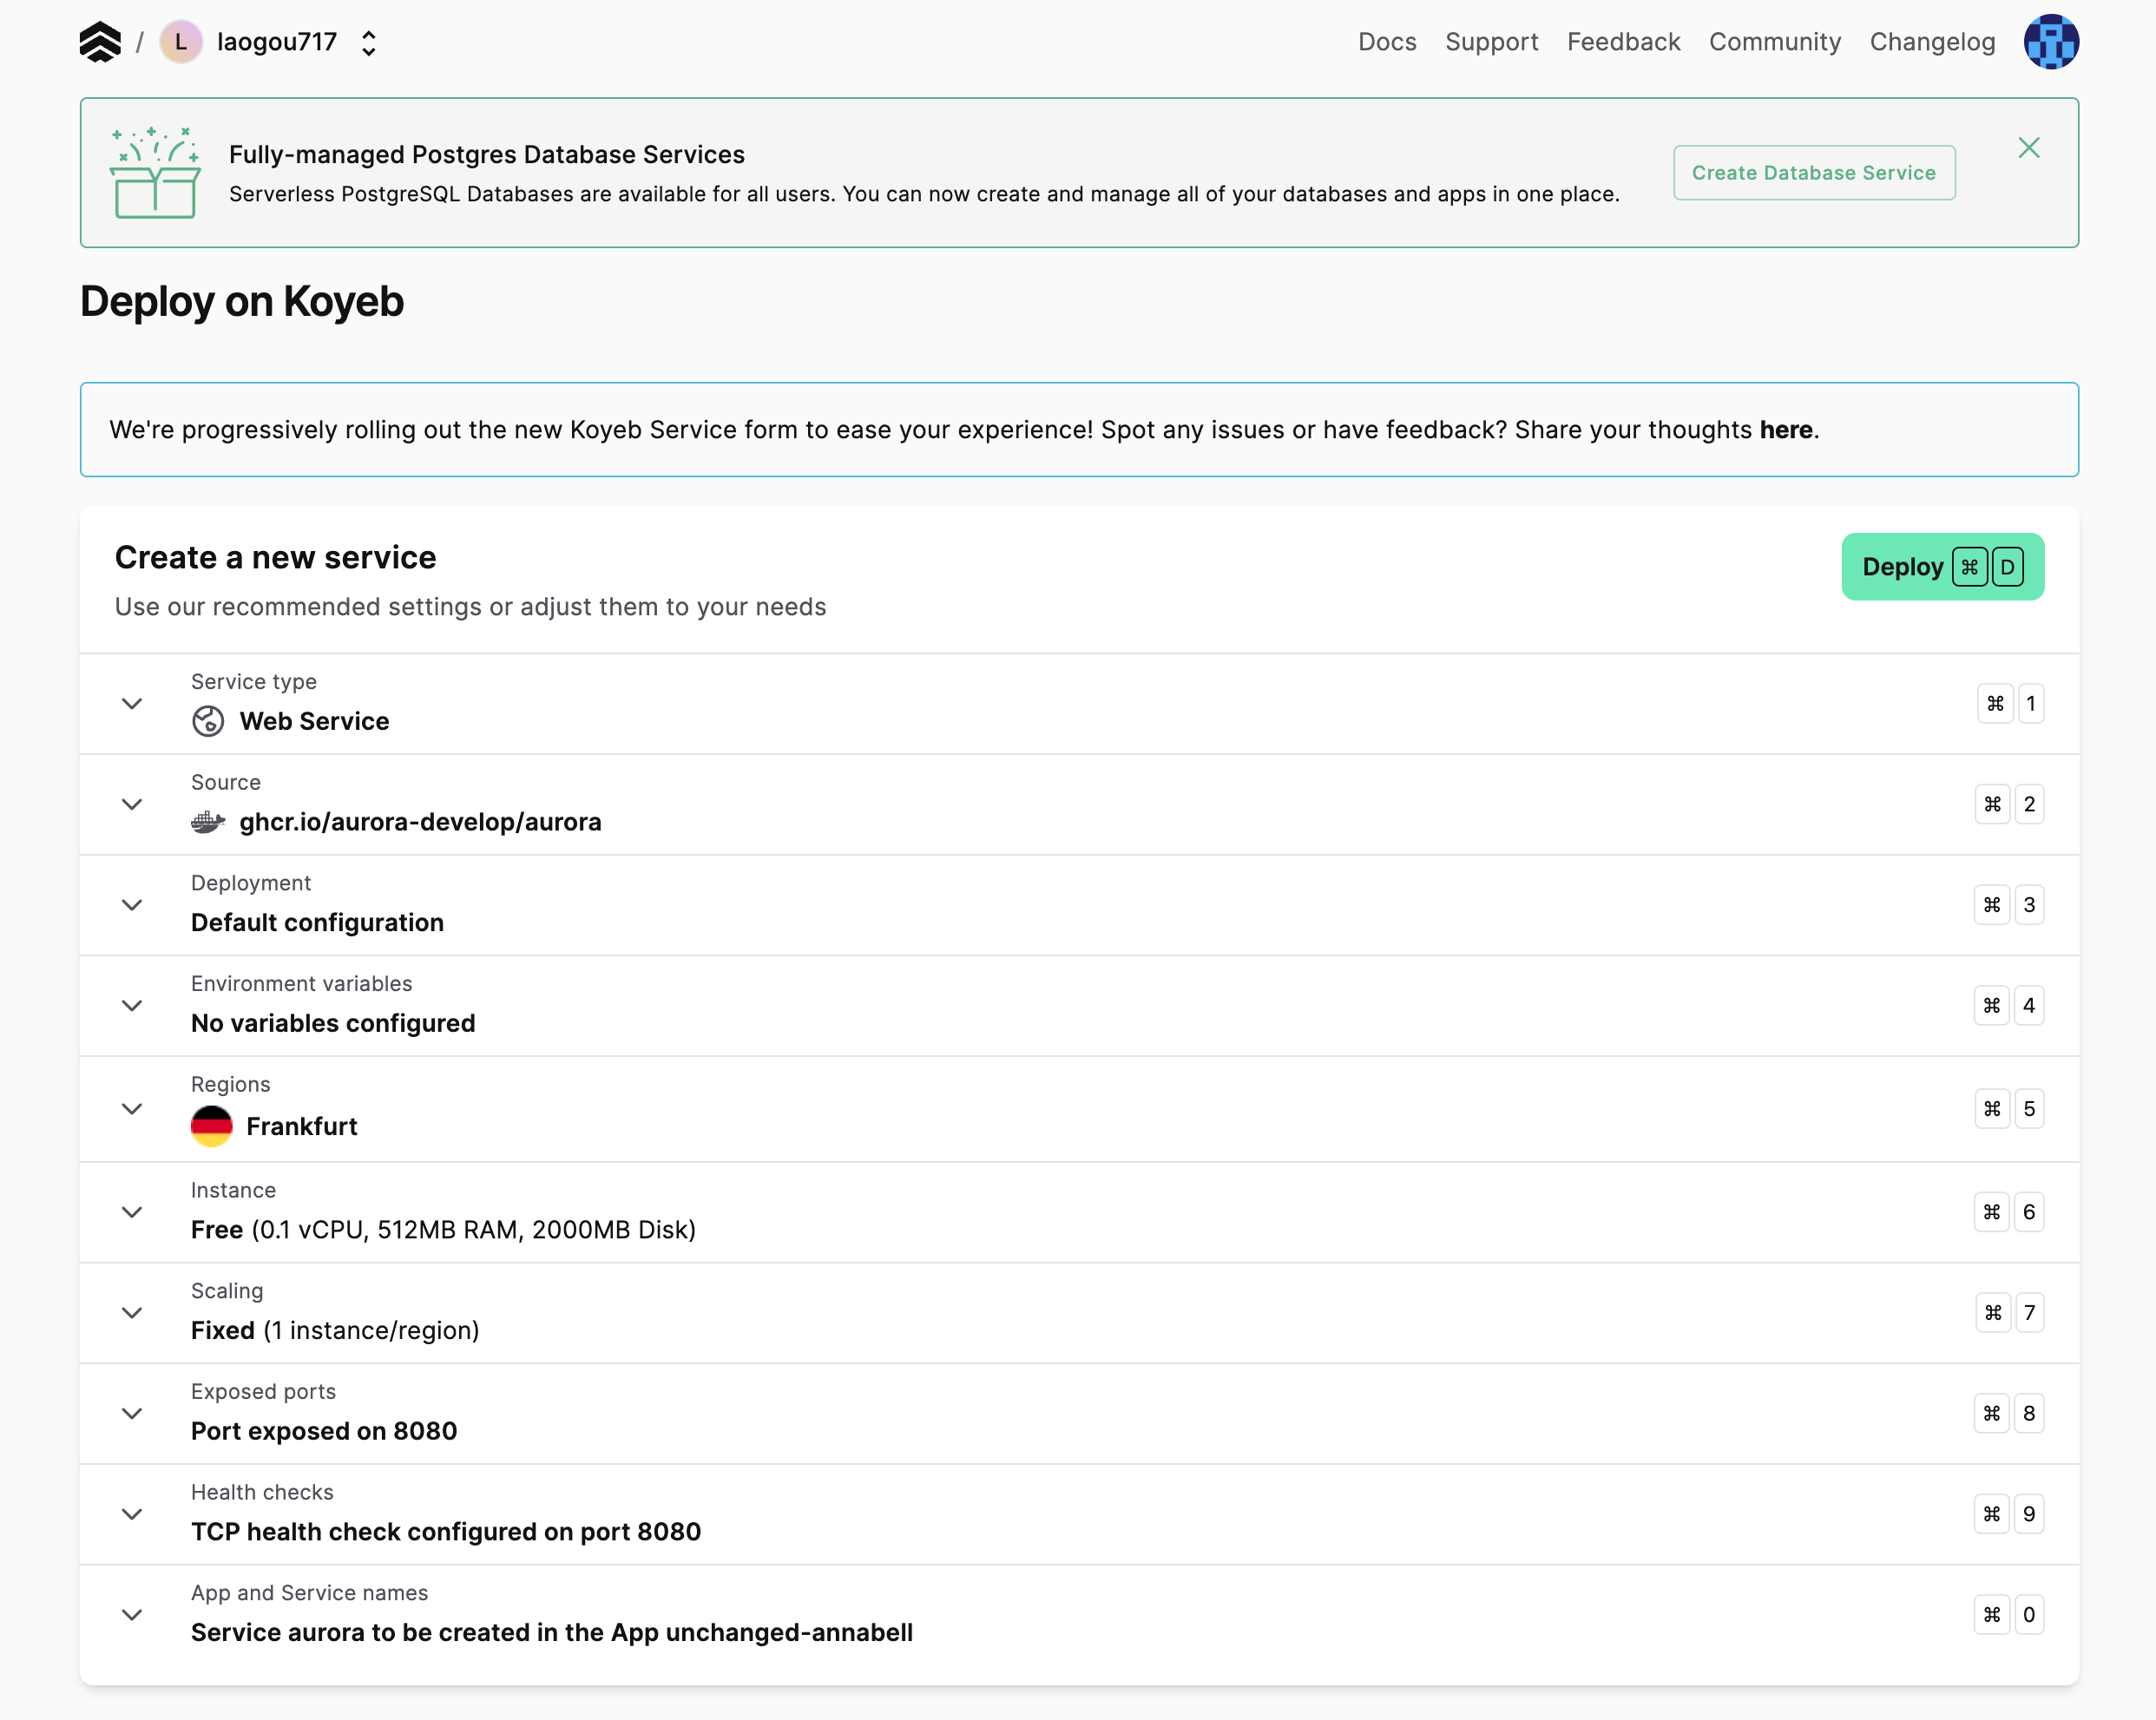
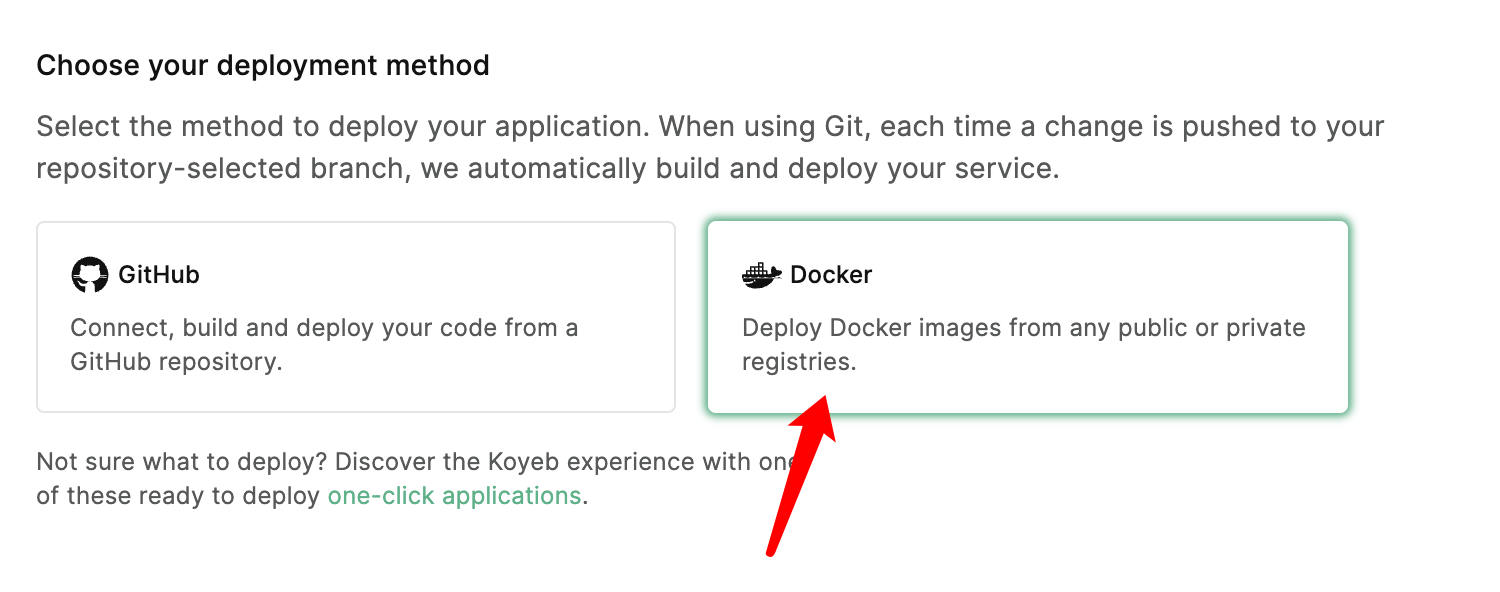
1.点击进入Koyeb官网,进行登陆注册后,点击创建网络服务选择 docker 镜像。

2.在输入框内容输入 justsong/one-api:latest ,如果你不知道这个从何的来的,可以查看开源项目中的compose.yml。
https://github.com/songquanpeng/one-api/blob/main/docker-compose.yml
${REGISTRY:-docker.io} 是一个环境变量表达式,表示如果环境变量REGISTRY没有设置,就使用默认的 docker.io(Docker Hub)。
justsong/one-api:latest 指定了镜像的名称和标签,其中 justsong 是 Docker Hub 上的用户或组织名,one-api是镜像名,latest 表示使用这个镜像的最新版本。

3.设置必要变量和地区信息后点击部署按钮。

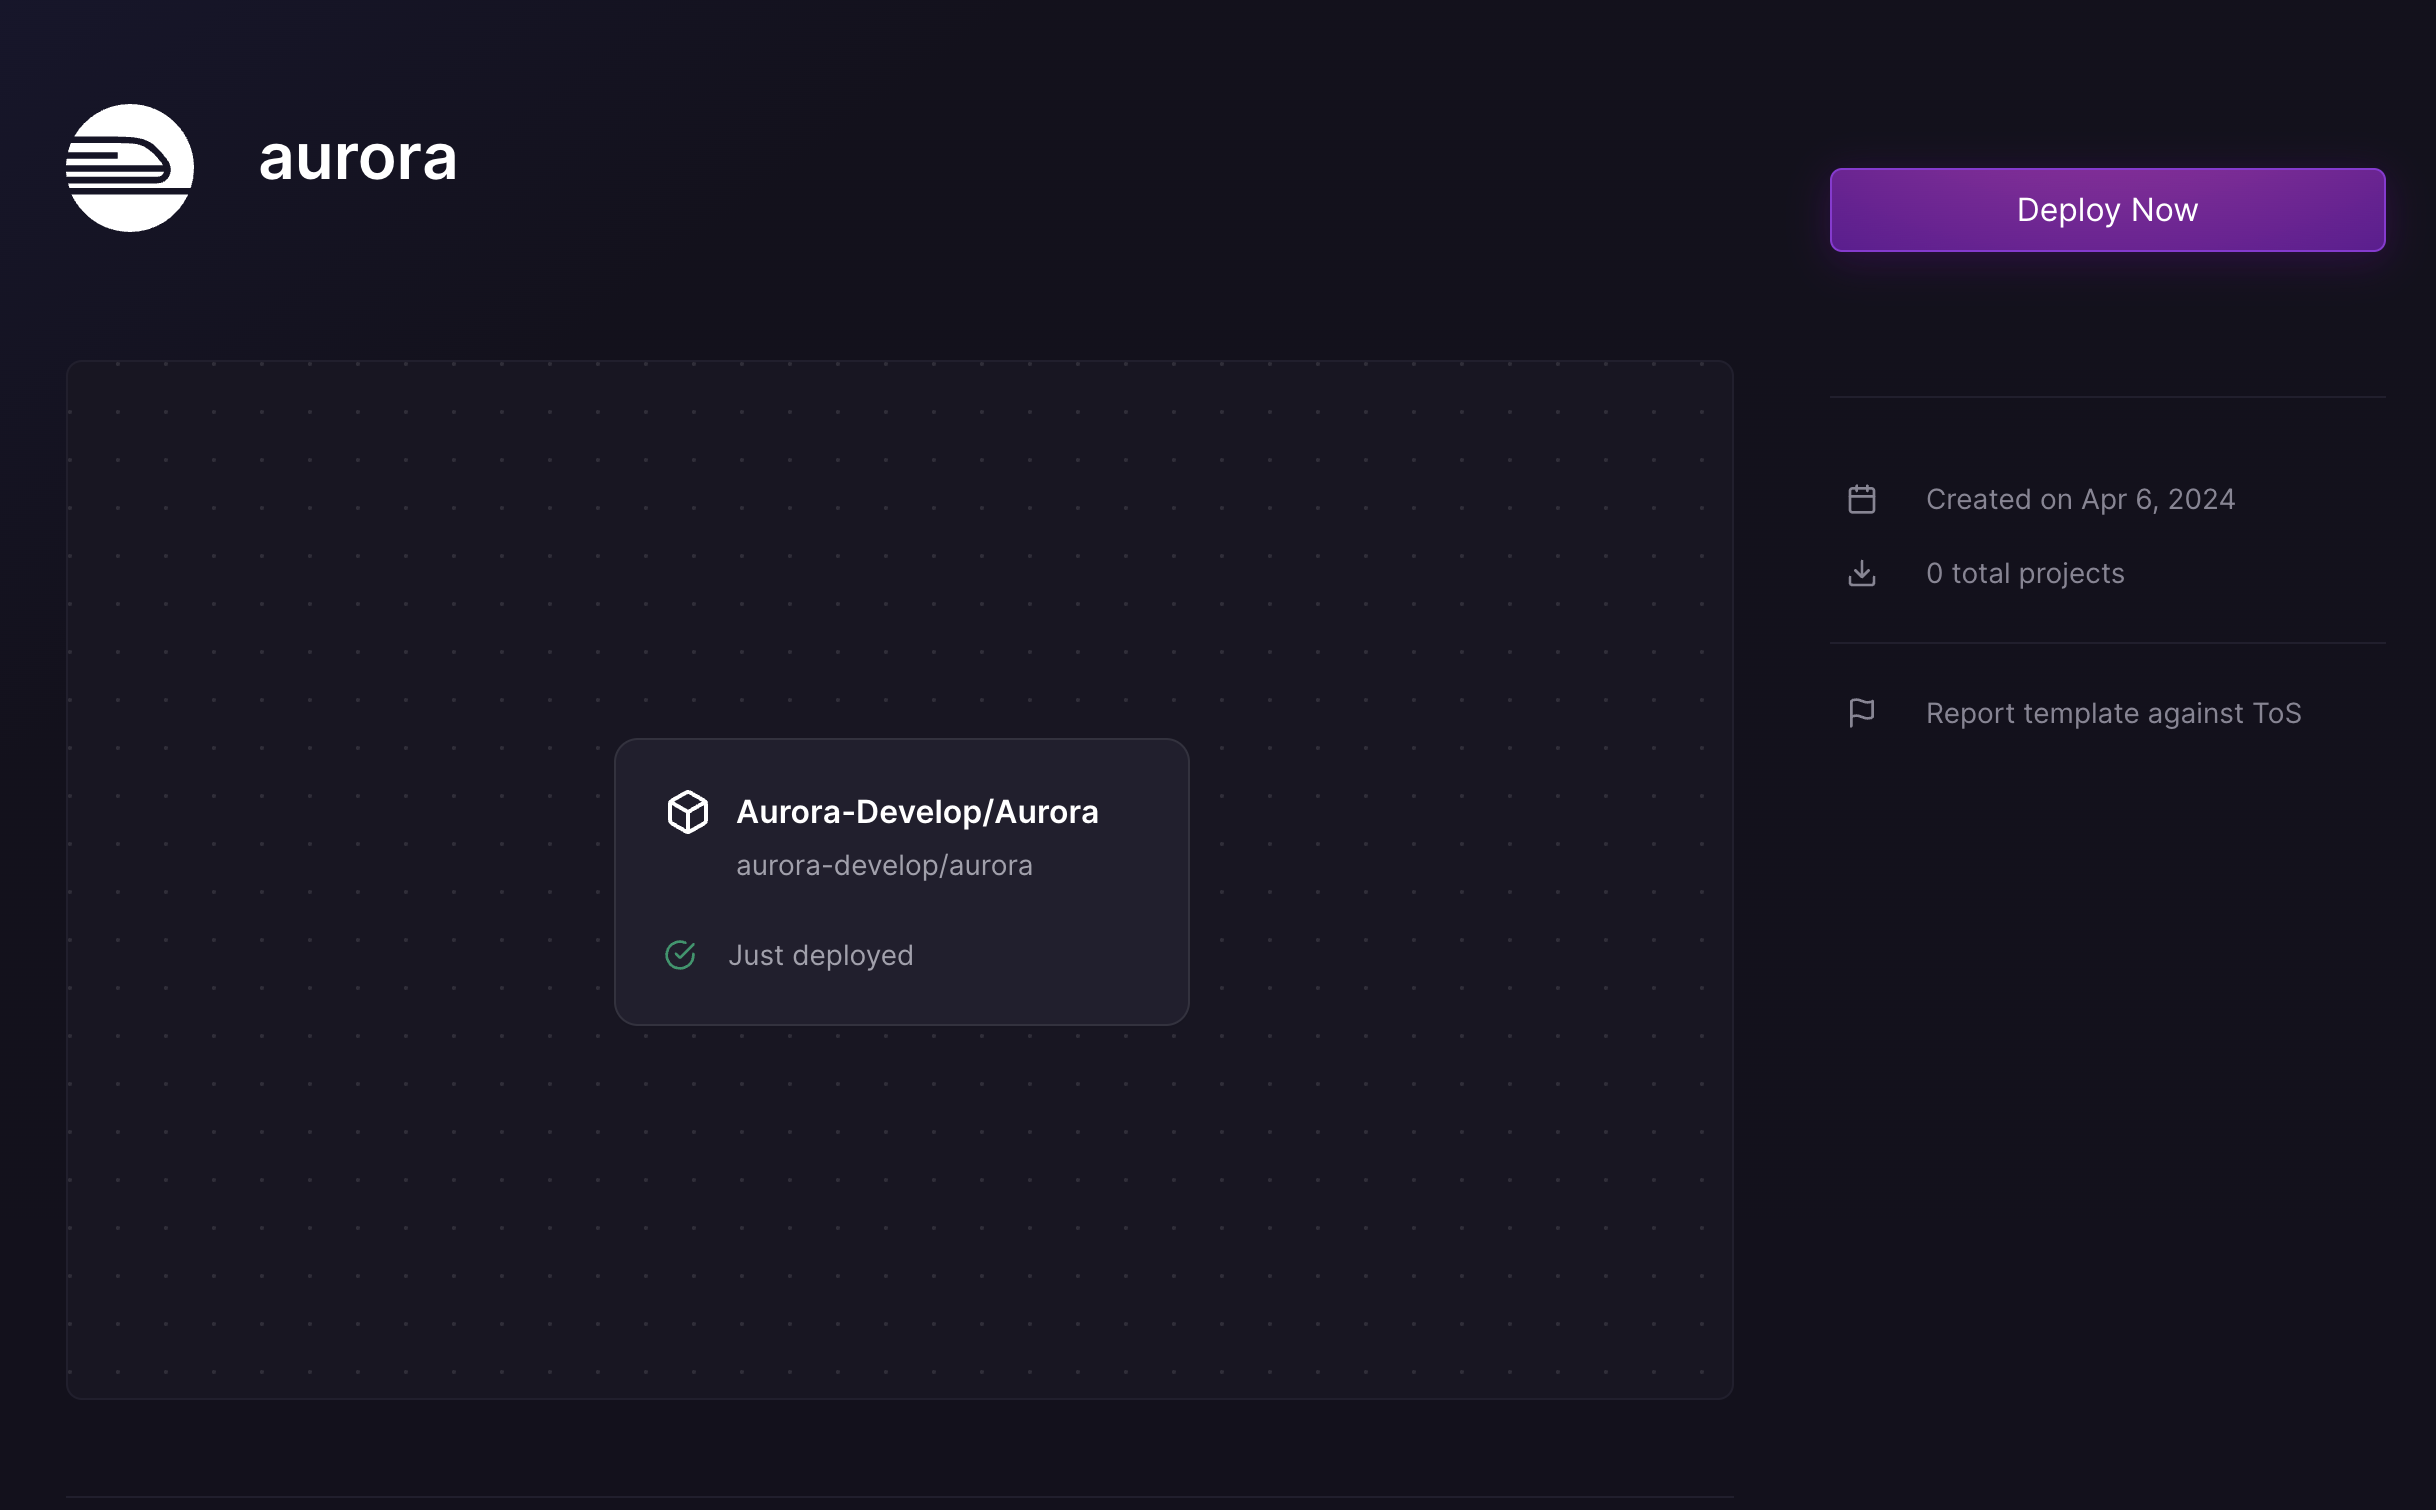
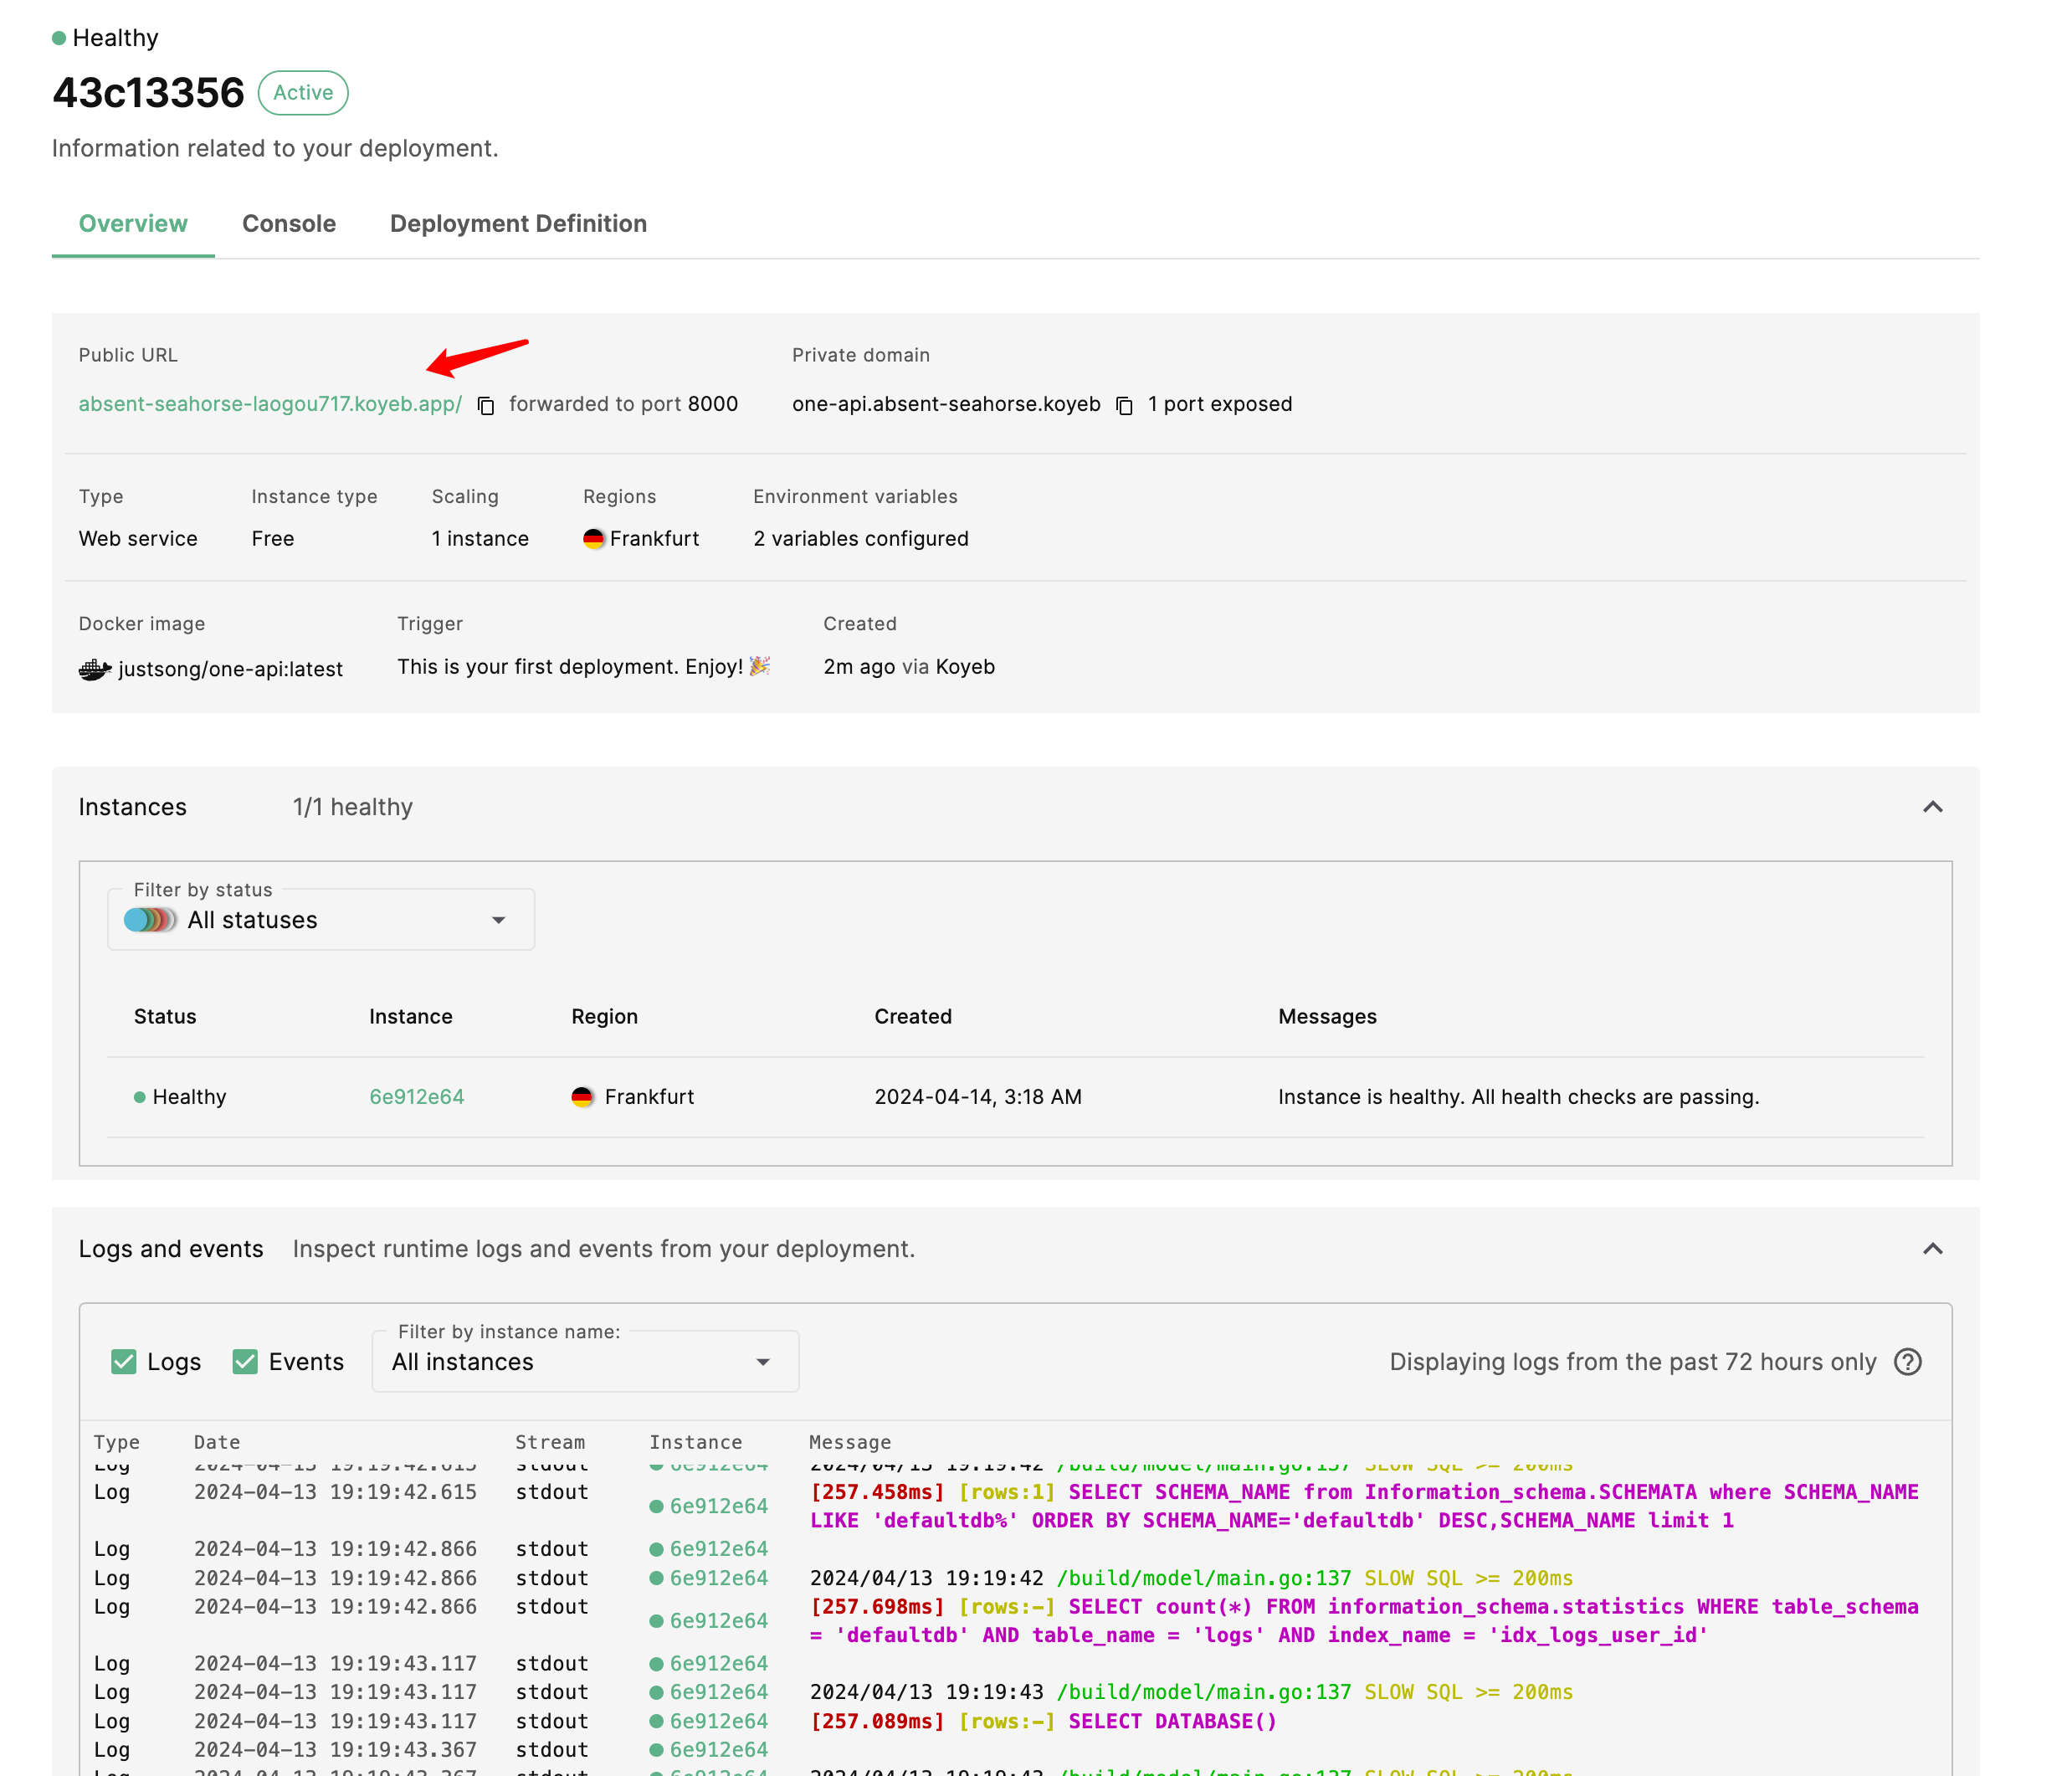
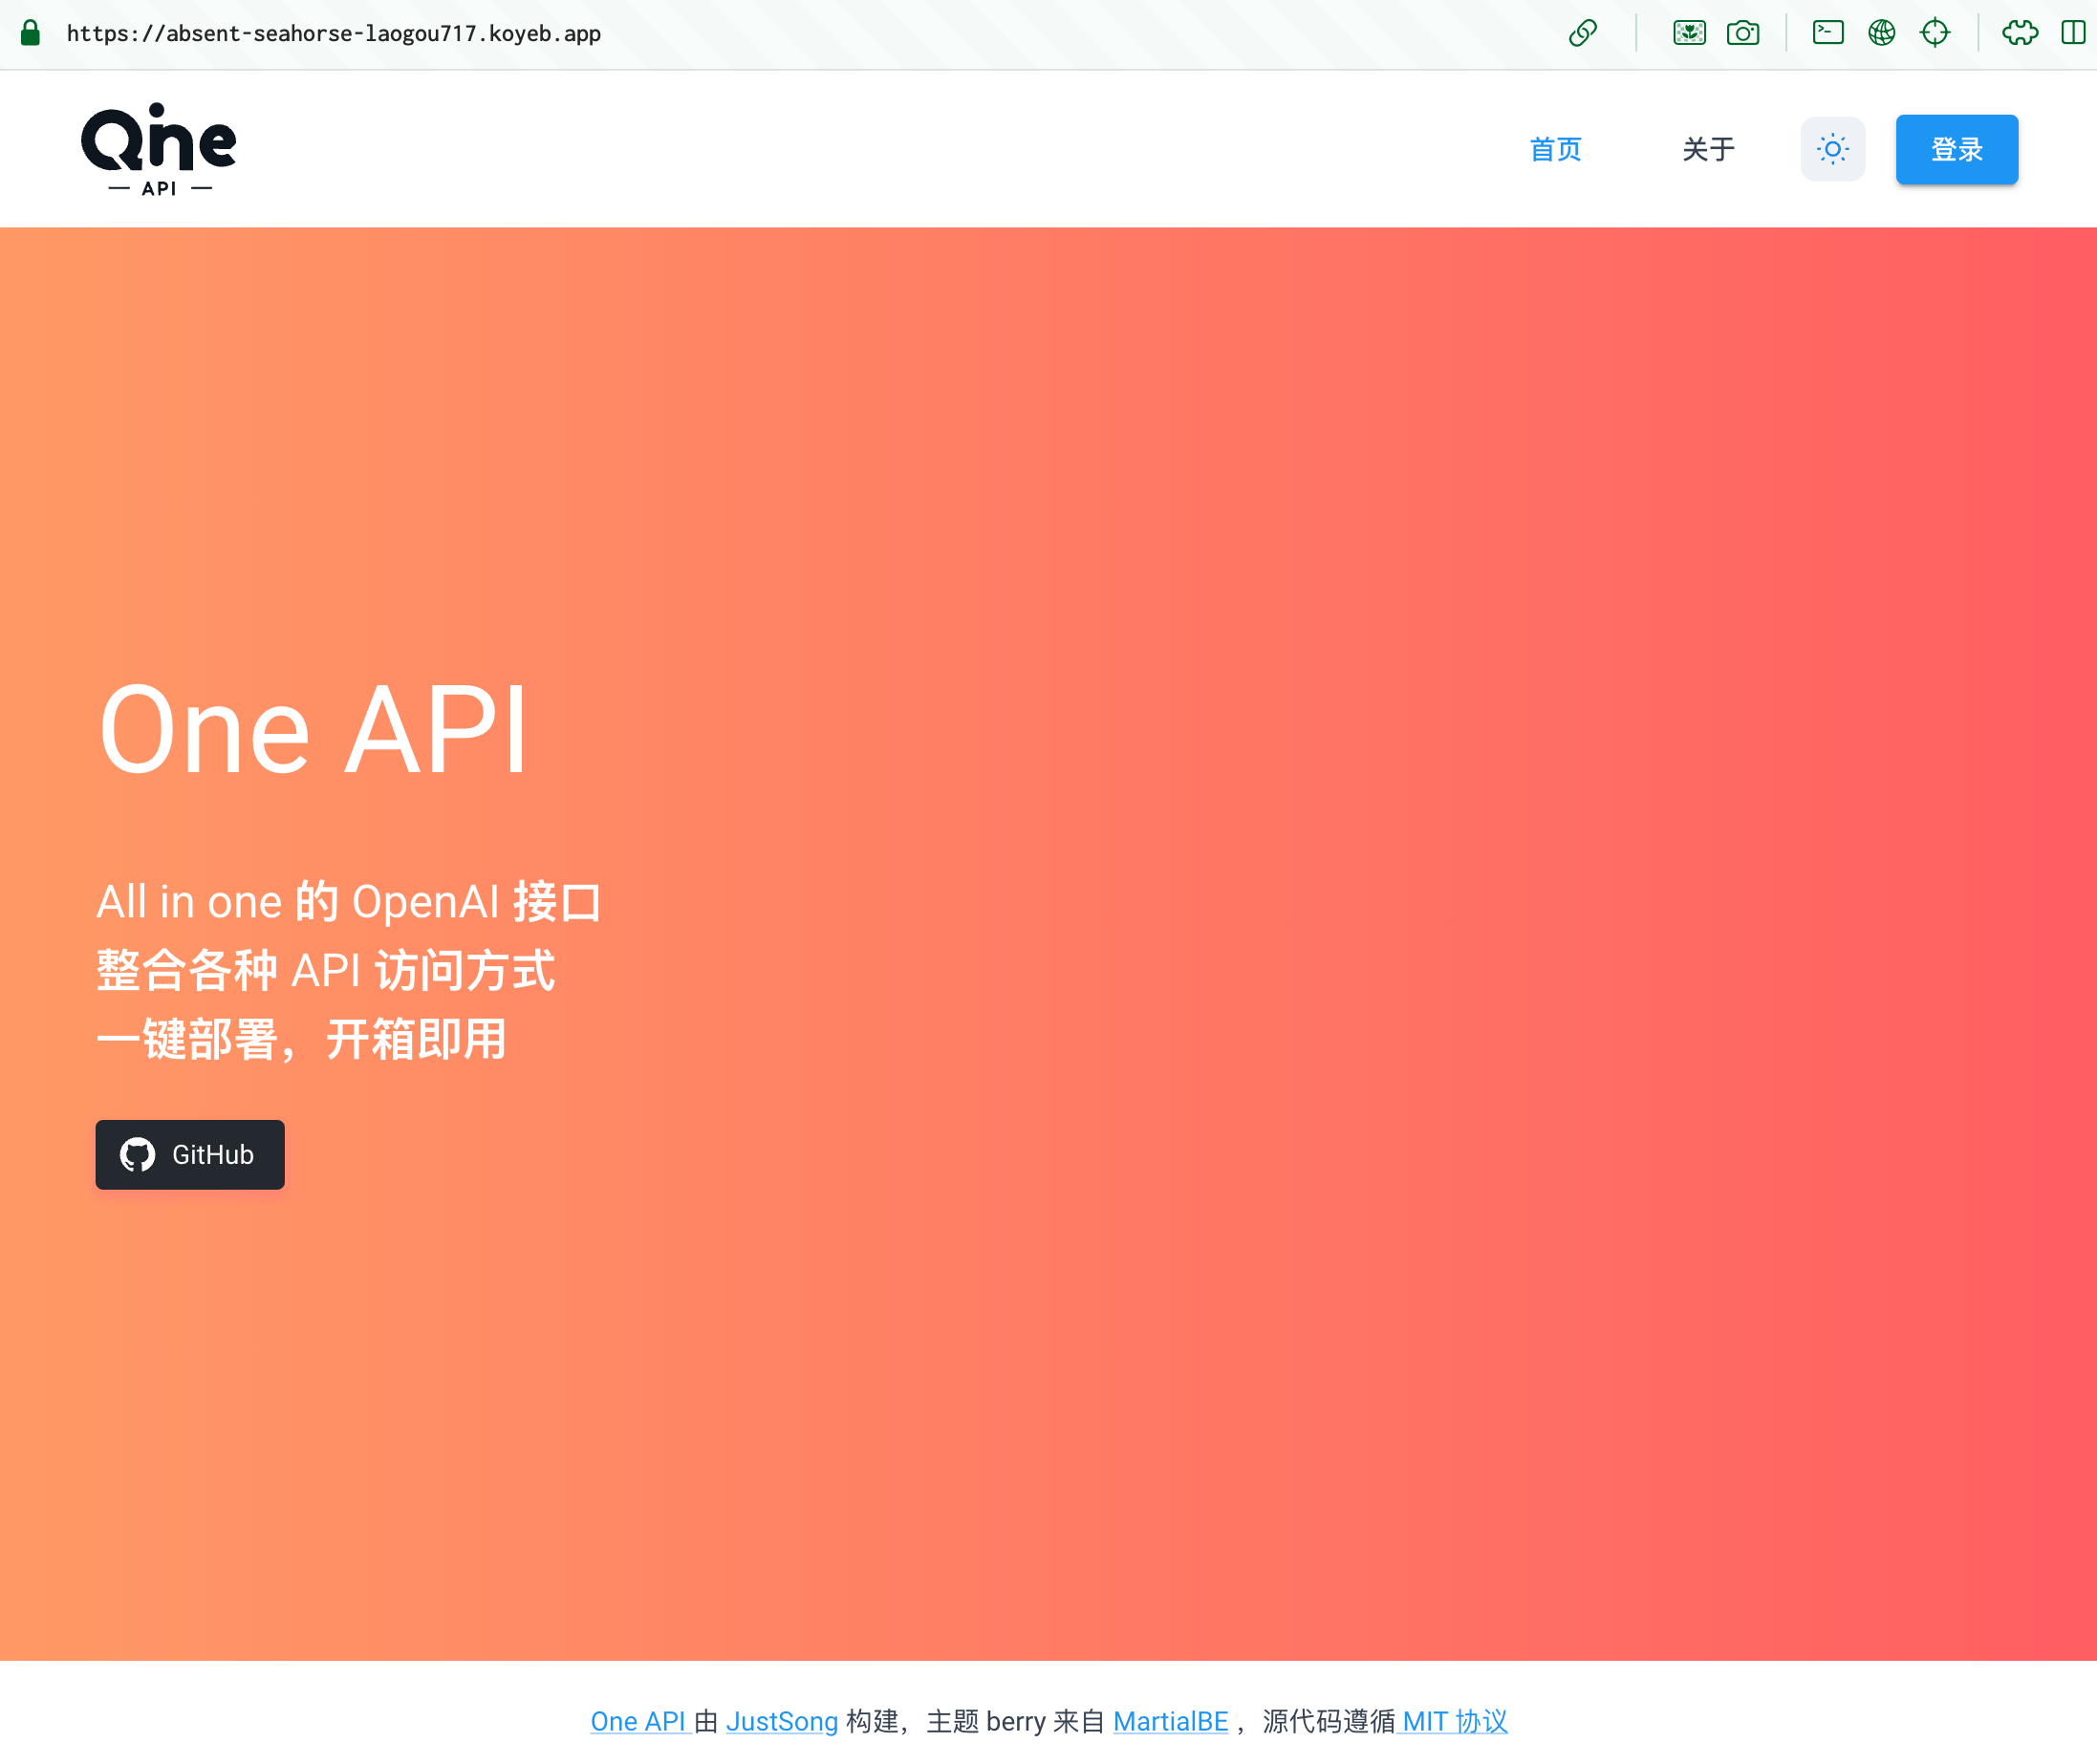
4.⌛️等待部署完毕后,我们可以点击这个地址访问我们的 One API。
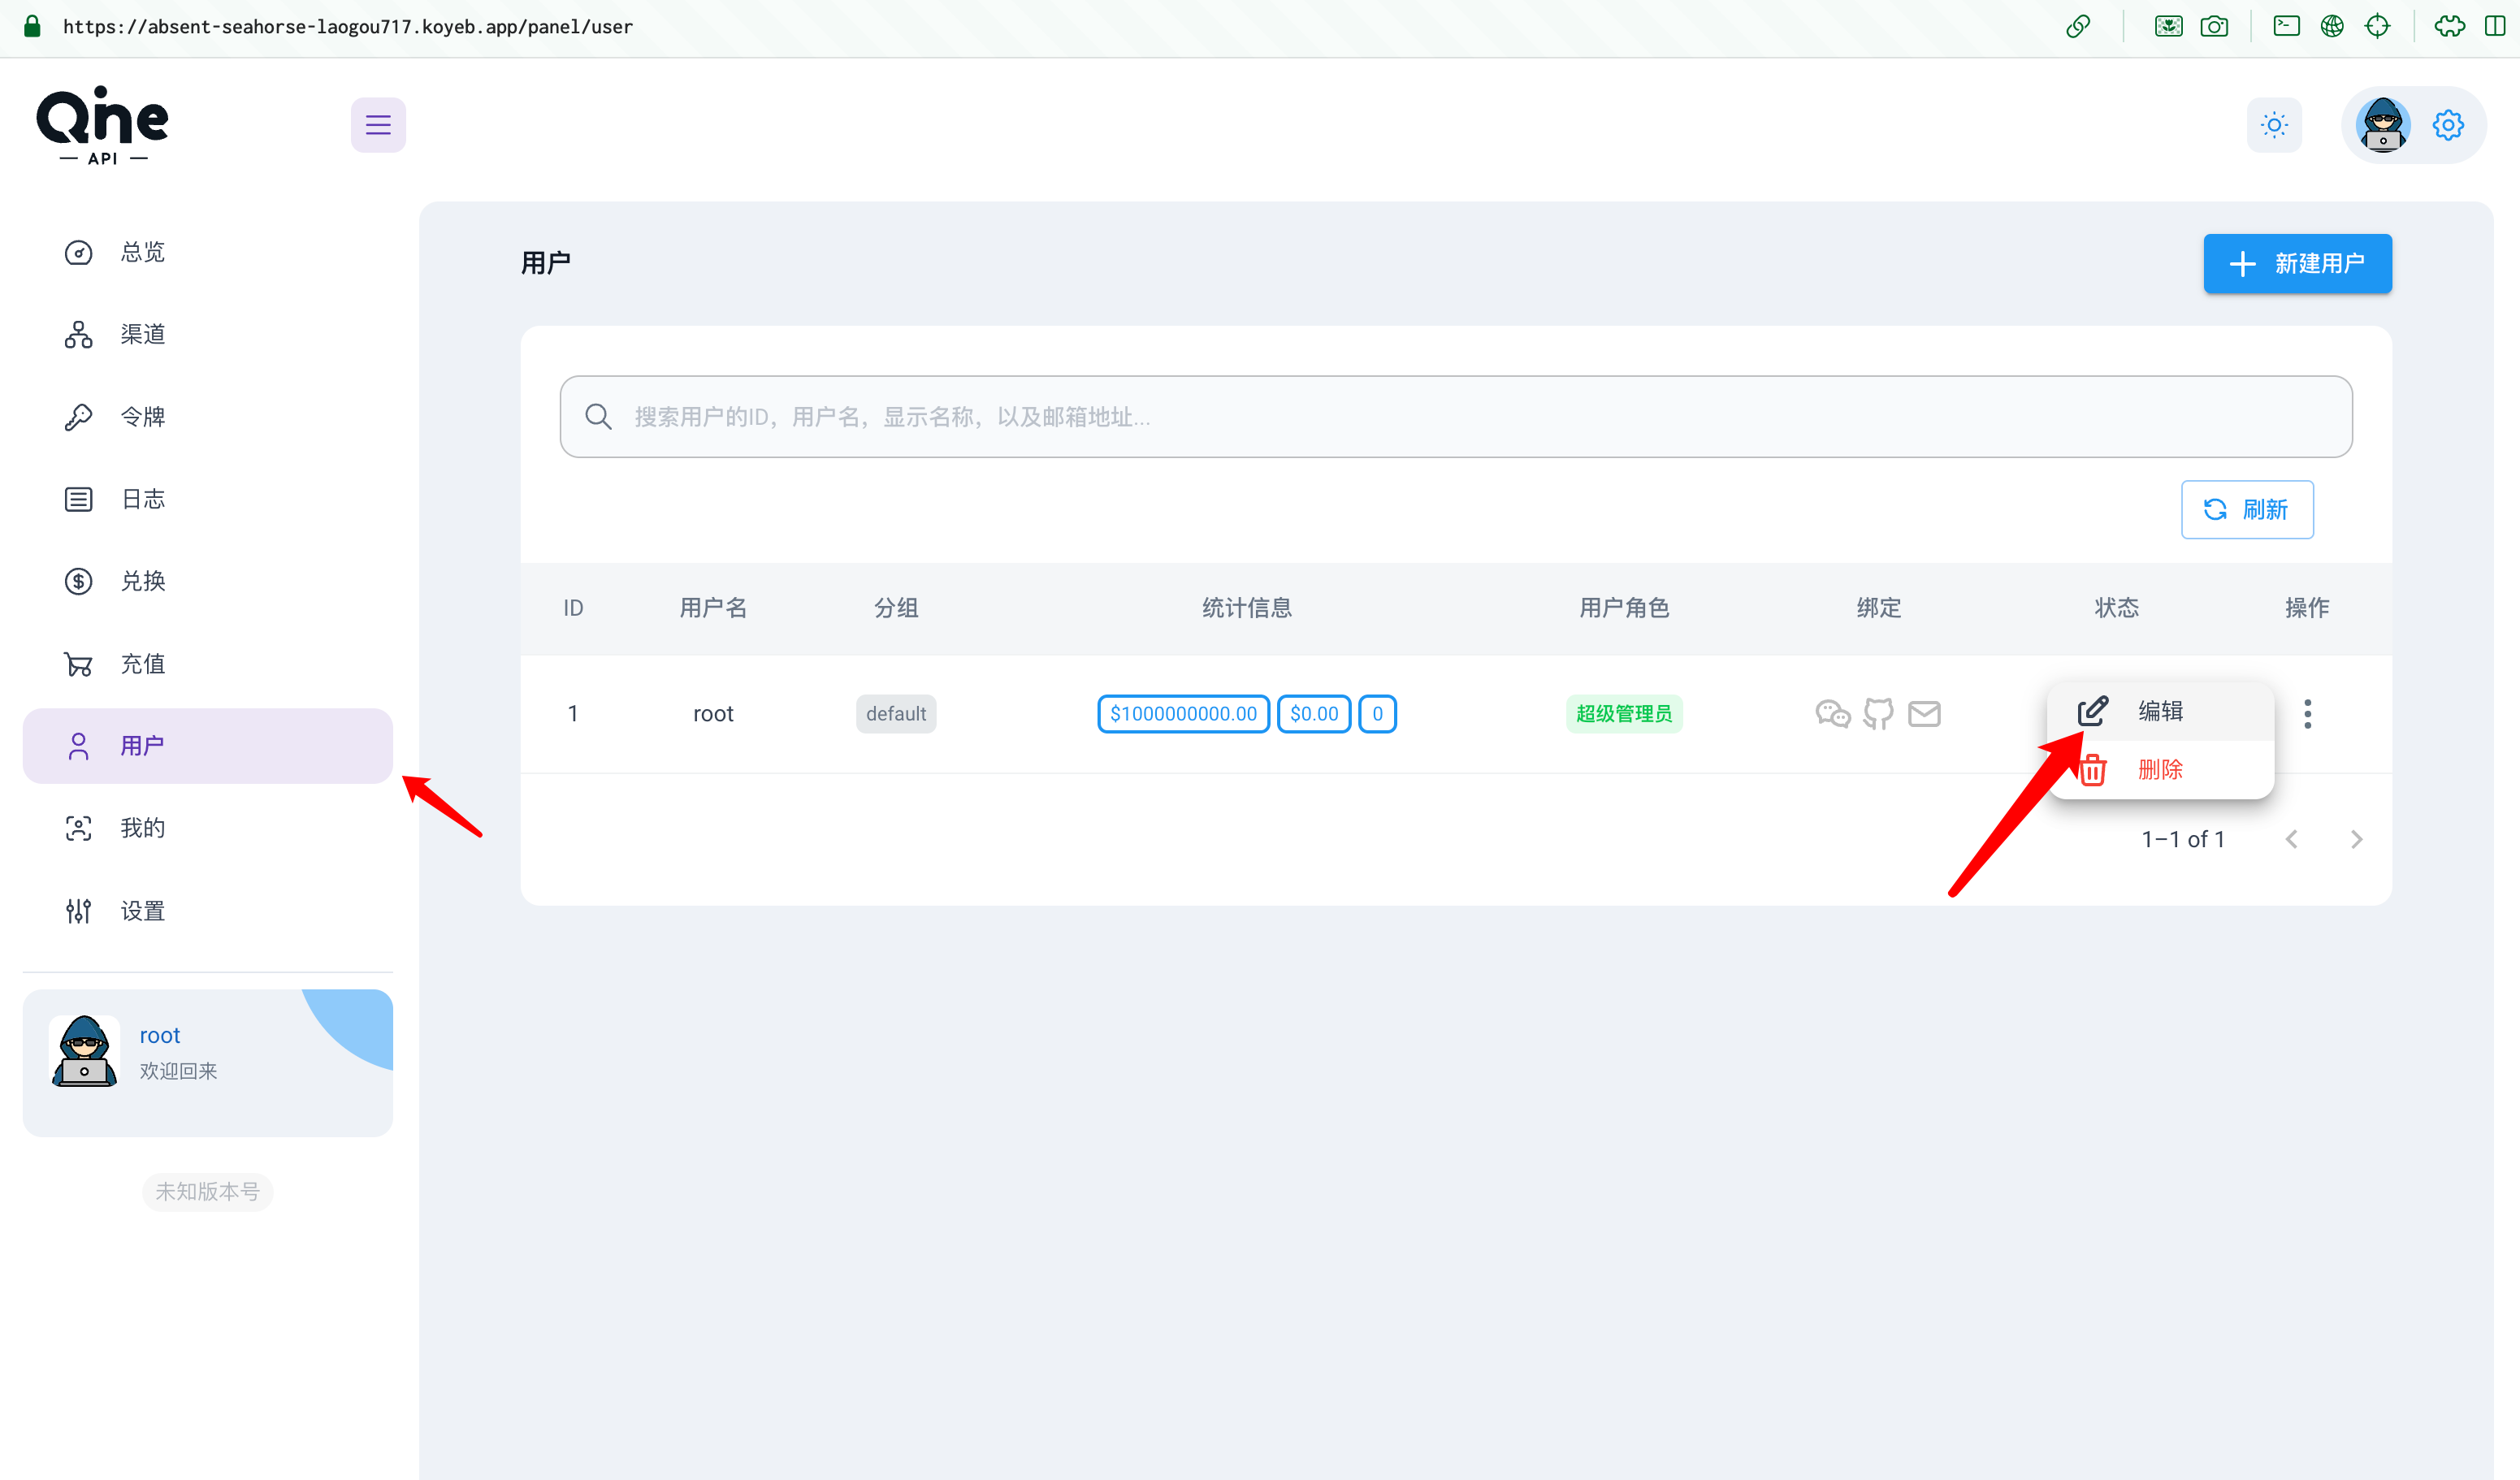
5.管理员账号默认是
登录后应立即在用户中更改,从而保证账户的安全
使用方法
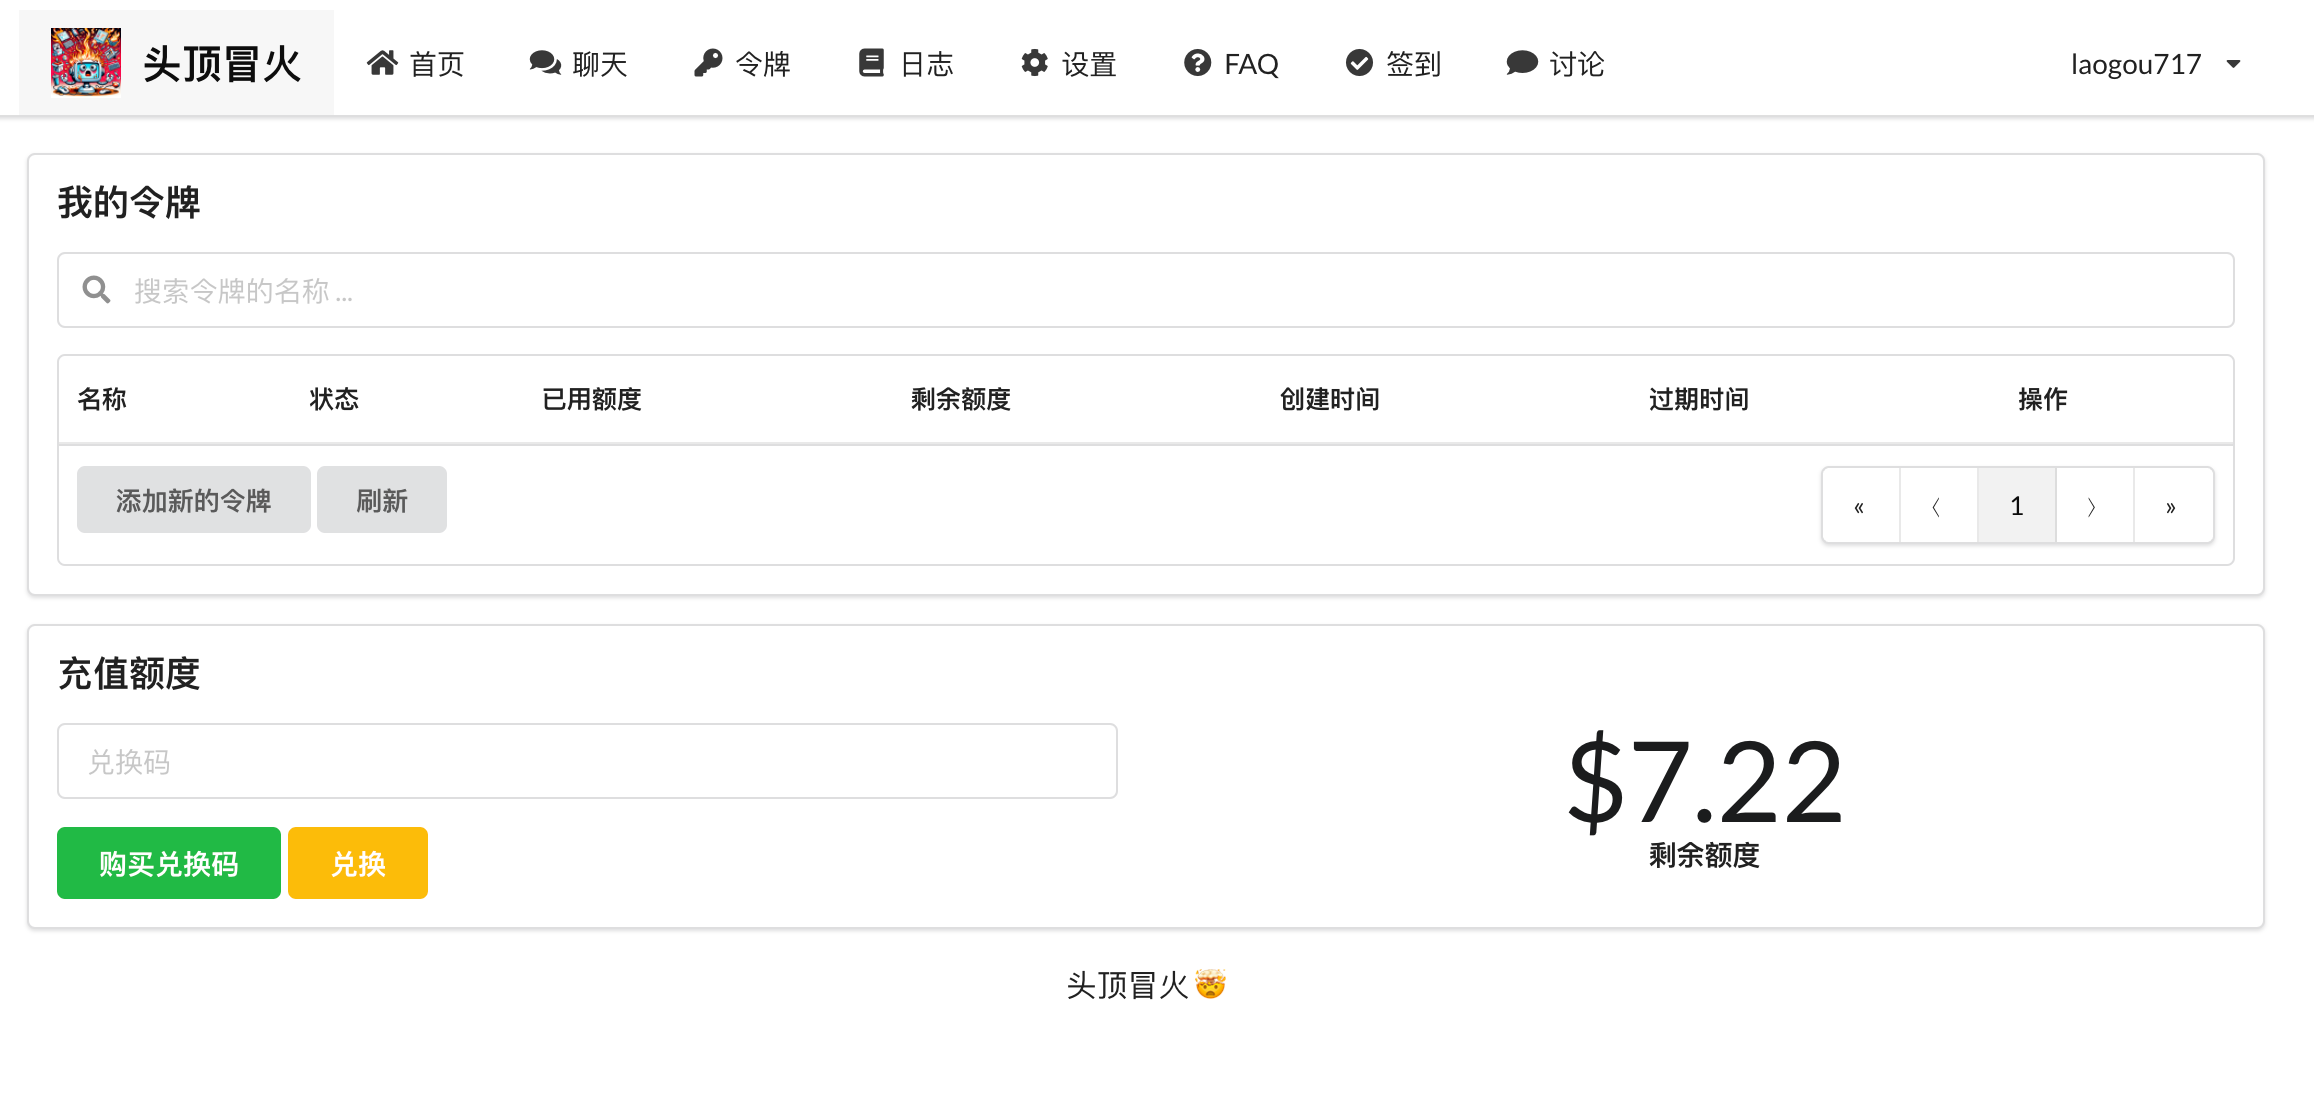
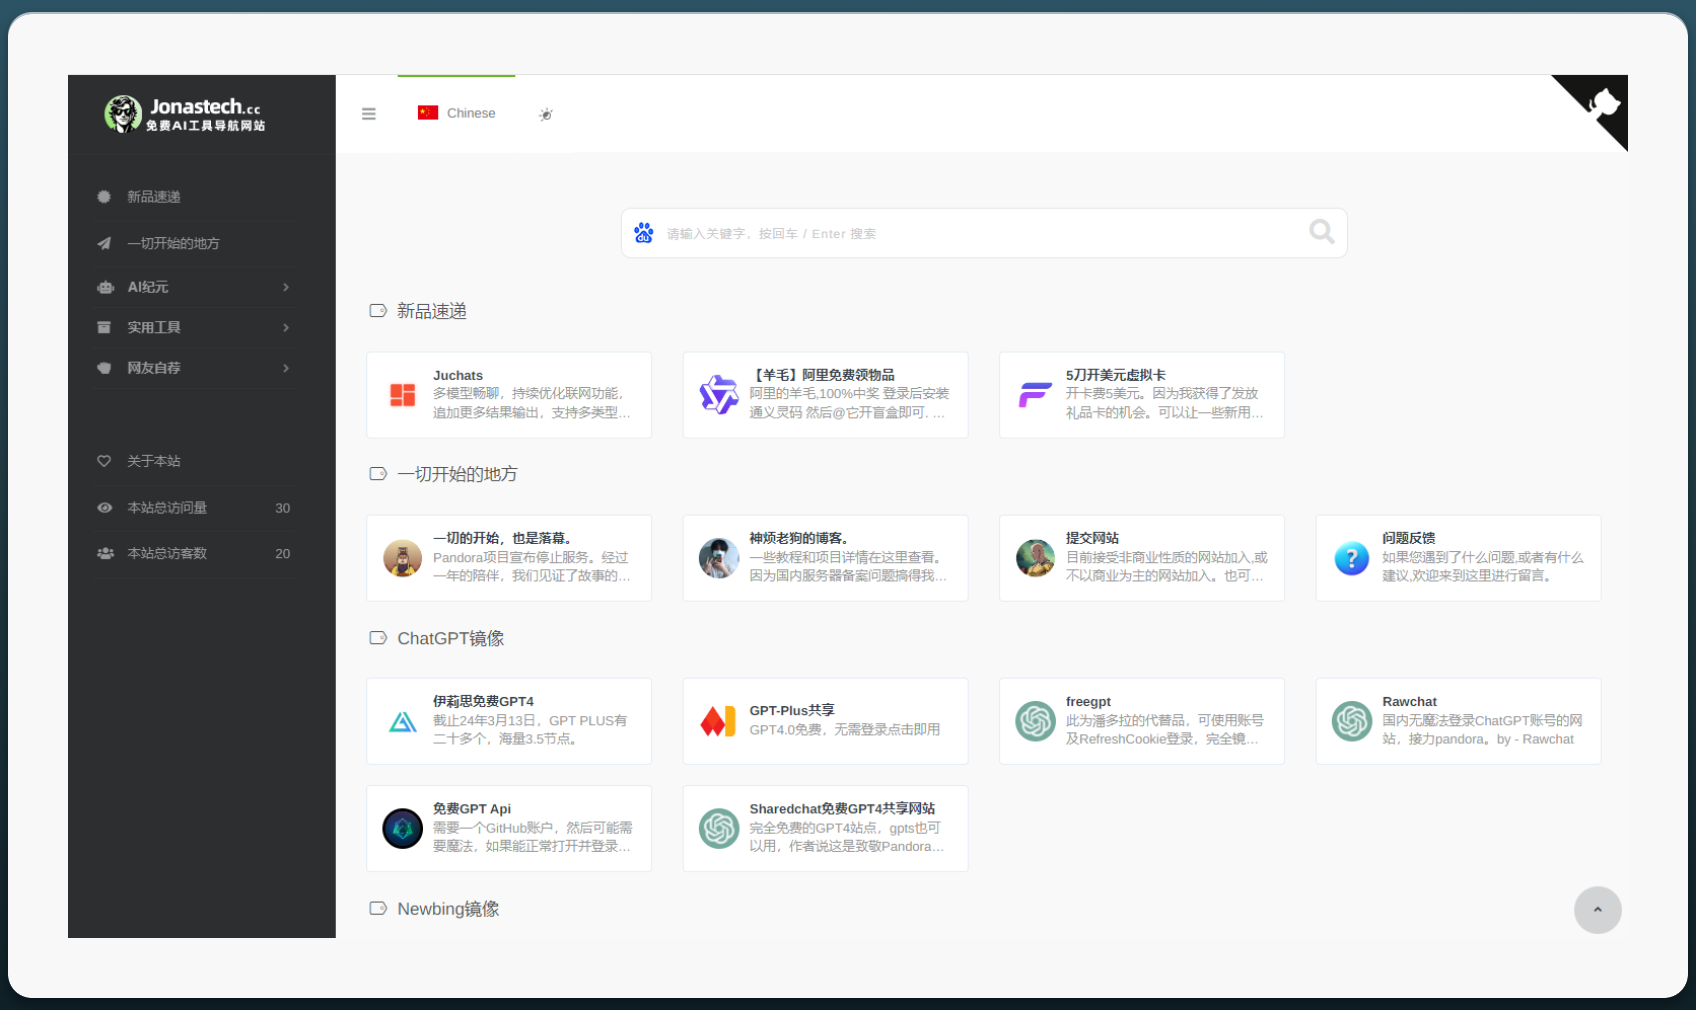
考虑到能看我这篇文章的,大多是新手,我简单演示一下它的使用方法。以上篇博文中介绍的免费 API头顶冒火举例。
对此没有印象的朋友可以自行了解,或观看这篇博文
OneAPI 配置
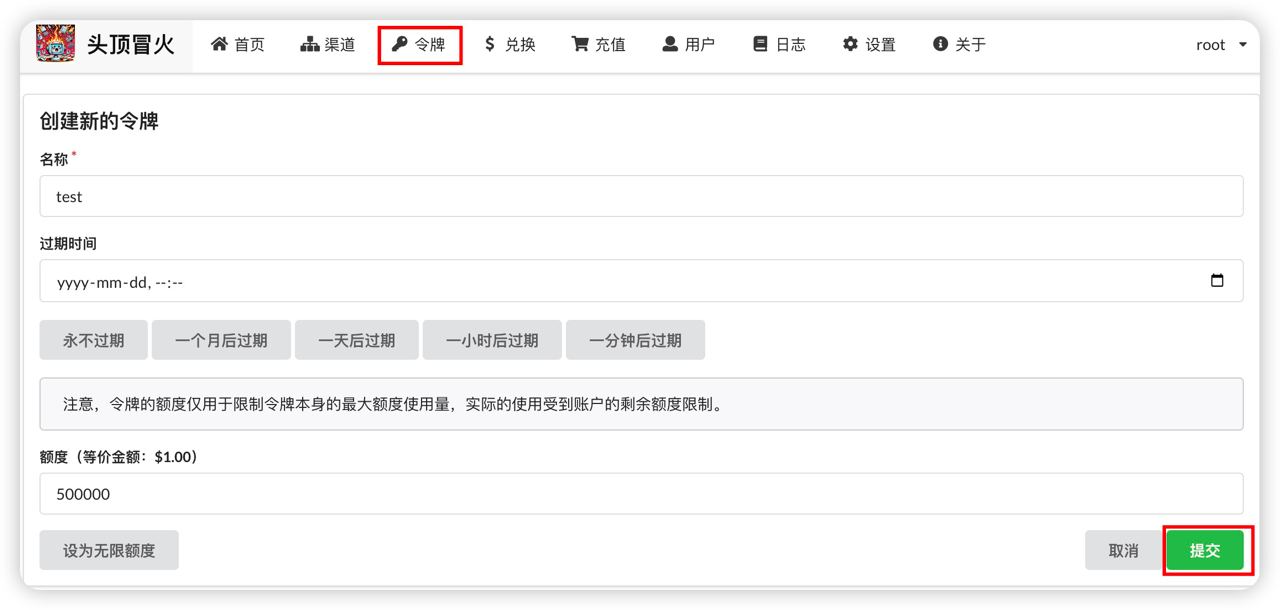
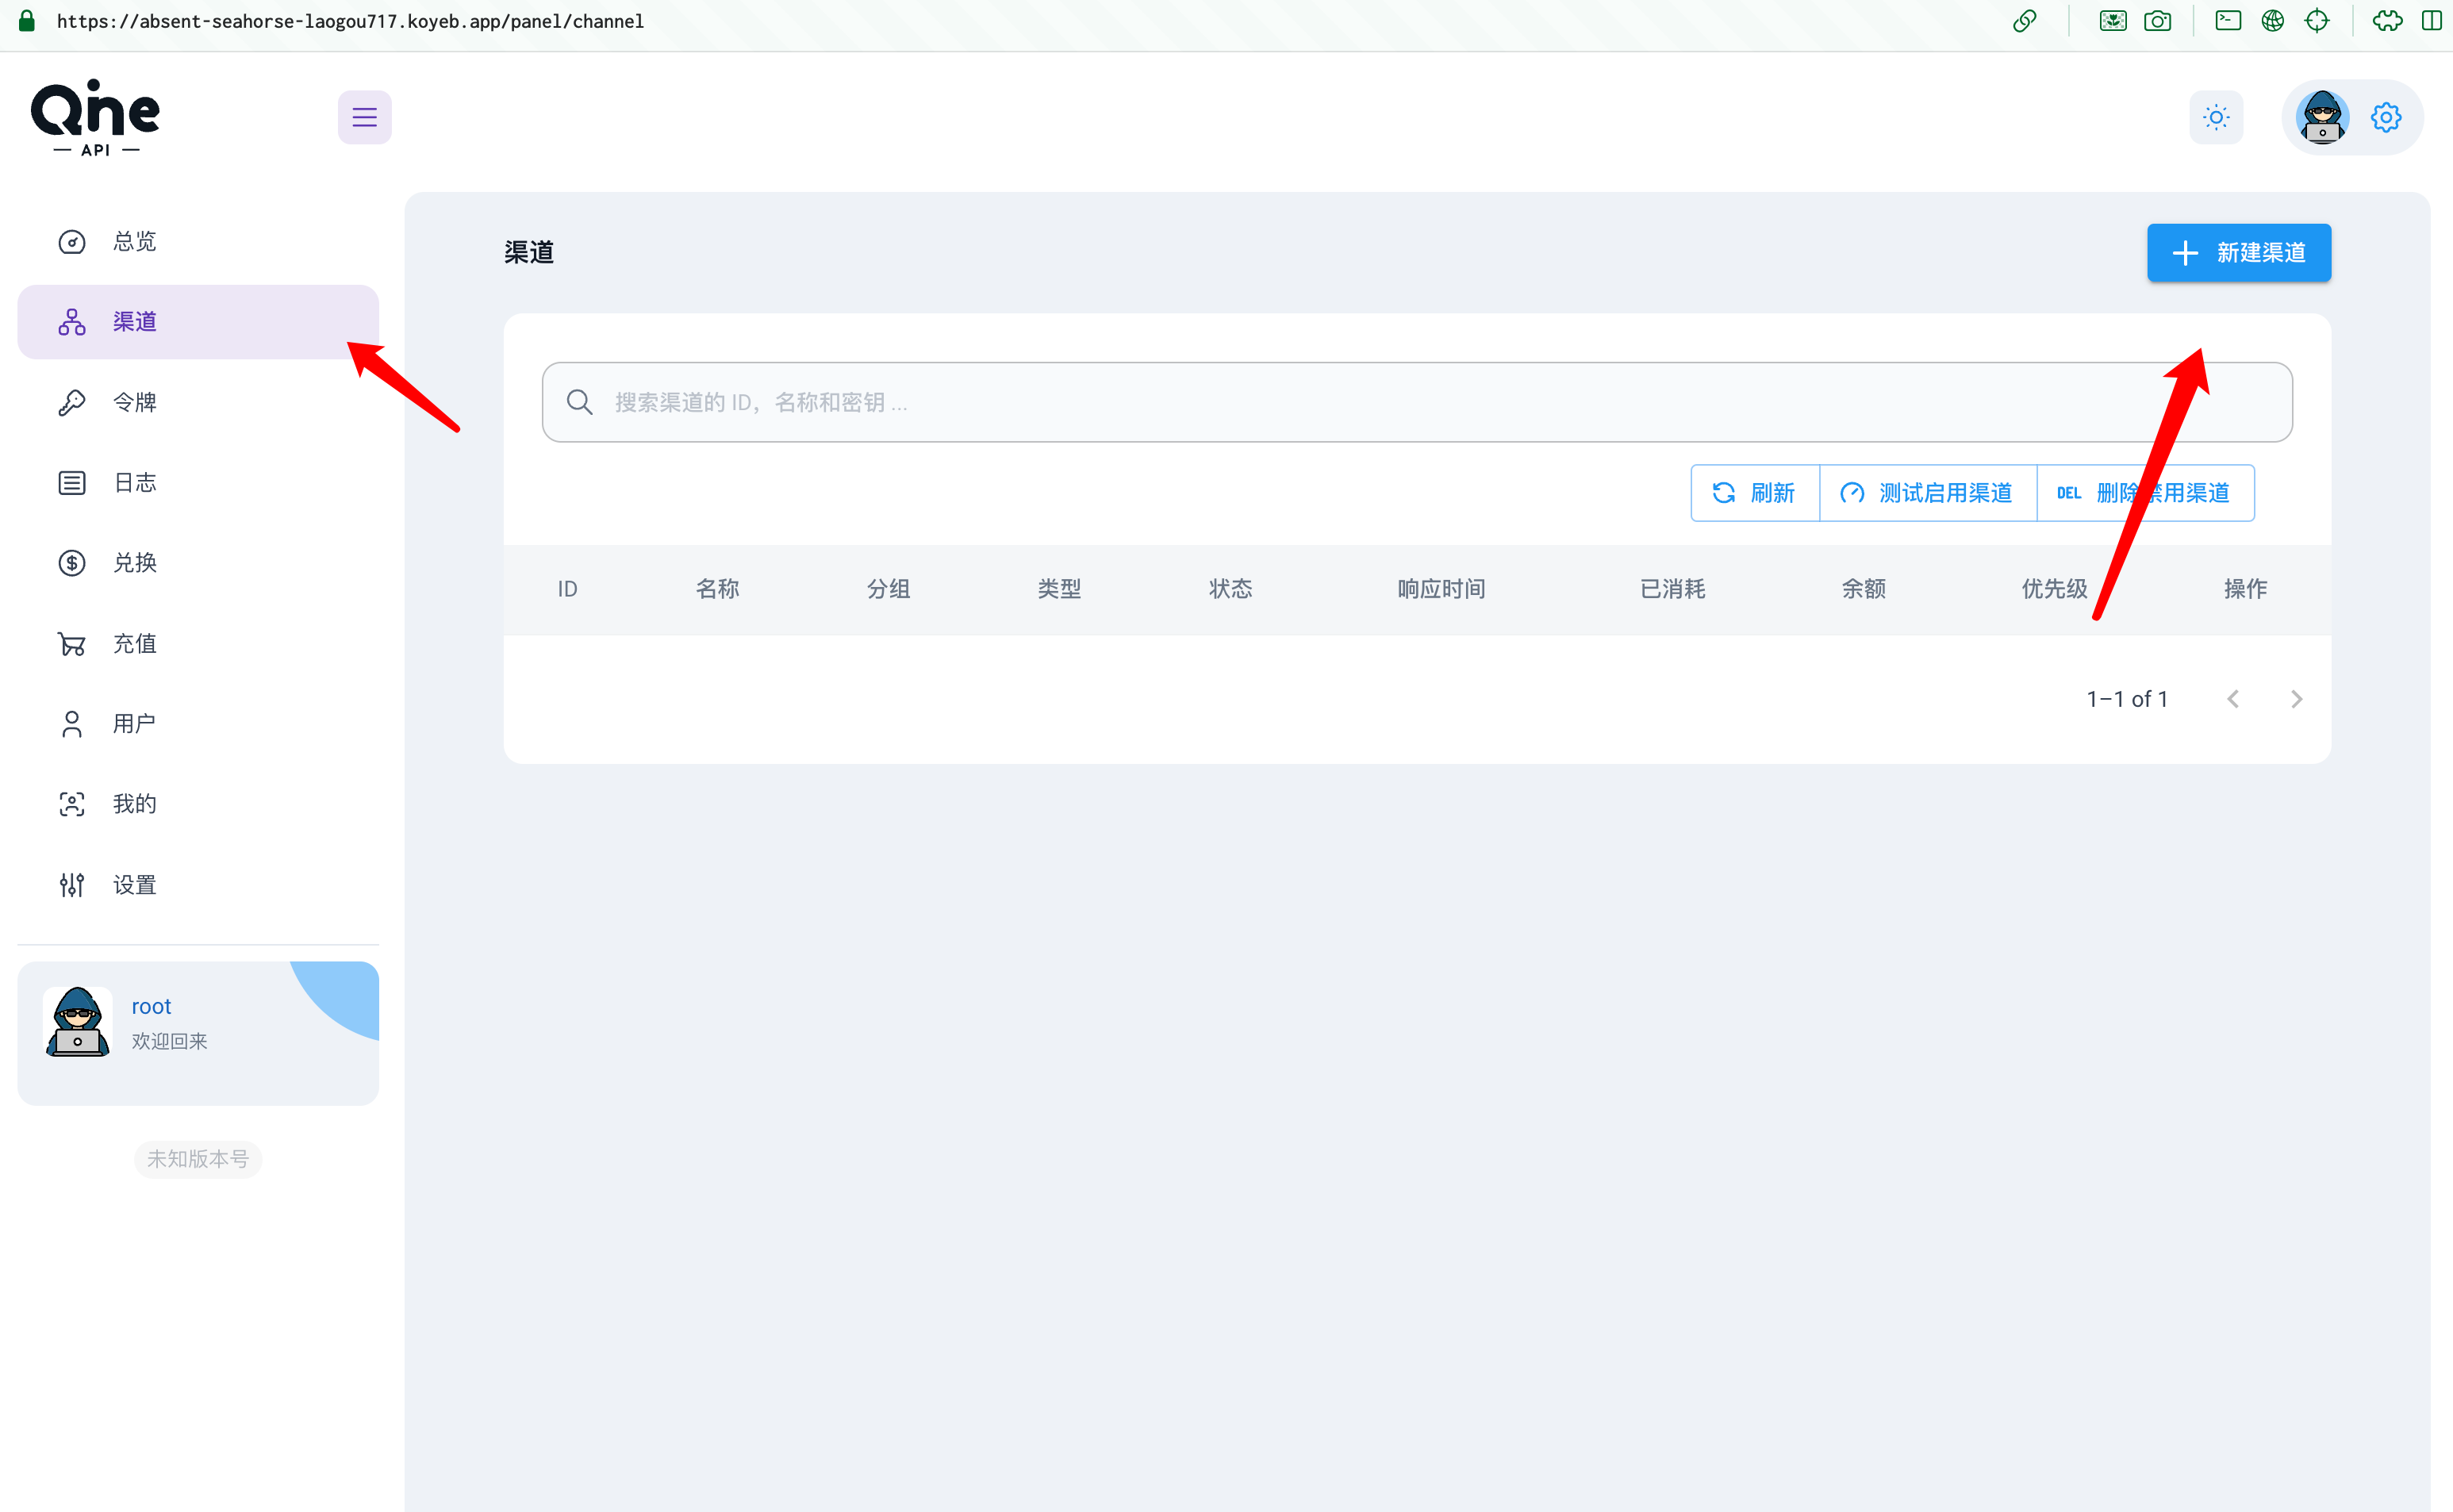
1.登陆 OneAPI 的管理员账号后,找到渠道,点击新建渠道
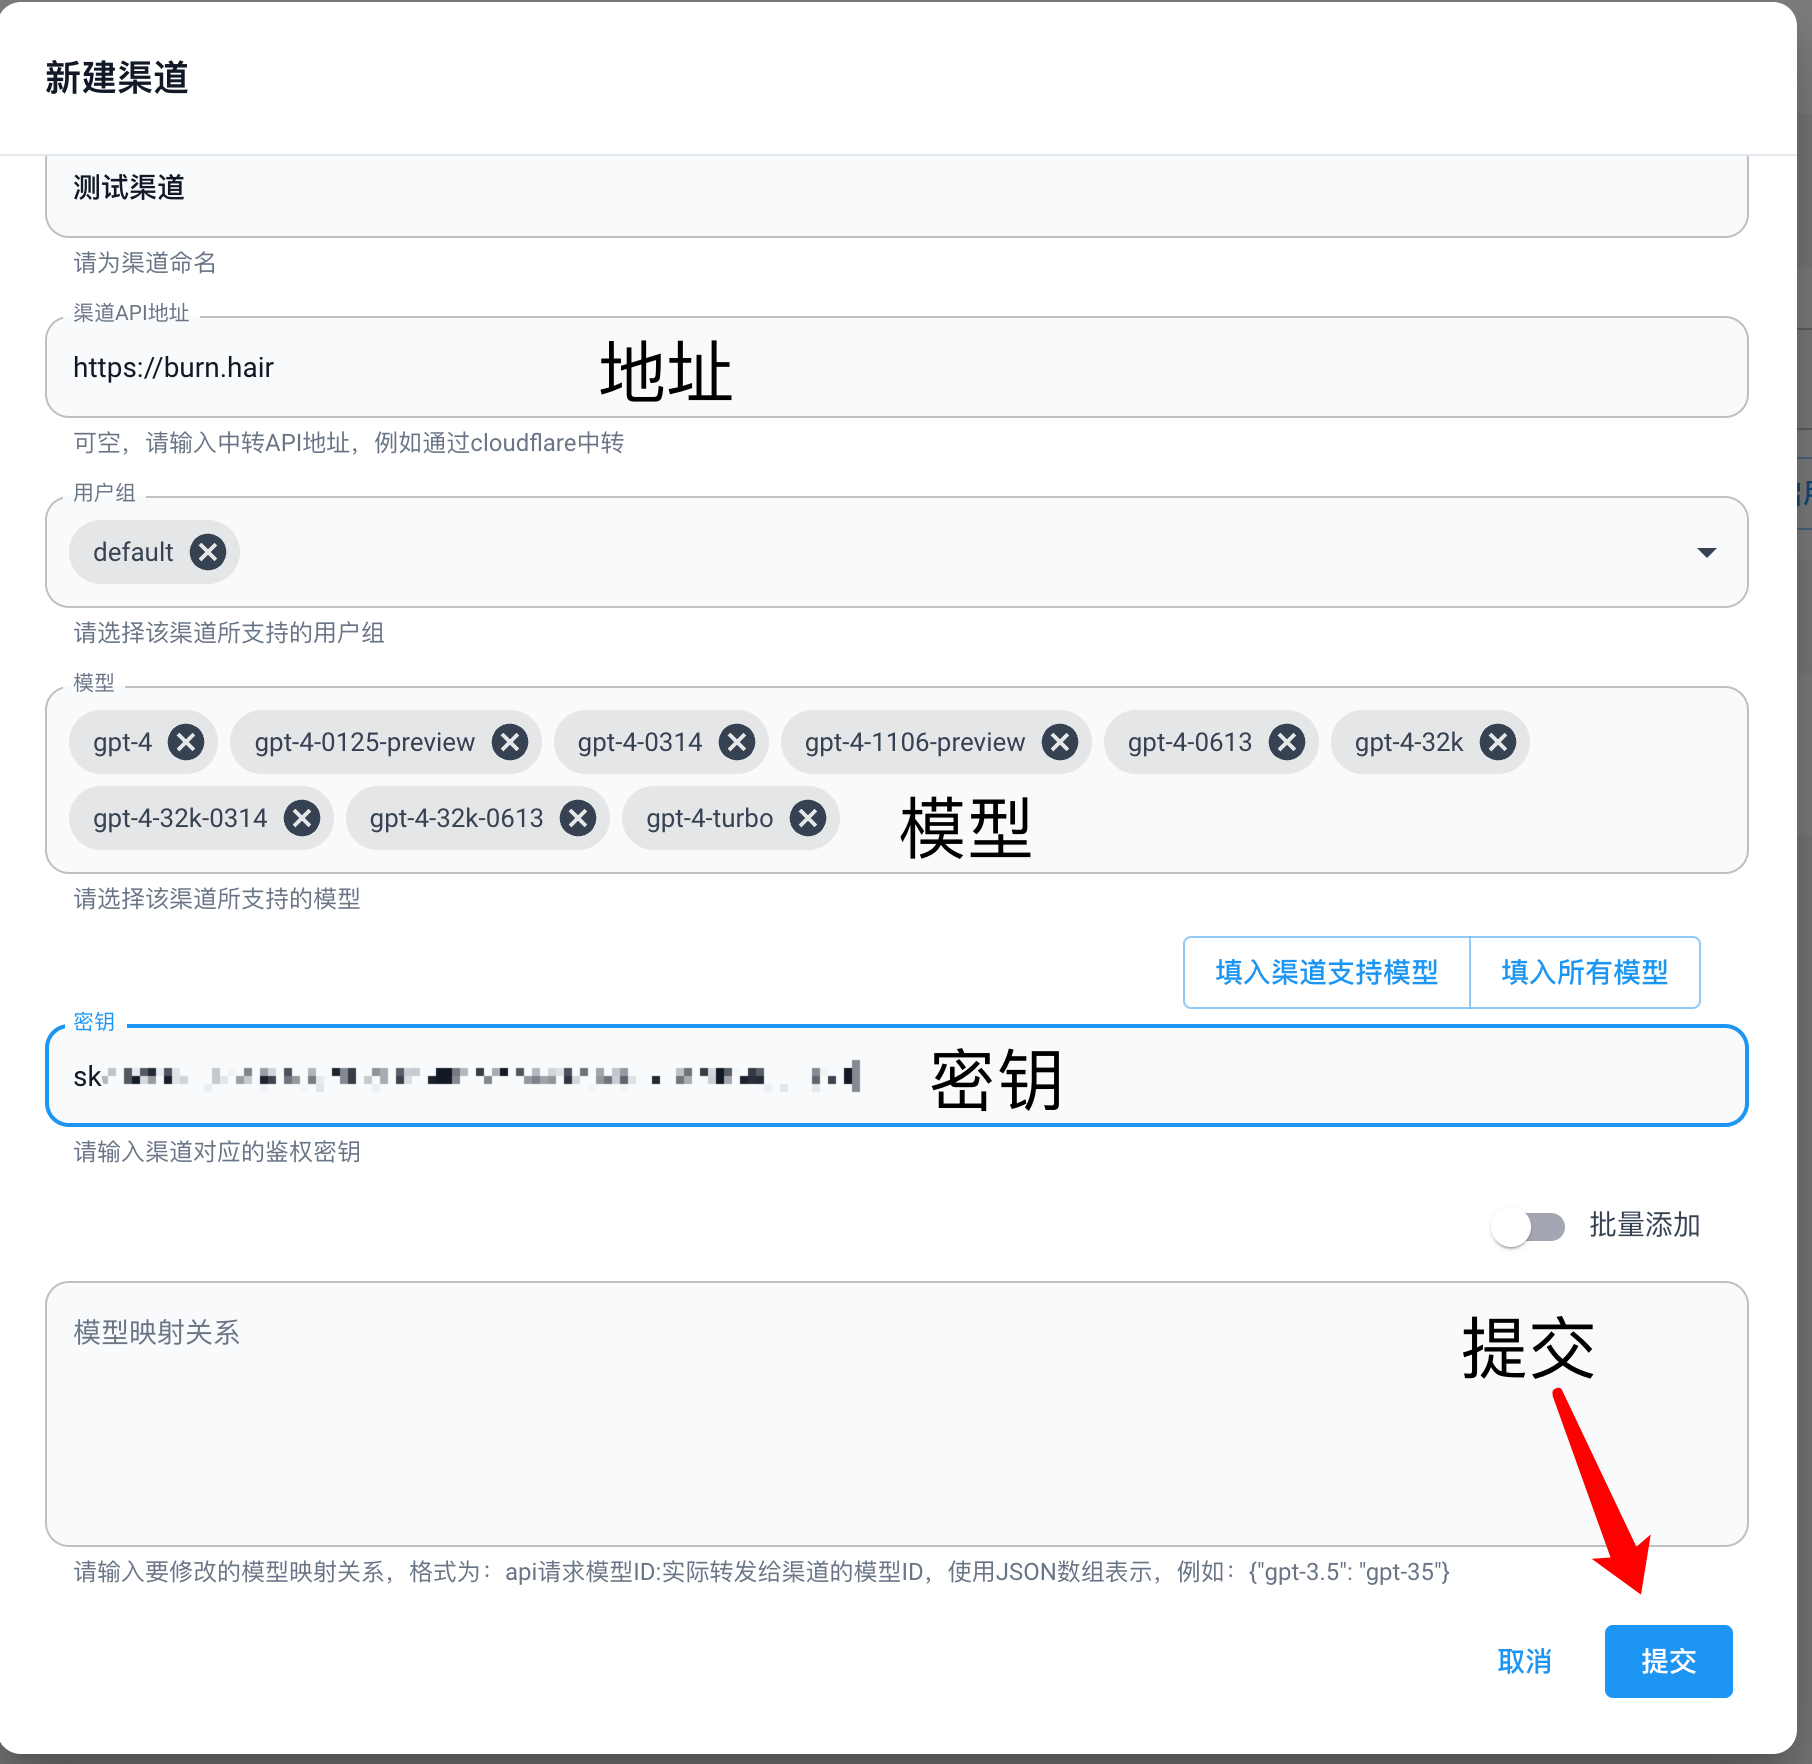
2.渠道名称我们可以随便命名,渠道 API 地址就是转发地址,因为我以头顶冒火举例,所以我只需填入它的请求地址:https://burn.hair;然后选择 支持的模型;添加你的 API KEY,最后提交。

3.最后我们点击 未测试 ,测一下 API 的连通性。
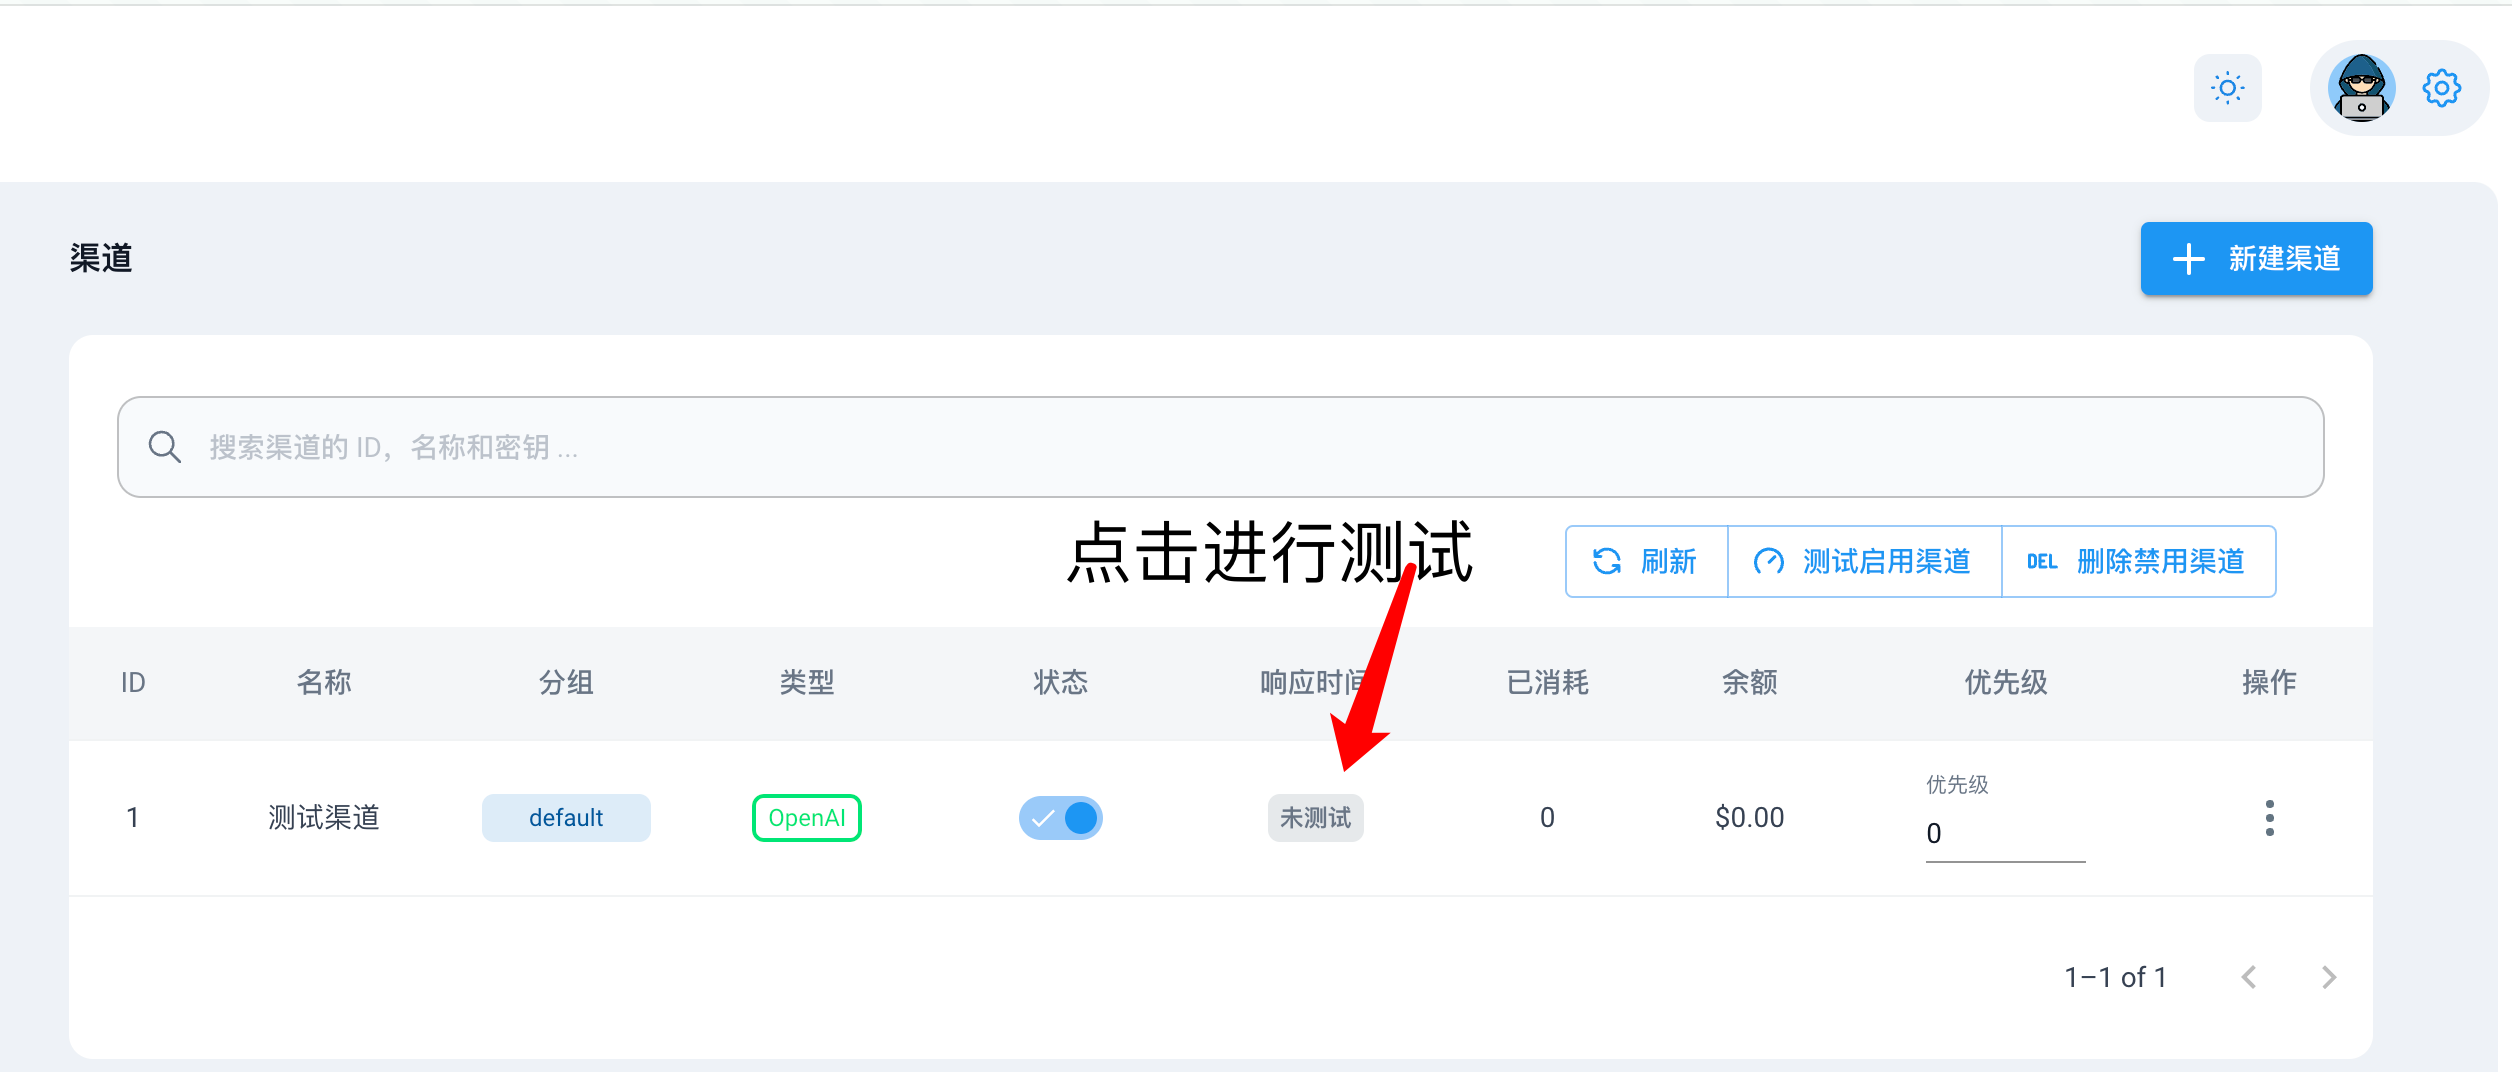
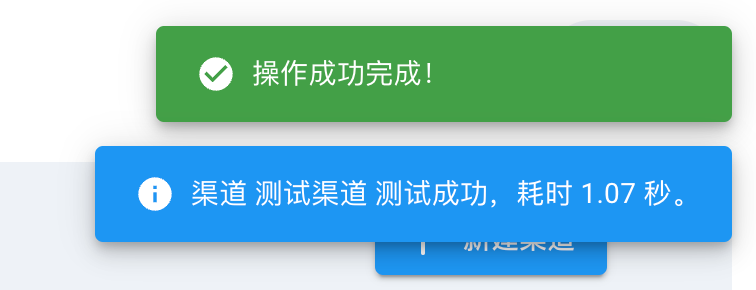
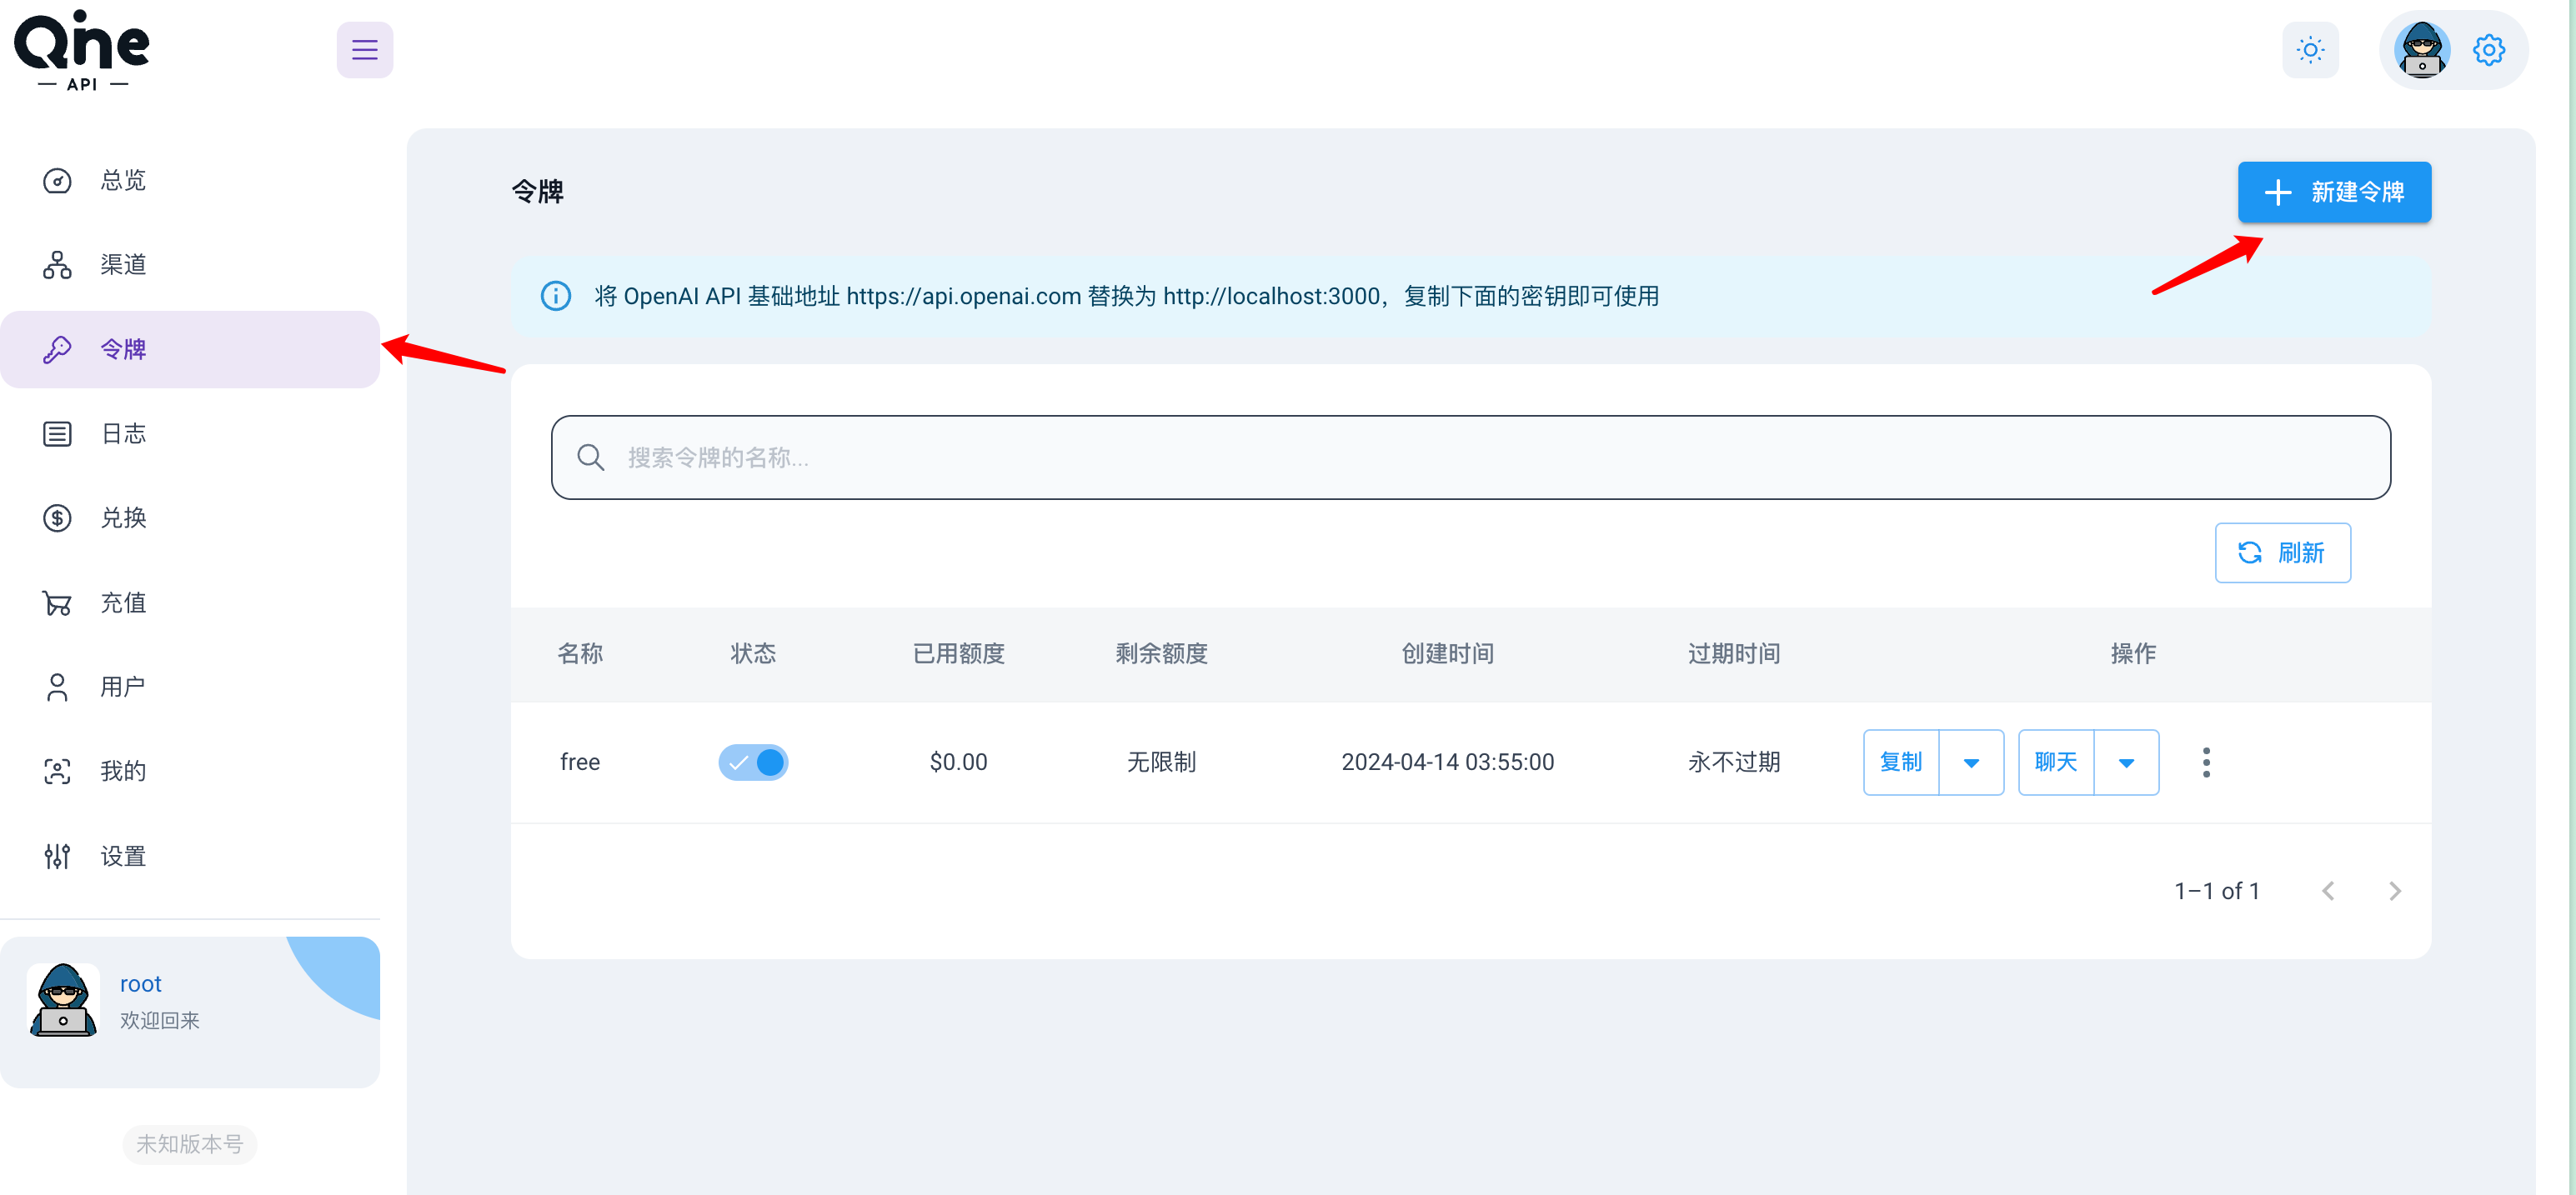
4.完成测试之后,我们就可以在令牌处新建令牌进行分发使用。如果你想 你也可以在添加众多 API 之后分享出来你的网站,让大家来使用。
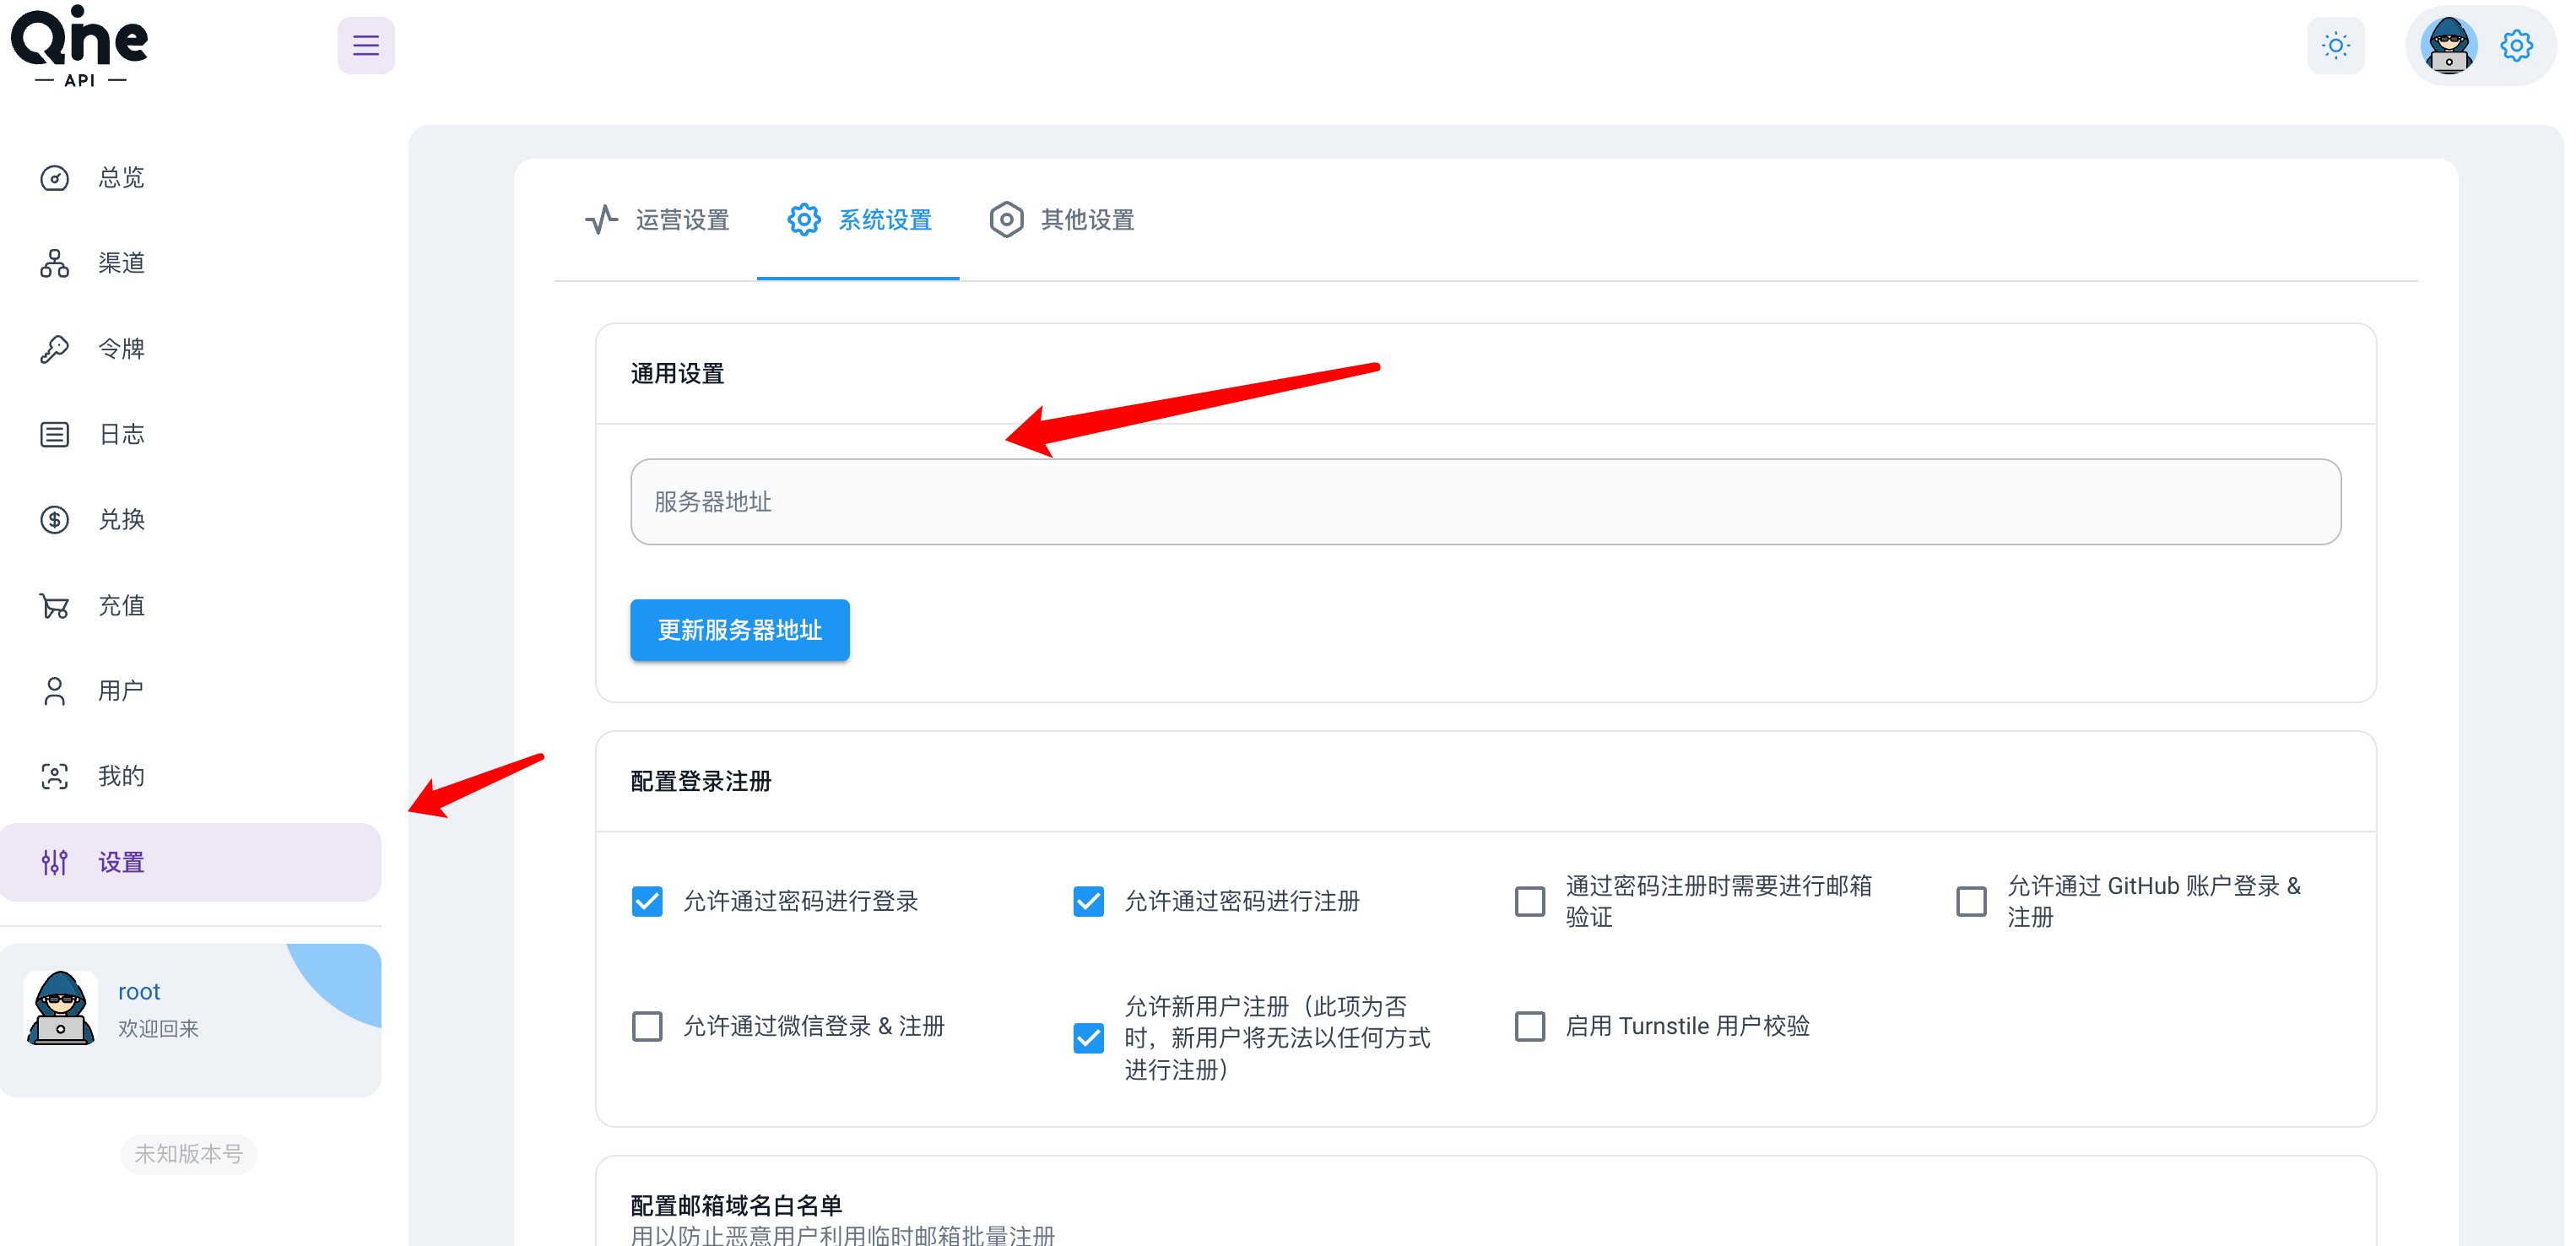
我们只需在后台维护各个API的渠道就行,至于我们 OneAPI 的请求地址,默认是我们的域名,你也可以在设置中进行更改。
结语
其实很多号商用的也是 OneAPI 或 NewAPI,其实没有那么难操作,只是你觉得麻烦不想去了解而已。现在 azure 注册依然是赠送 200 美金额度的,GitHub 上也有很多 FreeAPI 项目,linux.do中就更多了。单是个人日常使用是完全用不完的。
得了,天儿也不早了,我吃个早饭准备上班拉磨了,又是通宵的一天🙂 。
]]>


 不过如果你想的话,可以通过以下步骤在本地安装和运行ChatTTS。